Set up Neptune DXP - Proxy via Neptune DXP - Open Edition
Procedure
SAP Cloud Identity Services configuration
During the deployment of the Neptune DXP - Proxy, a new application (Neptune DXP Proxy - {space-name}) is created in SAP Cloud Identity Services.
-
Sign in to the Admin Console via the following URL:
https://<yourIASAccount>.accounts.ondemand.com/admin/ -
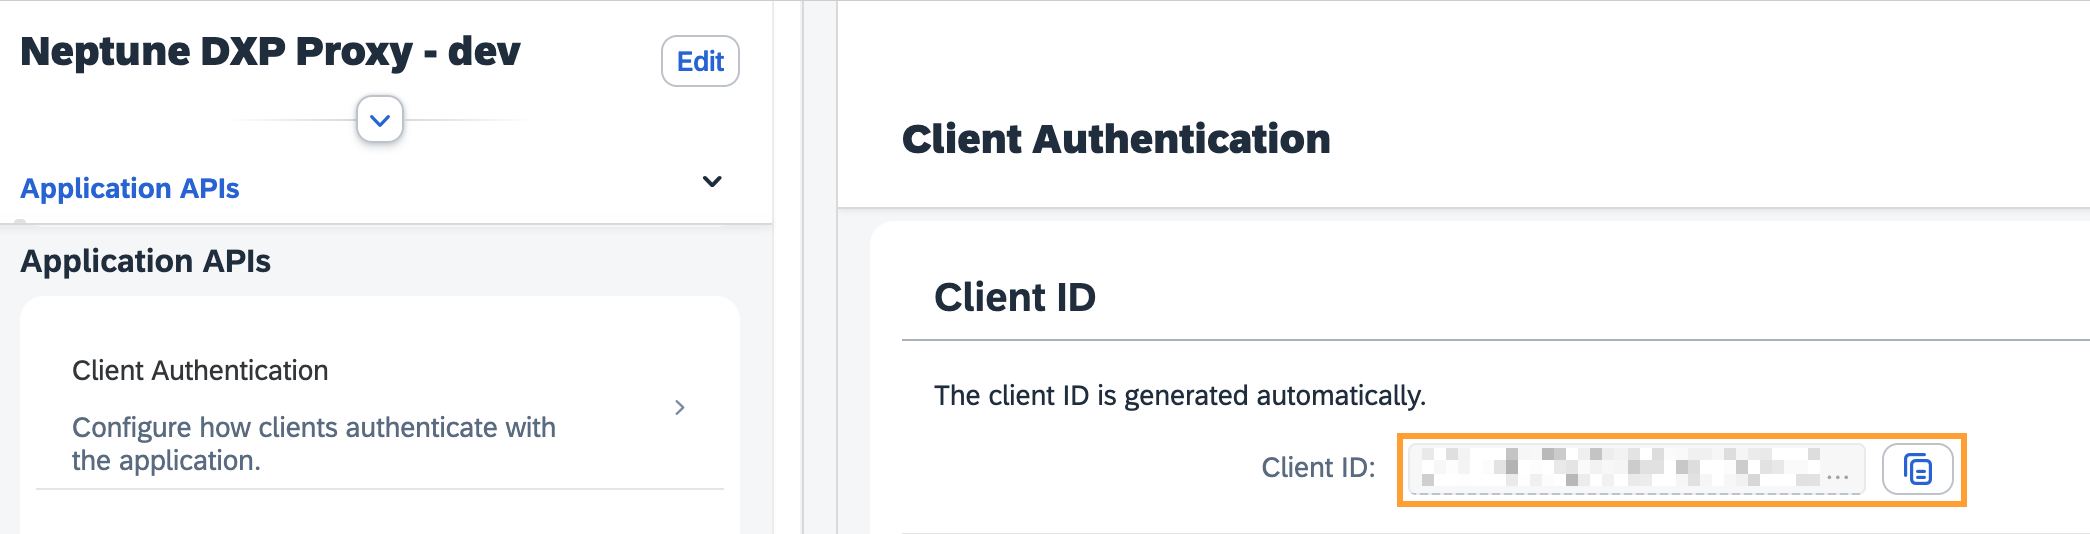
Go to Application & Resources and open the Neptune DXP - Proxy - {space-name} application.
-
Open the Trust → Application APIs → Client Authentication section and copy the Client ID. This Client ID will be used in the Open Edition Authentication setup below.
-
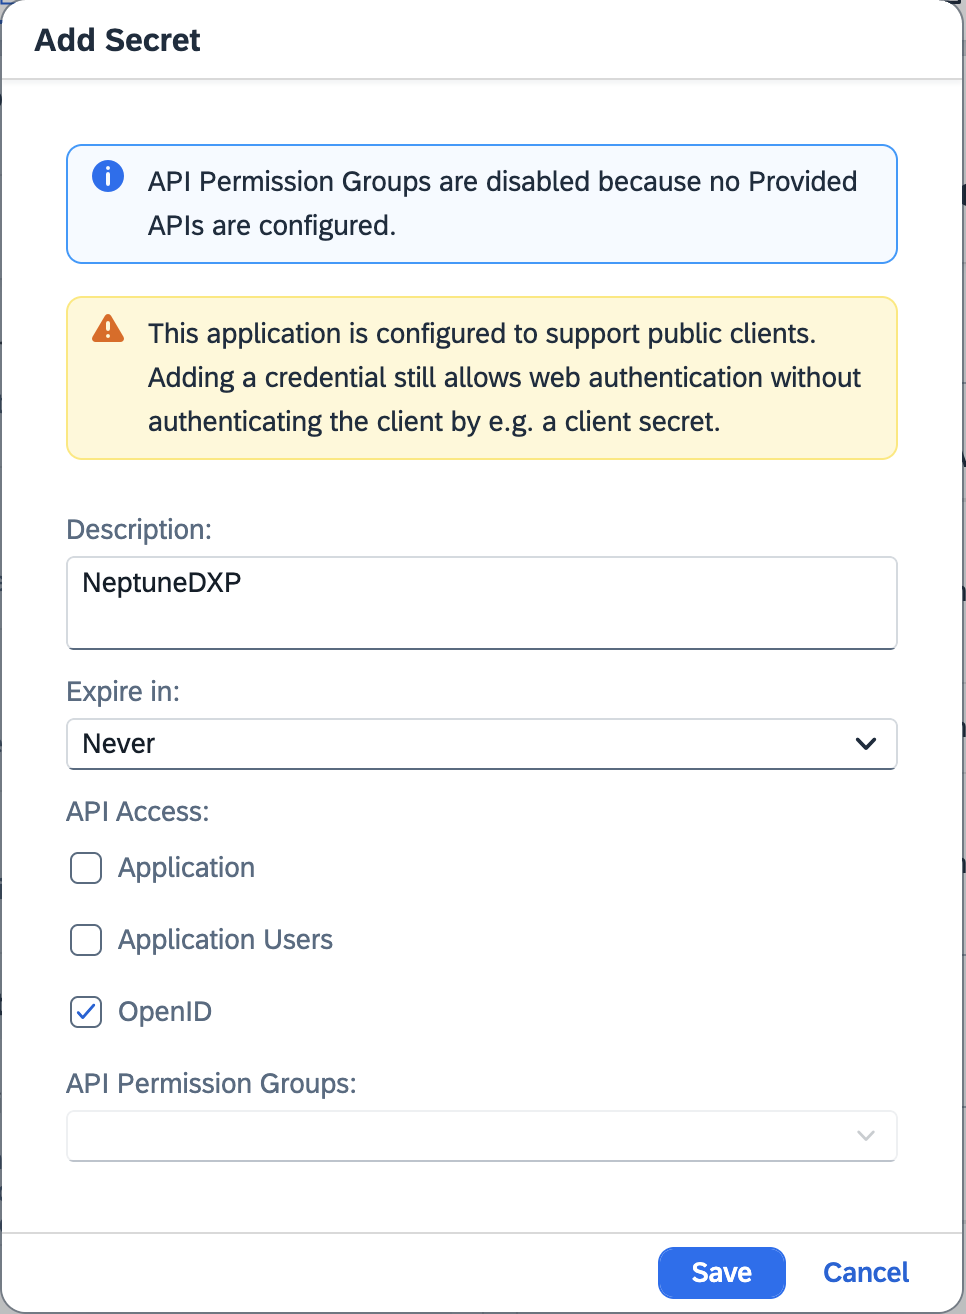
In this application, add a new
client IDandclient secretwhich will be used later in the Neptune DXP – Open Edition. Go to Client Authentication under Application APIs. Select the Add button under Secrets.
-
Add a description for this secret and select Save.
-
Copy the
client IDandclient secretand save them, you will need them in the upcoming steps.
Redirect URIs and Post-logout redirect URIs
-
In Single Sign-On > OpenID Connect Configuration, add a new URI with the URL of the Neptune DXP - Open Edition instance followed by
/public/oidc_redirect.html.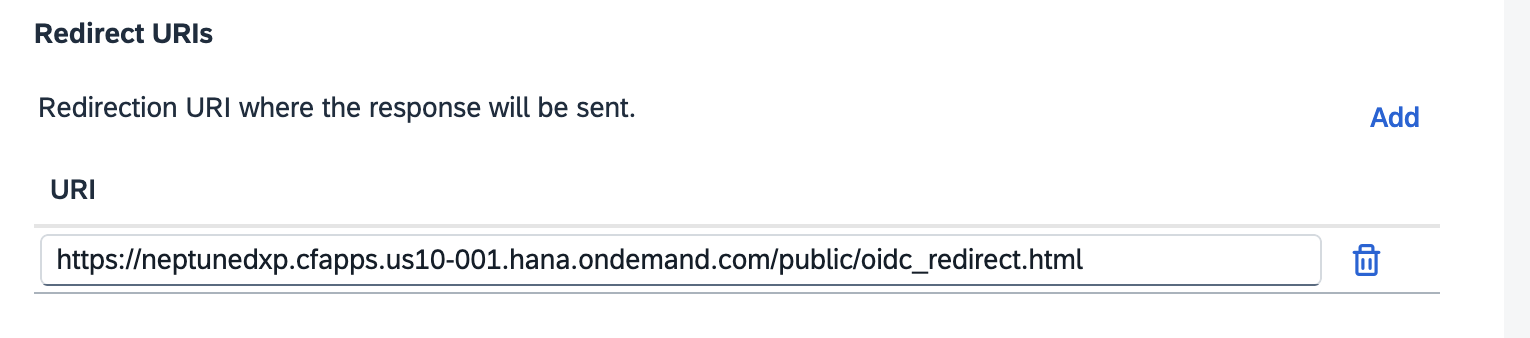
-
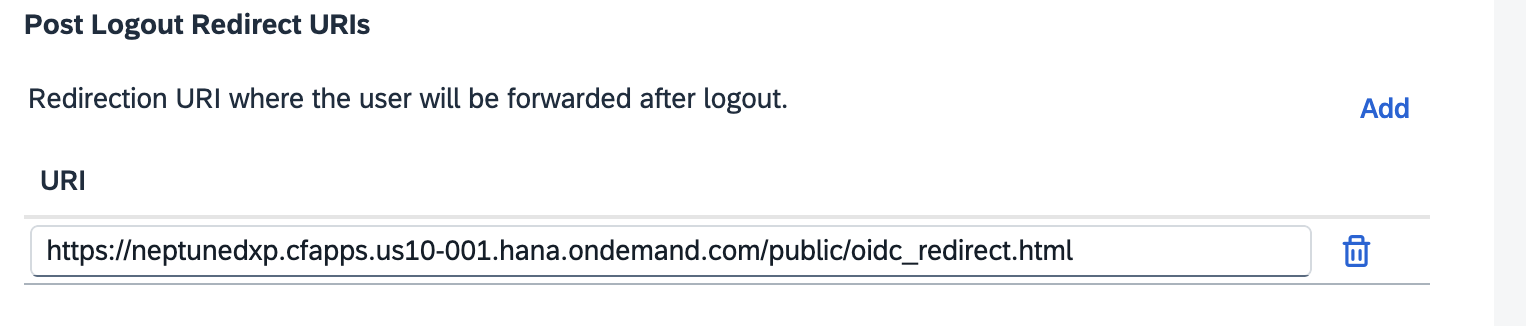
Use the same URL for the Post Redirect URL option.
-
Save the OpenID Connect configuration
Neptune DXP – Open Edition configuration
-
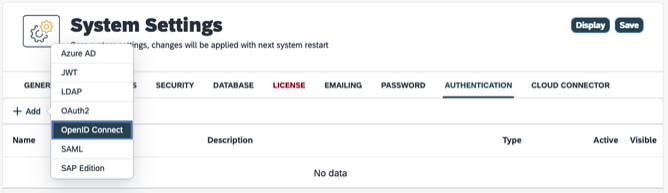
Within Neptune DXP – Open Edition Cockpit, in the System Settings select the Authentication tab. Select Edit and Add a new OpenID Connect authentication.
-
Enter the following values in the mandatory fields:
-
Name: SAP BTP
-
Active: Enabled
-
Show on login page: Enabled
-
Description: SAP BTP
-
Path: myopenID
-
Client ID: <client id>
-
Client Secret: <client secret>
-
Discovery URI: https:// <cloud identity tenant-id>.trial-accounts.ondemand.com/.well-known/openid-configuration
-
Redirect Url: https:// <neptune dxp host>
-
Login Scopes: openid profile email offline_access
Claims Assignment:
-
Email: Email
-
Email: Username
-
Given_name: Name
-
-
Save and restart the Neptune DXP - Open Edition by selecting Restart.
-
After the restart, launch the Neptune DXP - Open Edition in a new private window or another browser, and ensure the SAP BTP login option is available.
For a more detailed description of setting up SSO with SAP BTP, see Set up SSO with SAP BTP and Neptune DXP - Open Edition.
Neptune DXP – Open Edition Proxy Authentication
-
Go the Neptune DXP - Open Edition Cockpit and select the Proxy Authentication tool.
-
Create a new proxy authentication. Give it a name, for example,
Neptune DXP - Proxy.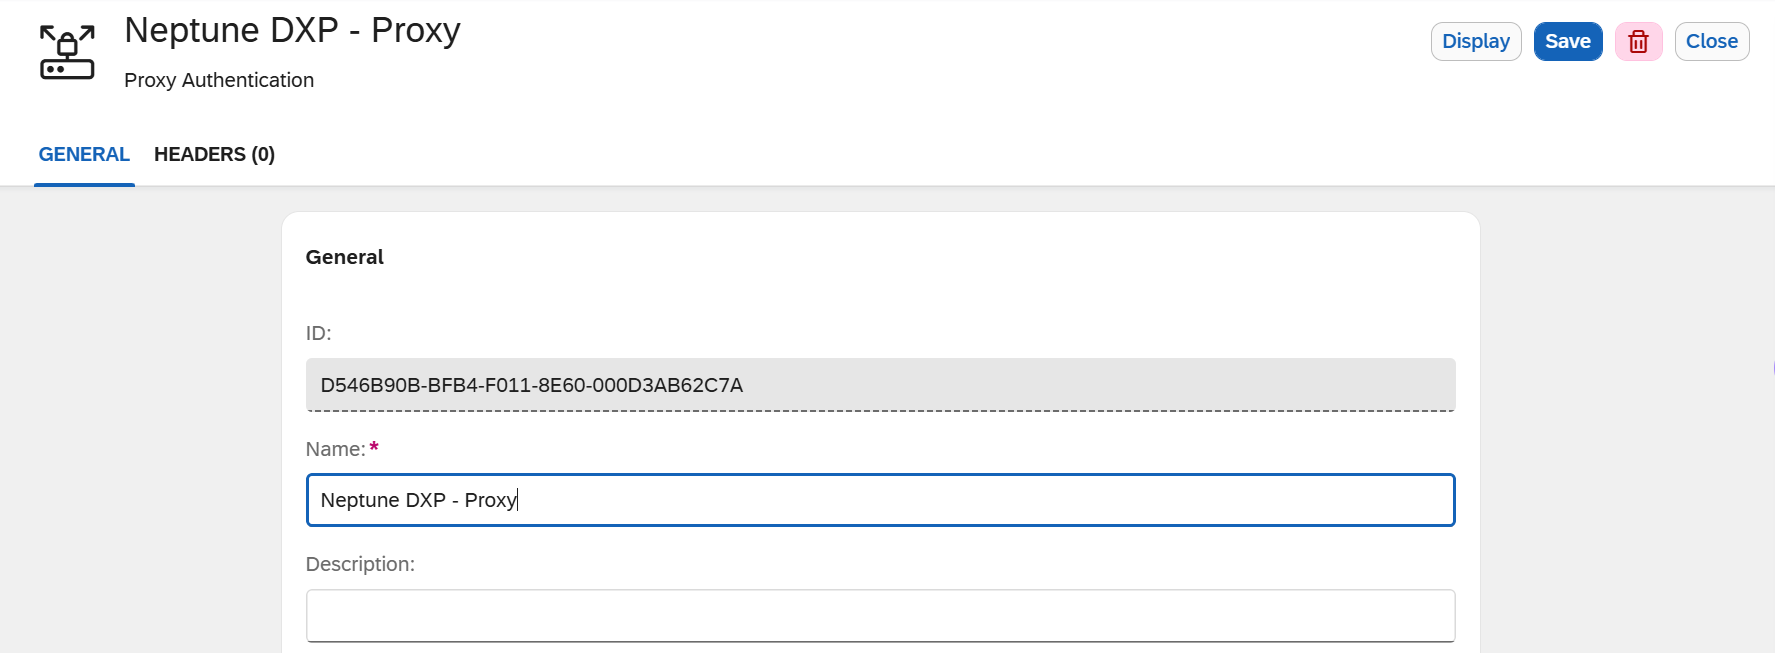
-
Go to Headers and add a new header with the following value:
x-planet9-dxp-proxy: true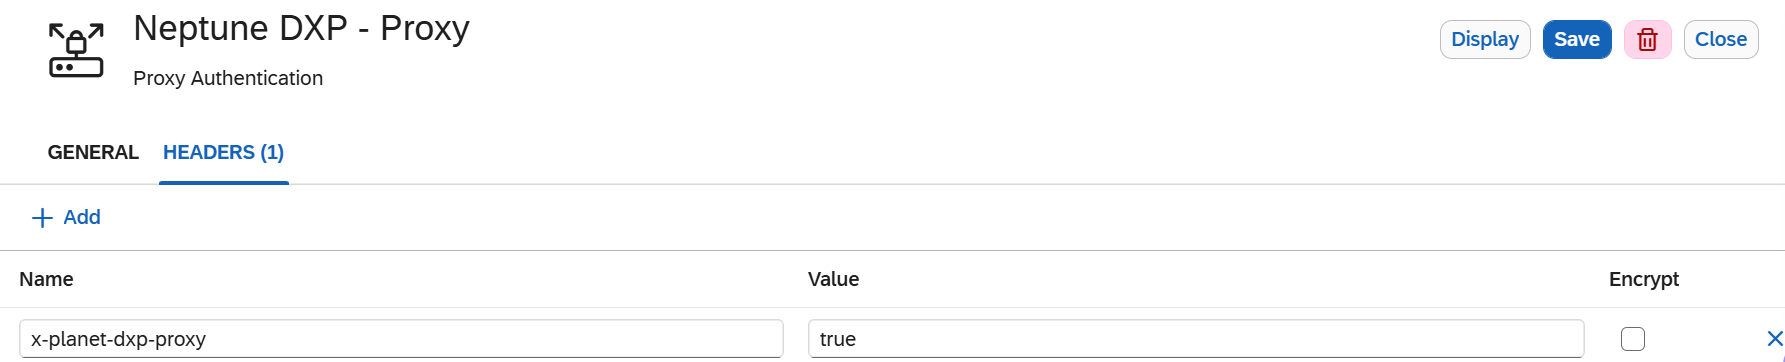
Neptune DXP – Open Edition API Designer
For each endpoint (OData/REST API) we want to use from the SAP System behind the Cloud Connector, you must define an API in the API Designer.
-
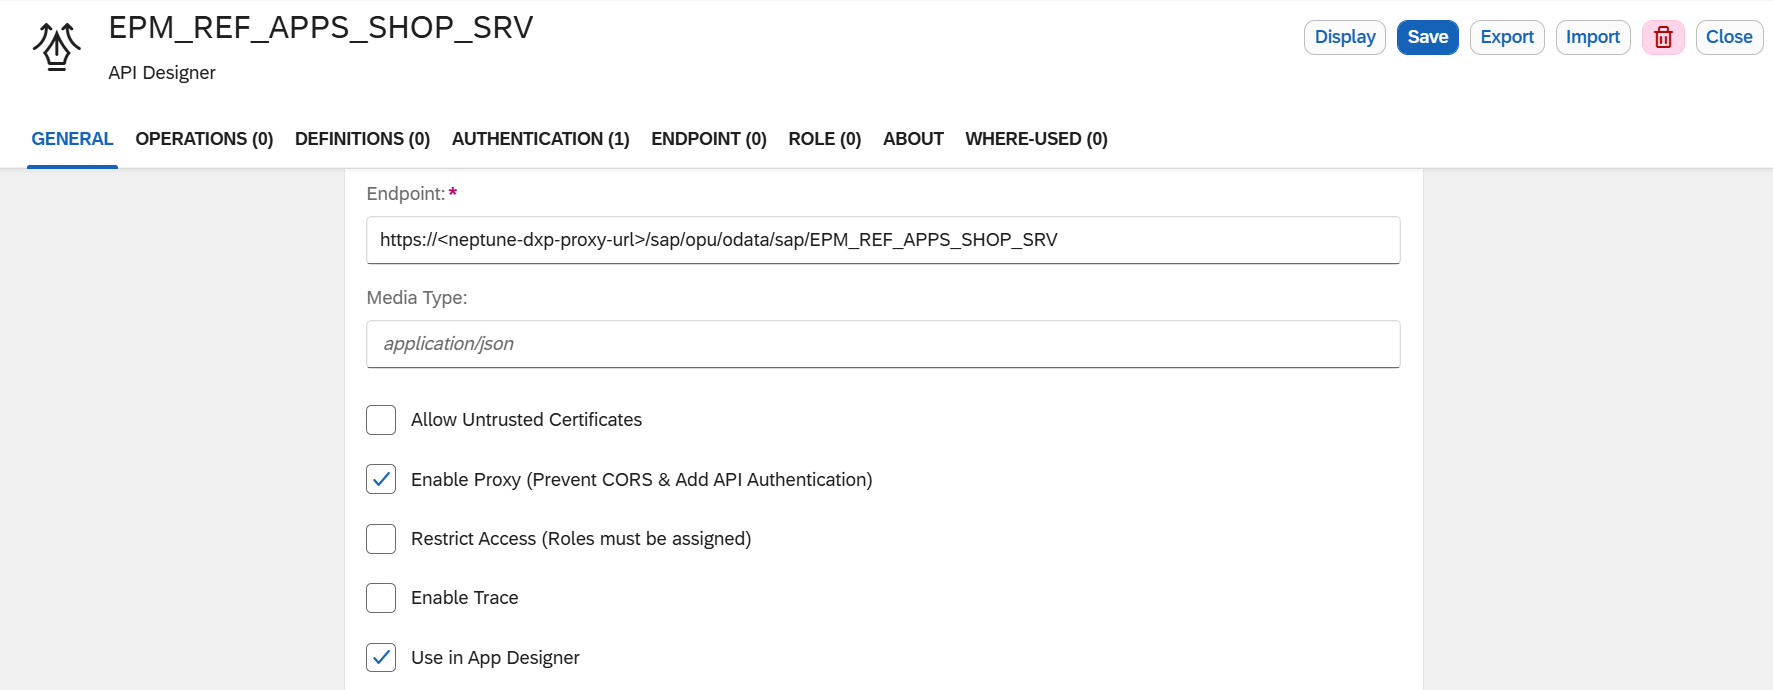
Create a new API with the following values:
-
In Endpoint, use the Neptune DXP - Proxy URL from the SAP BTP Cockpit and add the endpoint to your service, for example:
/sap/opu/odata/sap/EPM_REF_APPS_SHOP_SRV -
Select Enable Proxy (Prevent CORS & Add API Authentication) and Use in App Designer.
-
-
In the Authentication tab, add the
Neptune DXP - Proxyproxy authentication.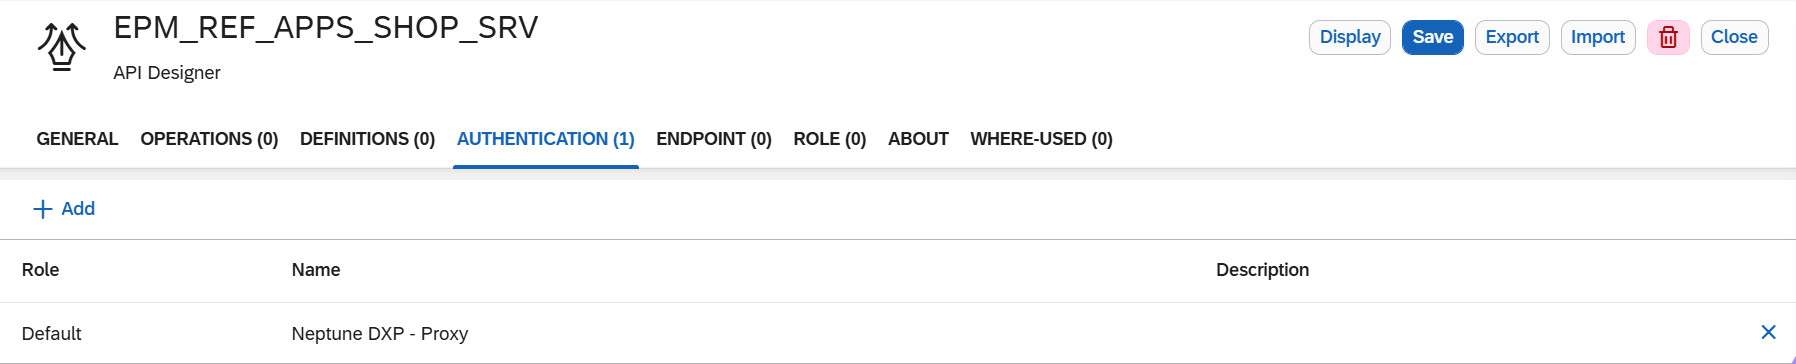
Neptune DXP – Open Edition App Designer
To use the APIs defined above in the App Designer, use the following code snippets when executing a call to the backend:
-
Call an API
const access_token = getAccessToken(); var options = { headers: { "x-approuter-authorization": "Bearer " + access_token, }, }; apiGetProductsAPI(options).then(function (data) { //debugger; modelTable.setData(data.d.results); }); -
Get the access token use
This requires Neptune DXP - Open Edition 24.14.2 or later. On earlier versions, a custom login page workaround is required. function getAccessToken() { const tokenSet = AppCache.userInfo.logonData; if (tokenSet) { const { accessToken } = tokenSet; return accessToken; } else { return null; } }Deprecated (before Neptune DXP - Open Edition 24.14.2): The following implementation relied on
localStorageand is no longer valid in Neptune DXP - Open Edition version 24.14.2 and later:function getAccessToken() { const tokenSet = JSON.parse(localStorage.getItem("p9oidctoken")); const { access_token } = tokenSet; return access_token; }Similar x-approuter-authorizationcan be included doing OData calls.