Perform one-time setup of Neptune DXP - Proxy
Prerequisites
The prerequisites to use the Neptune DXP - Proxy are:
-
You have a license extension for Neptune DXP - Proxy for SAP BTP on top of your Neptune DXP - SAP Edition/Neptune DXP - Open Edition module license.
Neptune DXP - Proxy for SAP BTP is supported on Neptune DXP - Open Edition 24.14.2 or later and SAP Edition 24.15 or later. If your license does not include the license extension for Neptune DXP - Proxy for SAP BTP, the corresponding proxy framework will not be available. -
You have an SAP BTP subaccount with a Cloud Foundry runtime
-
An active SAP Cloud Identity Authentication Service (IAS) tenant is available with administrative access.
-
You have configured SAP Cloud Connector with Principal Propagation to your SAP sytem.
-
You have your customer ID at hand. You can find your customer ID in the Neptune DXP Portal, if you are an account admin, as follows:
-
Select Account Assignments.
-
Select the account that you want to manage the license for.
-
In the General tab of My Account, you can copy your customer ID from the field License Customer ID.
-
Procedure
Configure SAP BTP for Neptune DXP - Proxy
-
In the SAP BTP subaccount, ensure the Cloud Foundry Runtime is activated and there is access to an instance of SAP Cloud Identity Services available.
-
Establish trust between the subaccount and SAP Cloud Identity Services in Security → Trust Configuration.
Download Neptune DXP - Proxy download
-
Download the latest version of the Neptune DXP - Proxy from the Neptune DXP Portal.
To deploy the .mtarfile to SAP BTP Cloud Foundry, the Cloud Foundry Command Line Interface (Cloud Foundry CLI) is required. Download the latest version of the Cloud Foundry CLI from GitHub at the following URL: https://github.com/cloudfoundry/cli#downloads
Install Cloud Foundry CLI Multitarget plugin
-
After installation of the Cloud Foundry CLI, add the Multitarget application plugin with the following command:
cf add-plugin-repo CF-Community https://plugins.cloudfoundry.org
cf install-plugin multiapps
Deploy Neptune DXP - Proxy in Cloud Foundry
-
Sign in to your Cloud Foundry subaccount.
-
Change the API endpoint below with the endpoint from your subaccount and copy the Cloud Foundry Environment → API Endpoint value.
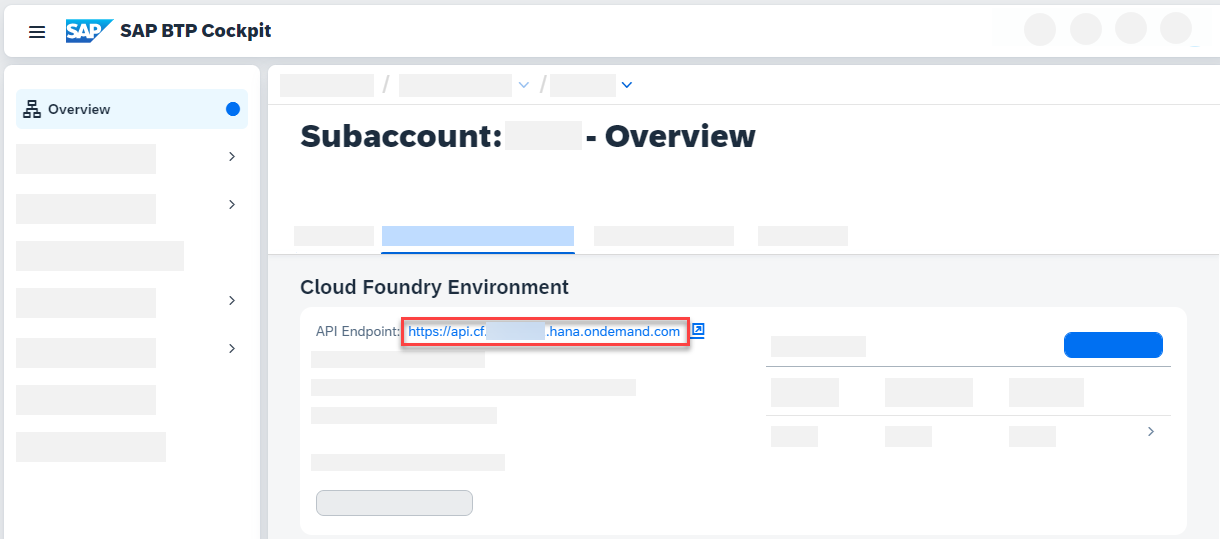
cf login -a https://api.cf.us10-001.hana.ondemand.com/ -
Deploy the Neptune Proxy
cf deploy neptune-dxp-proxy-<version>.mtar -
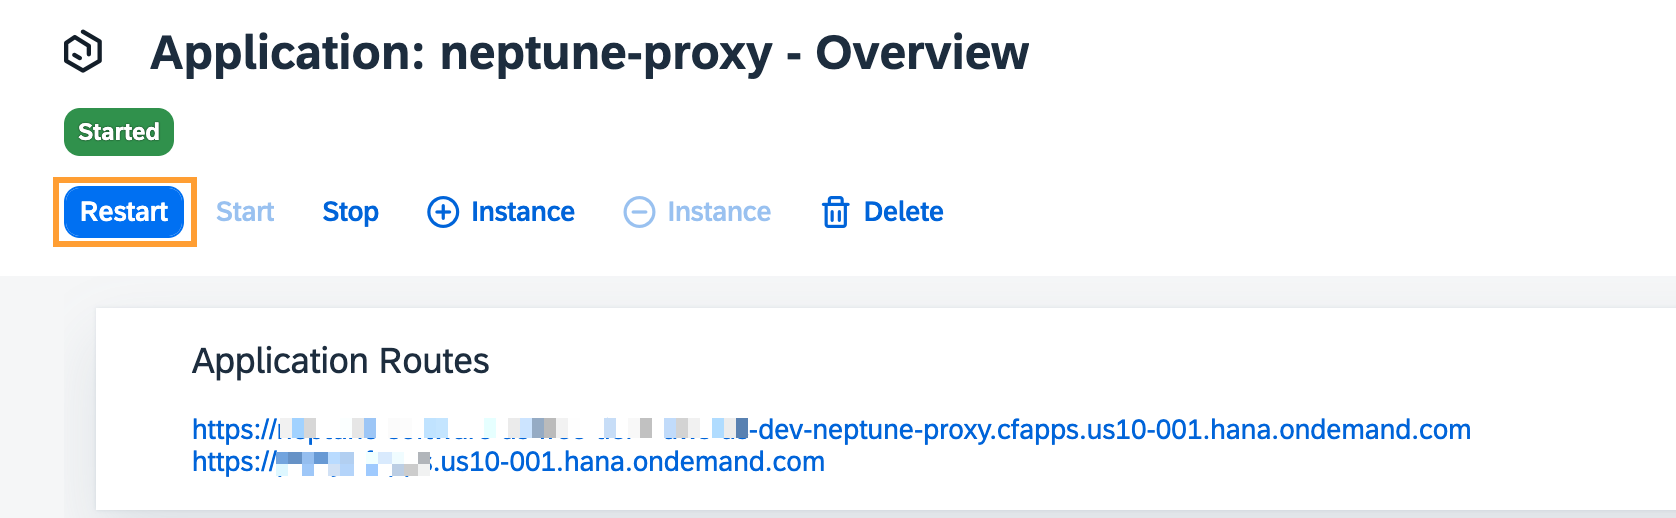
After deployment, the proxy URL is visible in the SAP BTP Cockpit:

-
The proxy URL is also available in the terminal:
Application "neptune-proxy" started and available at "*yourBTPaccount*-dev-neptune-proxy.cfapps.us10-001.hana.ondemand.com"
Customer ID
Under User-Provided Variables add the variable CUSTOMER_ID with your Customer ID from the Neptune Portal.
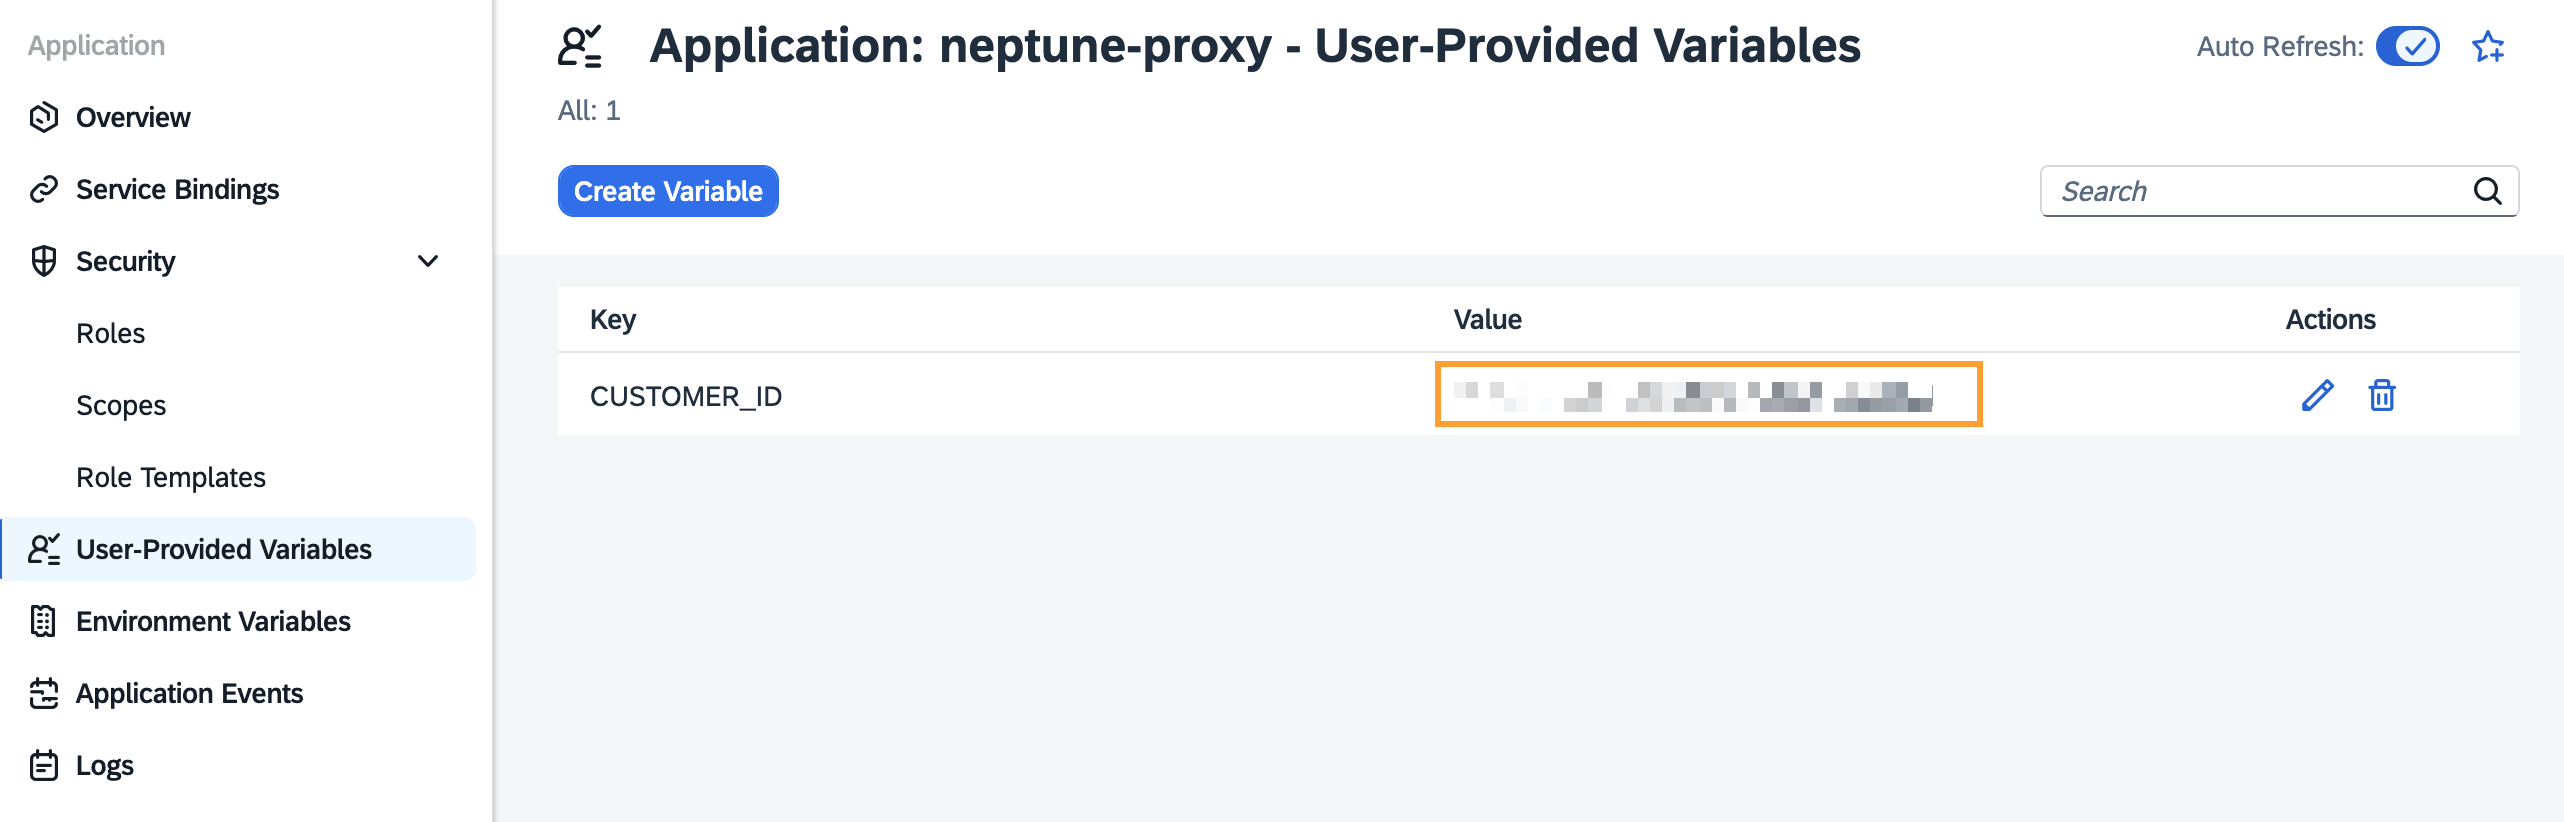
After saving the Customer ID, restart the Neptune Proxy from the Application Overview page.
|
Without a valid Customer ID the Neptune DXP Proxy will not work correctly. |
Token Policy
When the Neptune Proxy is deployed an SAP Cloud Identity Services Application will be automatically created. Some parts will need be to be configured according to the desired use-case of the Neptune DXP - Proxy, see more information about that in the following sections:
An important configuration is the Token Policy, this defines how authentication tokens are issued, validated, and expire. It is a security mechanism that lets administrators control the lifetime, renewal, and content of tokens used in applications connected to IAS.
For more information about Cloud Identity Services, please check the official SAP Documentation.
Results
-
The Neptune DXP - Proxy will automatically create the following instances, which are used to connect the proxy to the Cloud Identity Services, Connectivity Service, and Destination Service (see the solution architecture diagram):
-
neptune-proxy-connectivity -
neptune-proxy-destination -
neptune-proxy-ias -
neptune-proxy-uaa
-