Set up Neptune - DXP Proxy via Neptune DXP - SAP Edition
Procedure
Neptune Mobile Client
-
In the Mobile Client tool → Authentication → Connection → Settings, use the proxy URL as the Server URL.

-
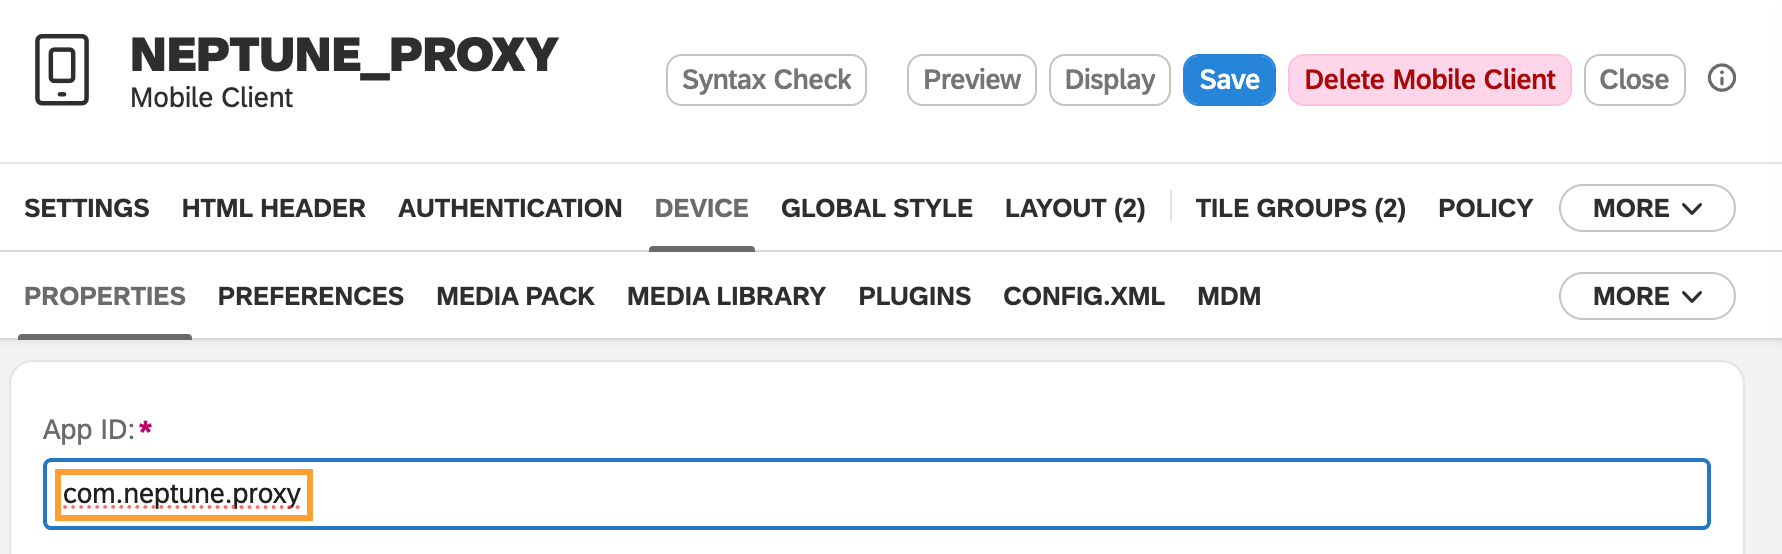
In Device → Properties, copy the App ID
SAP Cloud Identity Services configuration
During the deployment of the Neptune DXP - Proxy, a new application (Neptune DXP Proxy - {space-name}) is created in SAP Cloud Identity Services.
-
Sign in to the Admin Console via the following URL:
https://<yourIASAccount>.accounts.ondemand.com/admin/ -
Go to Application & Resources and open the Neptune DXP - Proxy - {space-name} application.
-
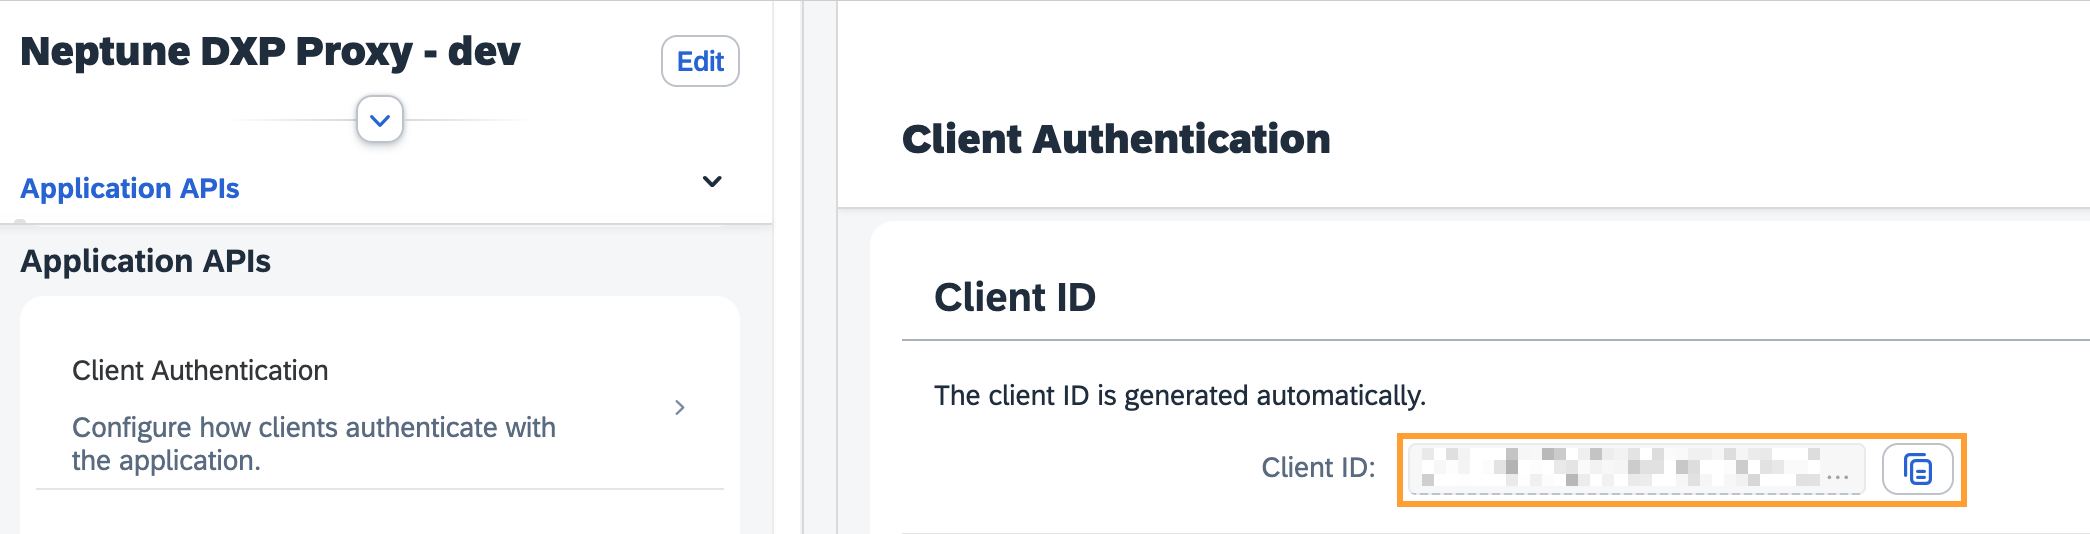
Open the Trust → Application APIs → Client Authentication section and copy the Client ID. This Client ID will be used in the Neptune Mobile Client configuration below.
Redirect URIs and Post-logout redirect URIs
-
Open the Trust → Single Sign-On → OpenID Connect Configuration section.
-
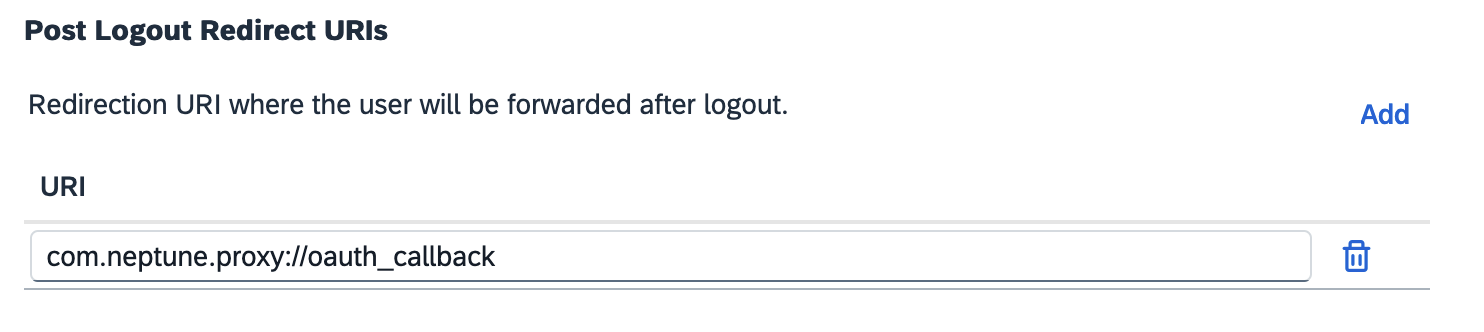
Add a new Redirect URI with the Mobile Client App ID, followed by
://oauth_callbackExample:
com.neptune.proxy://oauth_callback
-
Fill in the same value for Post Logout Redirect URI.
-
Save the OpenID Connect configuration.
Neptune Mobile Client
Go back to the Mobile Client tool
-
In Authentication → OAuth → Settings, use Enable and choose
BTP Proxyas OAuth Flow Provider. Fill in theClient IDfrom the Cloud Identity Services above and use the correct OpenID Configuration URL Path matching the hostname of the Cloud Identity Services tenanthttps://<yourIASAccount>.accounts.ondemand.com/.well-known/openid-configuration.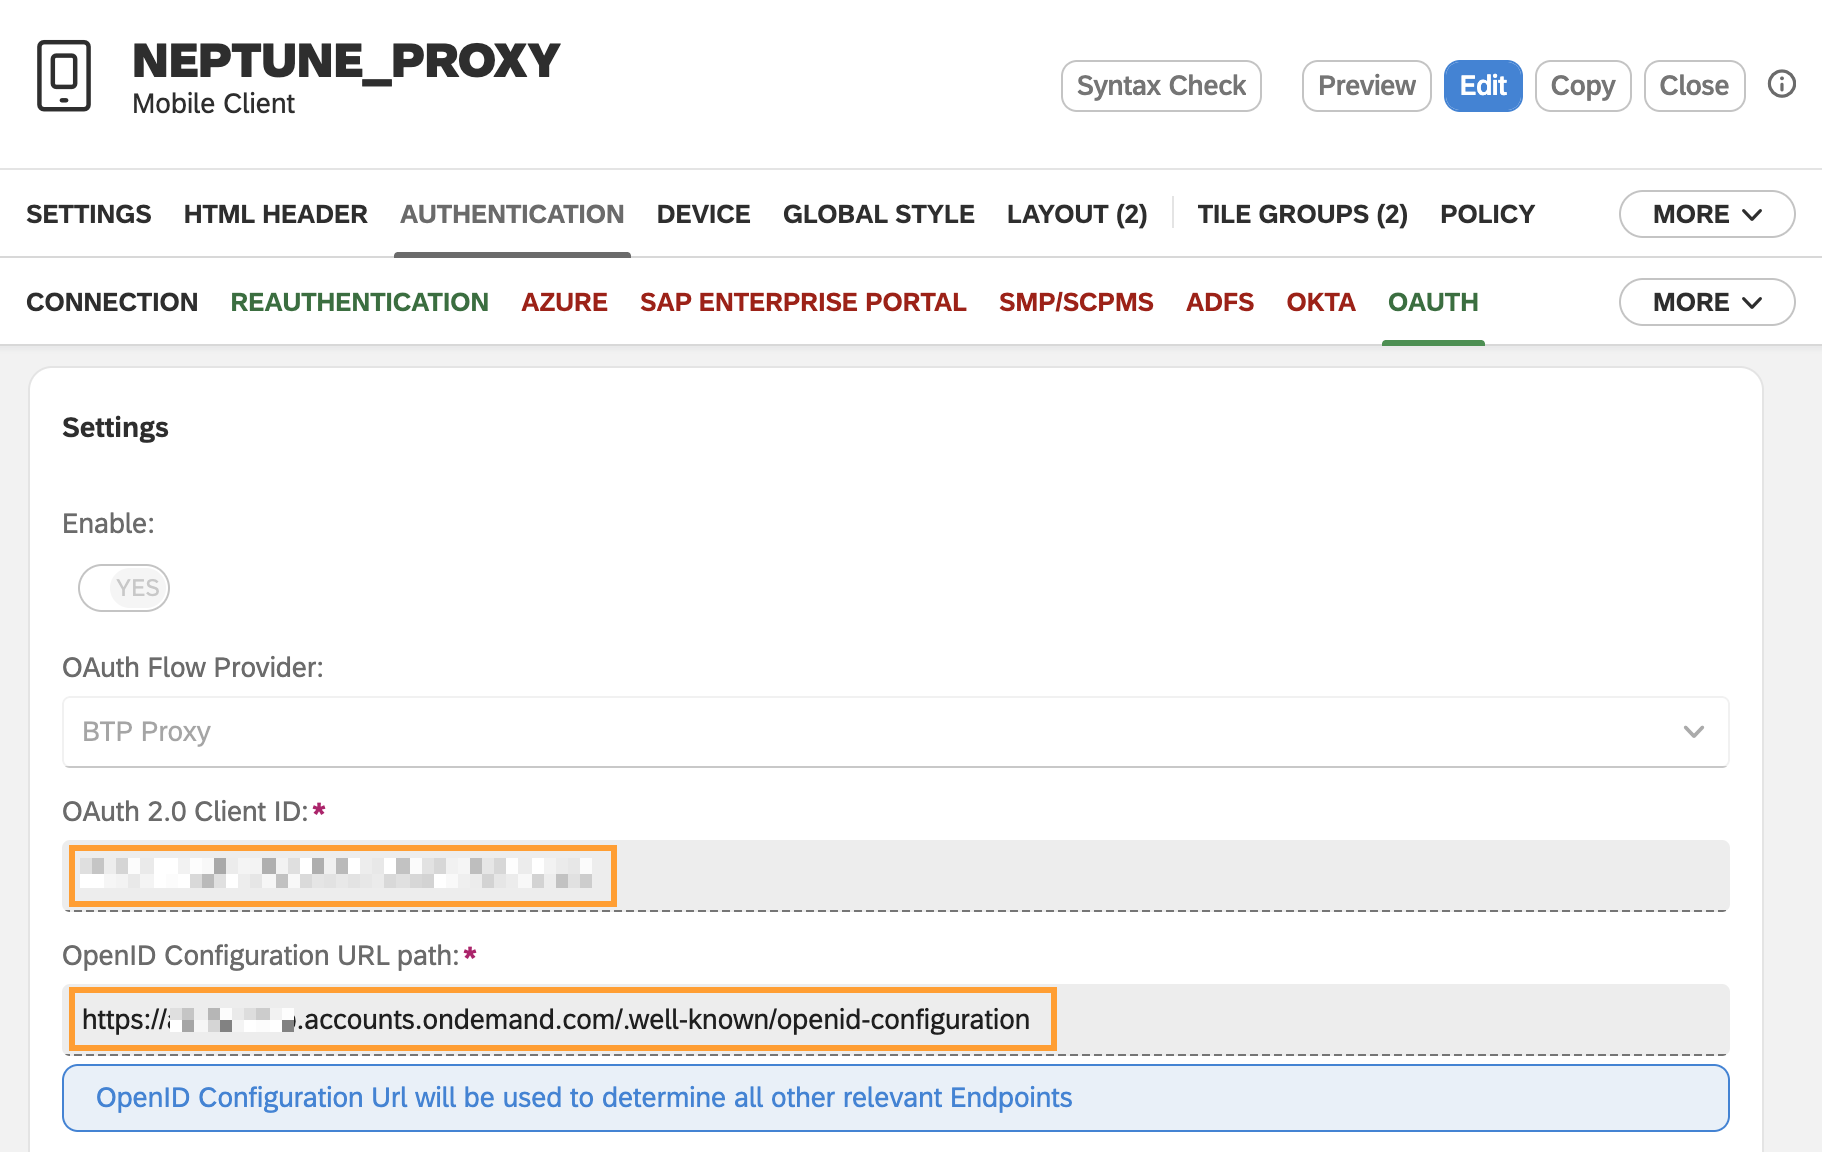
-
Create a new build and use the Neptune Mobile Services to create a new Mobile Client.