Use an OData Source in the App Designer
Once you have created and saved an OData Source, you can reference it in any app by attaching an OData model to the app’s resources and binding UI controls to entity sets or entity types.
Prerequisites
-
You have created and saved an OData Source in the OData Source tool. See Create an OData Source for a same-system service or Connect to a remote system via HTTP Destination.
Procedure
Attach the OData model
-
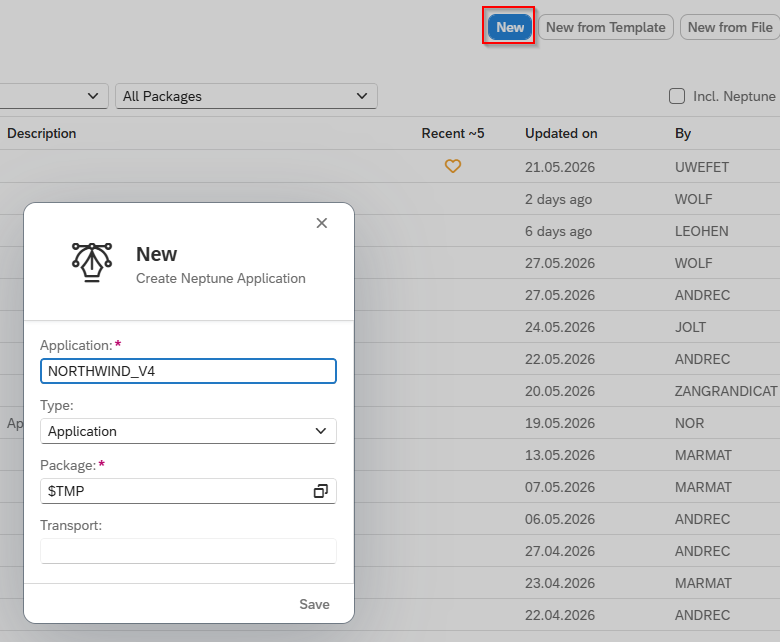
Create a new app in the App Designer.
-
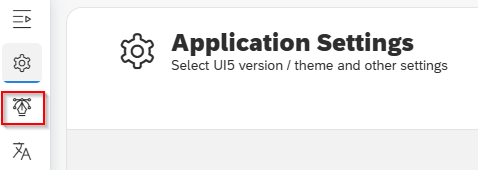
Since there are no settings to be changed in Application Setting, go to Designer.
-
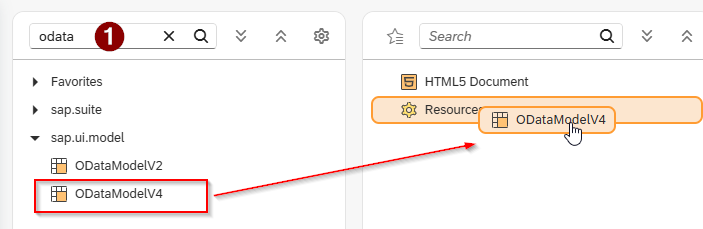
In the object search field of the Component library, type
odata.Result: The model objects ODataModelV2 and ODataModelV4 appear.
-
Drag the appropriate model — ODataModelV2 or ODataModelV4 — into the Application tree.
-
Select the new model entry.
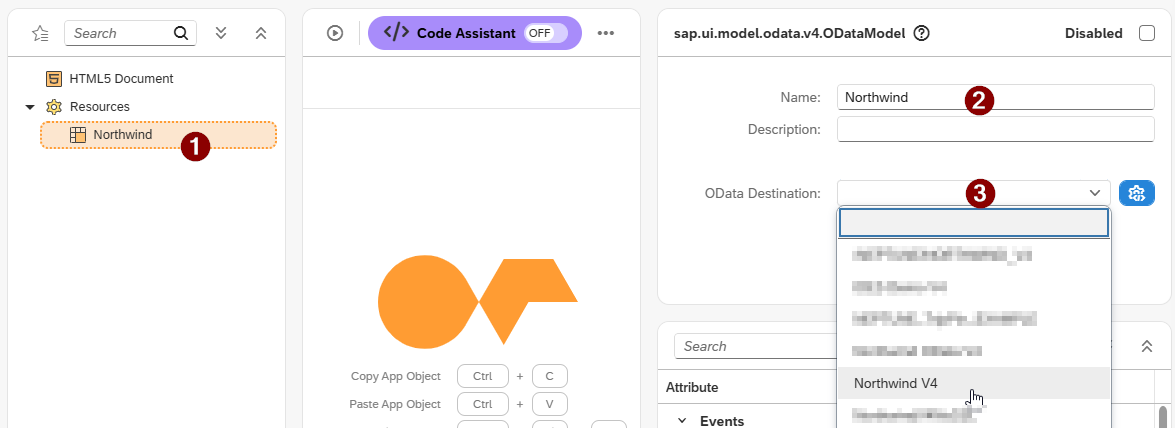
In the Properties pane:
-
Give the model a descriptive name.
-
In the OData Destination drop-down, select your OData Source.
-
Bind a UI control to an entity set
-
Drag and drop the UI elements
App,Page, andTablefrom the Component library into the Application tree, each as subitems. -
Open the binding dialog for the element.

-
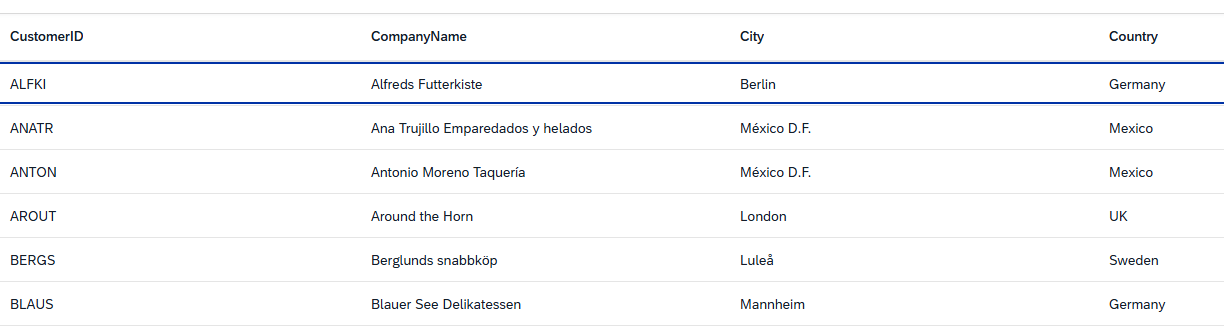
Expand the entity set tree for your OData Source and select the target entity set, for example
Customers.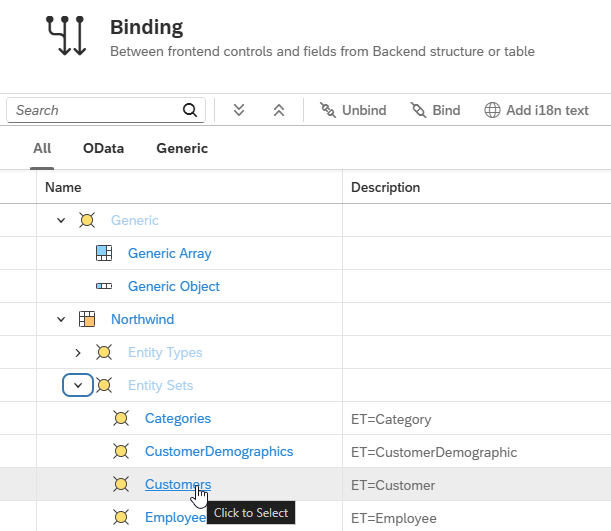
-
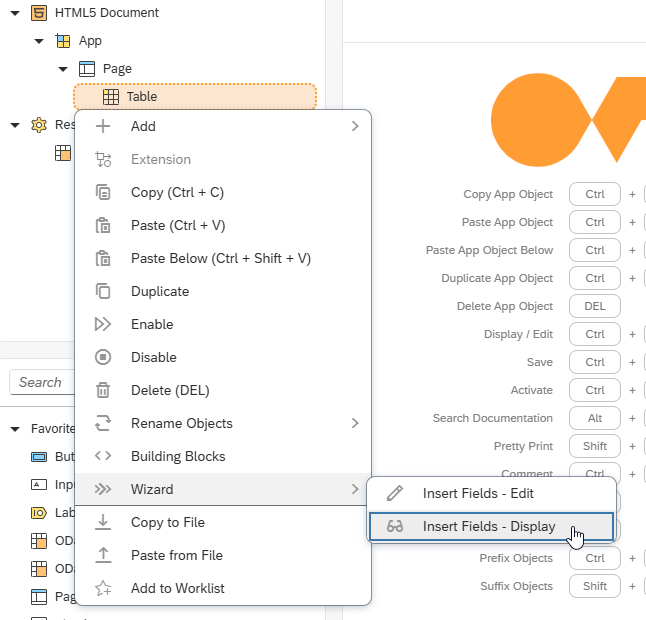
To add bound fields automatically, right-click the element (for example, the
Tableobject) and choose:-
Wizard → Insert Fields – Display for read-only fields, or
-
Wizard → Insert Fields – Edit for editable fields.
-
-
In the field selection dialog, choose the fields to include and adjust column header labels as required.
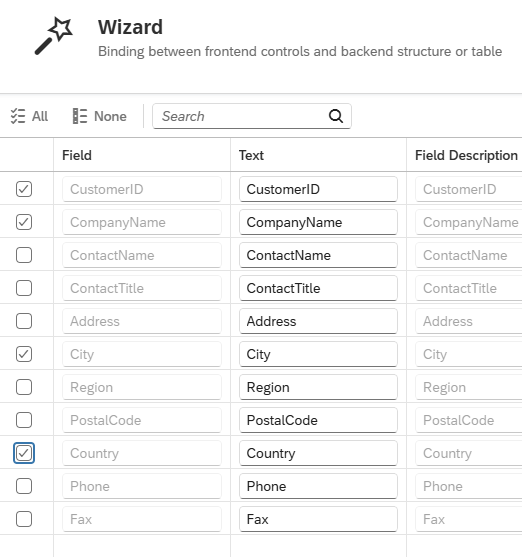
Selected OK, bind selected fields.

Binding approach: OData model vs intermediate JSON model
When binding a UI control to OData data, there are two approaches.
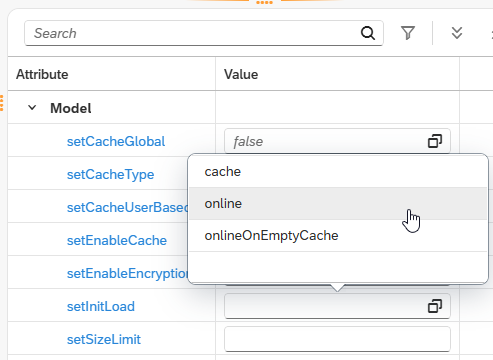
Direct OData binding: the UI control talks directly to the OData model. OData read, sort, filter, and navigation operations work natively without additional JavaScript. This is the simpler approach for online scenarios.
Intermediate JSON model: the OData read operation pulls data into a local JSON model, which is then bound to the control. This enables offline scenarios because the JSON model can be cached locally. However, write operations (create, update, delete), sorting, and filtering against the OData service require manual JavaScript implementation.
| In Neptune DXP - SAP Edition, OData handling was originally designed around JSON models. Direct OData binding is fully supported for read scenarios but requires a solid understanding of OData mechanics for more advanced patterns involving CRUD operations. |