Create and use event listener and event trigger
Prerequisites
-
You are familiar with scripts
-
You are familiar with the App Designer
-
You have understood the basics of Events
Procedure
The purpose of this guide is to show you how the neptune.events.Trigger and neptune.events.Listener work together. In this guide we will create two Events where the event listener will run custom functions and be triggered once the trigger event initiates.
Step 1. Set up first event
-
In the Cockpit, select the Events tool.
Result: The Create Event dialog opens.
-
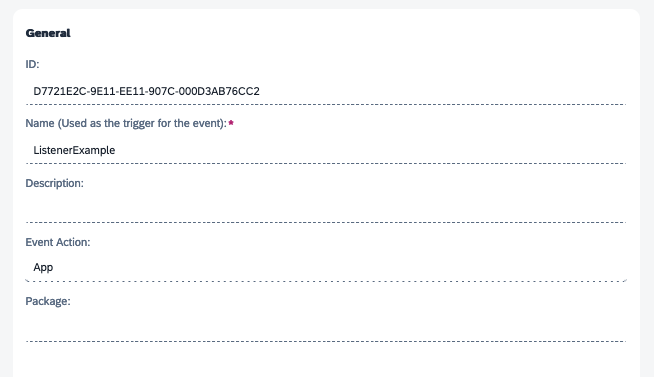
In Name, enter a meaningful name for the event. This name is used as the trigger the event. In this example, the name is ListenerExample.
-
Select Create.
Result: Result: You start in the General tab of the event.
-
In Description, enter a meaningful description for the event.
-
In Event Action, select App.
-
If desired, in Package, assign a development package of artifacts to the event.
Result: This Event will work as a "listener" and will trigger custom actions that we will set.
Step 2. Set up script for the second event
-
Open a Project and add a new script.
-
Give it a name. In this example, the name is app.js.
-
Add the logic.
The script will accept the payload and update a given table. Once that is done, we can pass data to the ListenerExample Event and process it anyway we desire.
try {

    const eventResponse = {
        process: payload.process,
        data: null,
    }

    switch (payload.process) {
        case "updateTable":
            await entities.inspections_terry.createQueryBuilder()
                .update()
                .set(payload.data.change)
                .where("id = :id", { id: payload.data.id })
                .execute();
            eventResponse.data = {"status":"Update has occurred!"}
            break;
        default:
            log.error("Process not handled:", payload.process);
            break;
    }

    await p9.events.publish("ListenerExample", eventResponse) // this function initiates the event listener
    complete();

} catch (err) {
    log.error(err)
    complete();
}| In this example, we have dragged and dropped a Table in the script. |
Step 3. Create the second event
-
In the Cockpit, select the Events tool.
Result: The Create Event dialog opens.
-
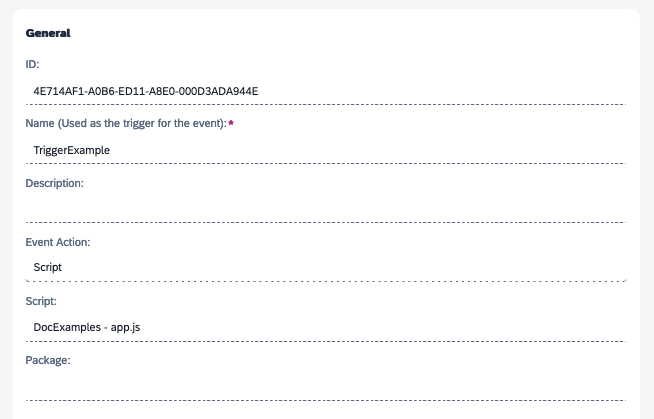
In Name, enter a meaningful name for the event. This name is used as the trigger the event. In this example, the name is TriggerExample.
-
Select Create.
Result: You start in the General tab of the event.
-
In Description, enter a meaningful description for the event.
-
In Event Action, select Script.
-
Select the script you have created.
-
If desired, in Package, assign a development package of artifacts to the event.
Set up the neptune.events components
For the neptune.events.Trigger:
-
In the App Designer, drag and drop a neptune.events.Trigger in Resources.
-
At event, select the trigger event. In this case, it is TriggerExample.
For the neptune.events.Listener:
-
Drag and drop a neptune.events.Listener in Resources.
-
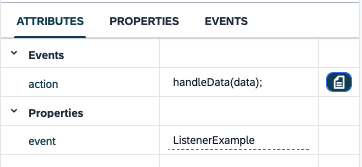
At event, select the listener event. In this case, it is ListenerExample.
Regarding how we handle the response we pass back to the ListenerExample, we will define a function that will be triggered each time ListenerExample is called.
In a script, paste the below:
function handleData(payload)  {
    switch (payload.process) {
        case "updateTable":
            const data = payload.data
            console.log("Response data from script: ",data)
            break;
        default:
            console.log("Not handled");
            break;
    }
}
Now, we need to refer this function in the actions of the neptune.events.Listener.
Execution
There are many ways to trigger this process. In this example, a button, once selected, will trigger the TriggerExample Event and pass data.
In the Press Event, add the following:
var payload = {
process:"updateTable",
data: {
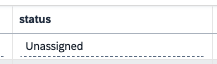
id:"EDC4F5BA-3DE0-4BE7-9B50-010D667CC684", // id of an entry located in the table
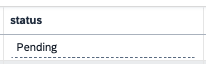
change: {
"status" : "Pending" // altering "status"
}
}
}
triggerEventTrigger(payload);