Add a new user
In this topic, you learn how to add a new user to your system.
Procedure
-
In the Cockpit, select the User tool.
Result: A table with all the users of the Neptune DXP - Open Edition instance is shown.
-
Select Create.
Result: The Create User dialog opens.
-
Enter information in the following fields:
-
Username
-
Name
-
Language
When you create a new local user, the default language is prefilled according to the language set for the system. To change the default language before creating a local user, select a different language in the Custom Settings tool. -
Password
-
Repeat Password
-
Language
-
Roles
-
-
Select Create.
Result: You start in the General tab of the user.
-
You can add additional information about the user.
-
You can select a validity for the user. This is used, if you want the user to expire automatically after a certain period.
The user is not removed once expired. It will become locked and marked as red in the user table. You can make the user active again by changing the Locked setting in the General tab. -
For an individual user when creating or assigning new or existing development packages to artifacts for a user, you can override mandatory development package selection that is configured globally in the System Settings tool via the checkbox Require Development Package for Every Artifact by selecting Disable Mandatory Development Package Selection for Every Artifact.
-
Select Default Development Package to prepopulate Package fields with a default development package in dialogs when creating and assigning development packages to artifacts for a user.
-
In the Role tab, you can add a role to the user.
You can define roles in the Role tool. -
In the Group tab, you can add a user to a security group.
-
In the API Token tab, you can generate an API token for the user. This is used to access Neptune API from an external server, as that user. You have the option to send a notification email a specified number of days before the user token and certificate are due to expire.
Keep this token secure. Don’t share it with anyone. It allows API calls to be authenticated against the system as the user, such as Core APIs or any other defined APIs. -
In the Activity tab, the log will capture the following events: user login, user logout, and user redirection when logging in with an identity provider (IdP). Possible results of these actions include: Locked, Expired, WrongPassword, InvalidToken, or Success.
-
Select Save.
Optional
-
The Custom tab will be visible within the user interface, if an application is selected within Custom Settings → General → Enhancements → User Management. The selected application will be loaded within the tab. See Custom Settings.
-
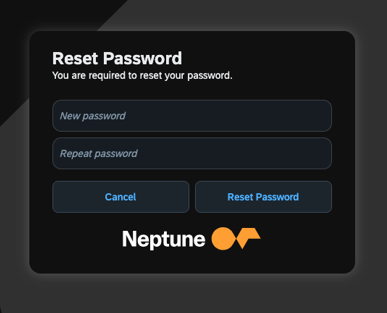
To prompt the user to set a new password during their next login, which applies when the password is set to expire, select Reset Password at Next Login.
