Sending notifications from SAP to mobile devices
Introduction
In this guide, you can find detailed steps for Pushwoosh set-up and use.
It is possible to send notifications on Mobile devices from SAP System. But for this, a mediator (or a middle-man) is always required between Mobile clients (users) and SAP system.
For this SAP allows the admins to have some SSL connections established with third-party tools using SSL certificates from STRUST transactions. Even SAP has one mediator tool for Mobile Clients called SAP Mobile Platform (a.k.a SMP). Also, there is another tool like Pushwoosh which can also be used.
Procedure
Set up Pushwoosh
Pushwoosh is a tool that helps to handle customised notification on
mobile clients. It covers Push Notifications, In-App messaging and also
Web-Push Notifications.
To set-up:
-
Go to https://www.pushwoosh.com/ and create an account. A 15-day trial account is available for free, but for commercial purpose, the companies must sign up the for licensed versions.
-
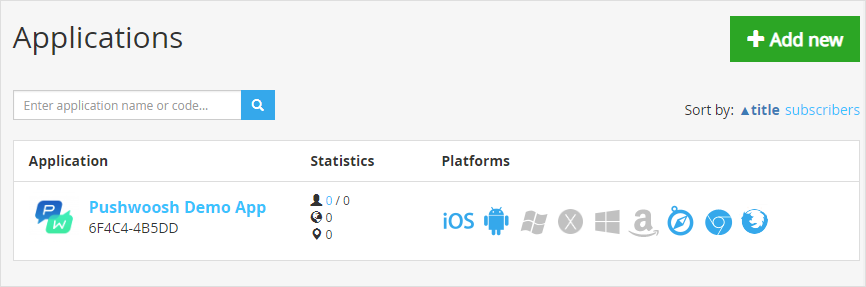
Once logged in, click on Applications:

-
To create a new application, click on ‘Add New button'
-
Give the app a name and ensure that “Allow all API tokens to communicate with this App” is checked.
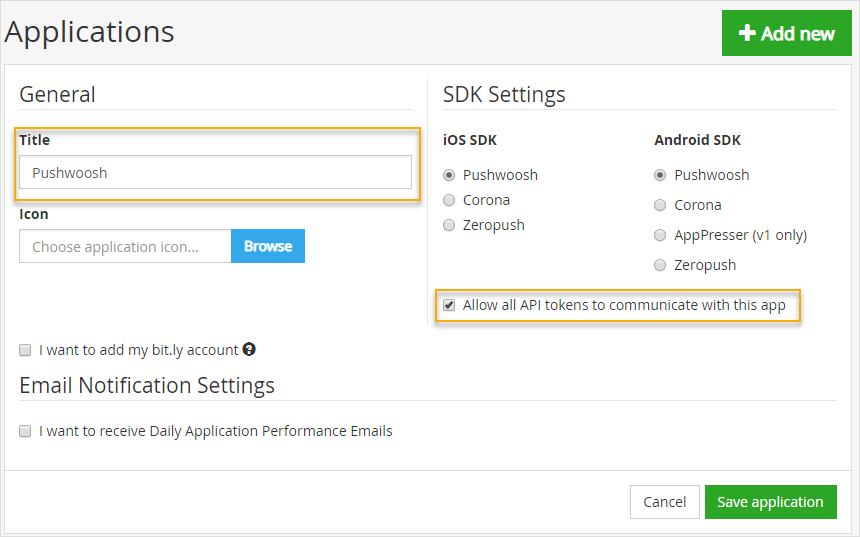
Save the application.
Now configure the platform for your application.
Android Configuration
Setting up Pushwoosh for Android is a 2-step process
Set-up Firebase
Firebase is a backend platform for building Web, Android and IOS applications. It offers real-time database, different APIs, multiple authentication types and hosting platform. Firebase can power your app’s backend, including data storage, user authentication, static hosting, and more. Focus on creating extraordinary user experiences. We will take care of the rest. Build cross-platform native mobile and web apps with our Android, iOS, and JavaScript SDKs. You can also connect Firebase to your existing backend using our server-side libraries or our REST API.
Create a Firebase project for your SAP system
-
Go to https://console.firebase.google.com/ (might need to create a new Google ID)
-
Either follow the instructions here, or
-
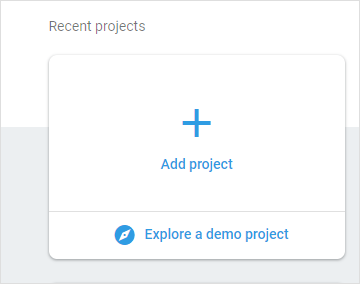
Click on “Create Project”
-
Give a name for the project and select the region
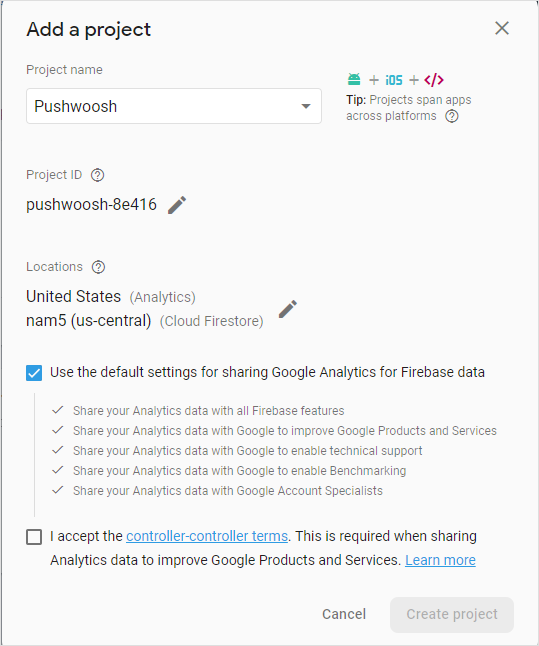
It’s up to the customer’s policy to share Firebase data to Google Analytics. Click on Continue to complete the Project creation.
-
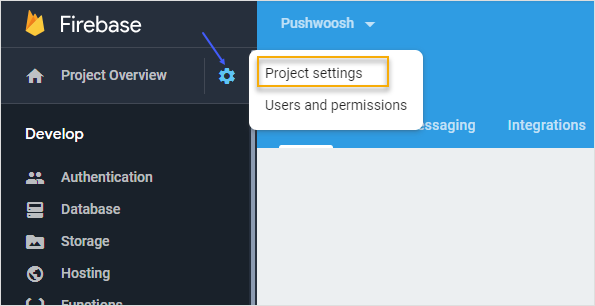
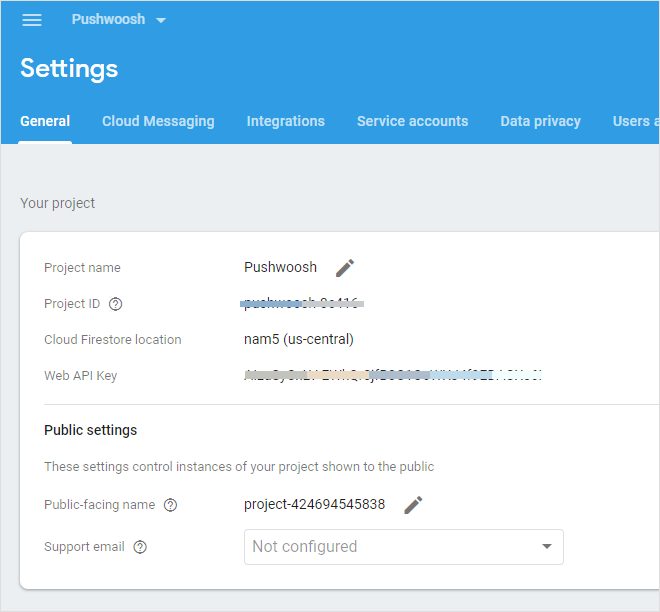
Once the Project is created, from the left menu, open Project Overview → Project Settings
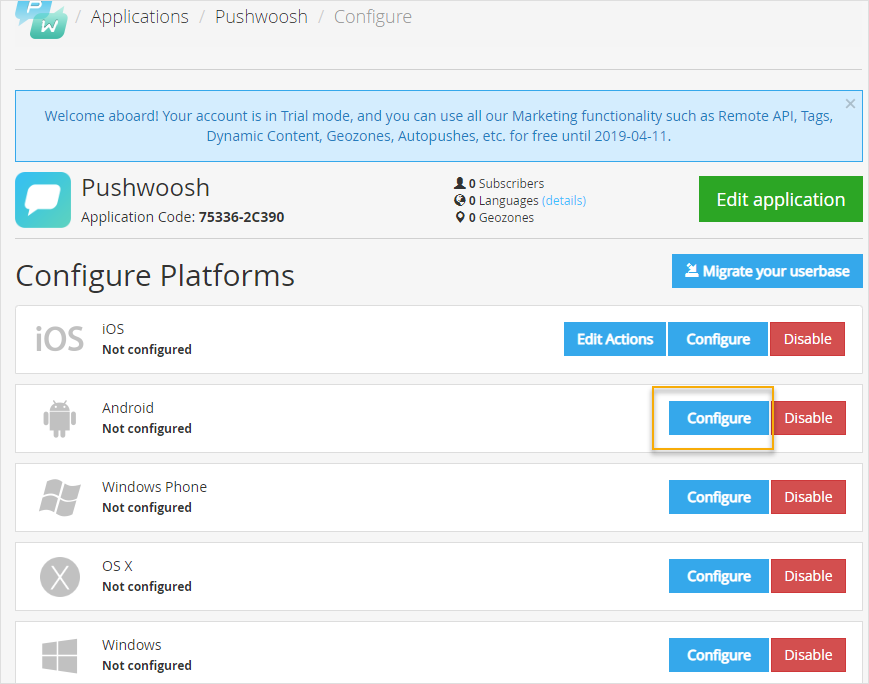
Firebase Project is set up, now go to the Pushwoosh application configuration ( https://go.pushwoosh.com/v2/applications/ )and select the configure button for Android platform.
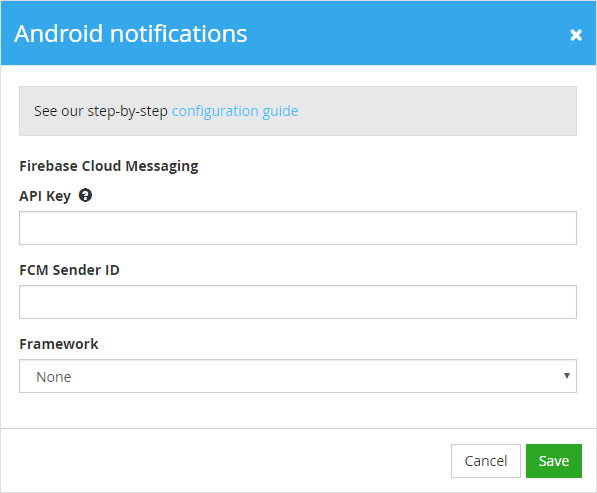
This will open the pop-up window for adding the firebase configuration, which we have generated while creating the Firebase Project.
-
From the Firebase project, under Cloud Messaging tab, get the Server Key.
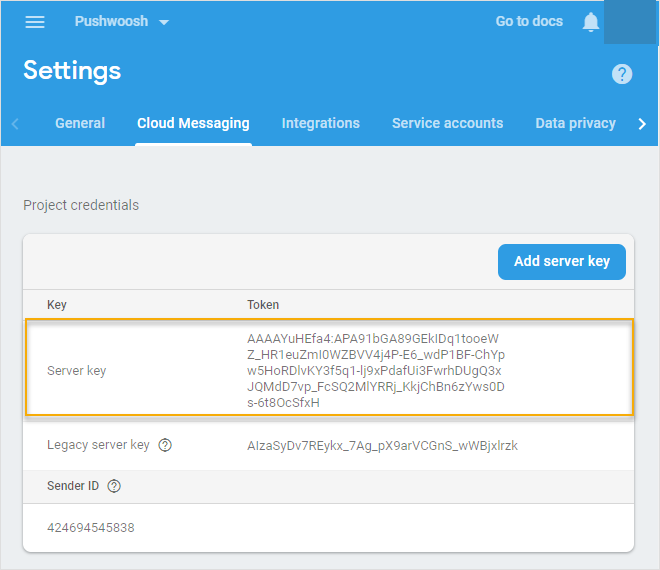
The server key will be the API key for Pushwoosh.
-
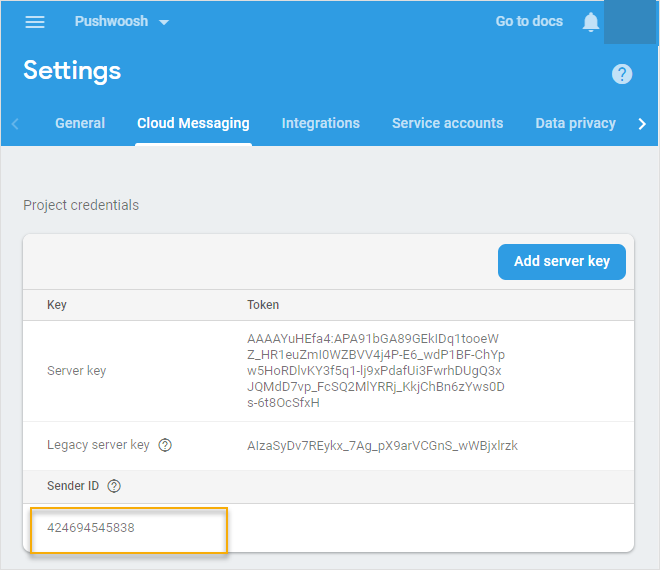
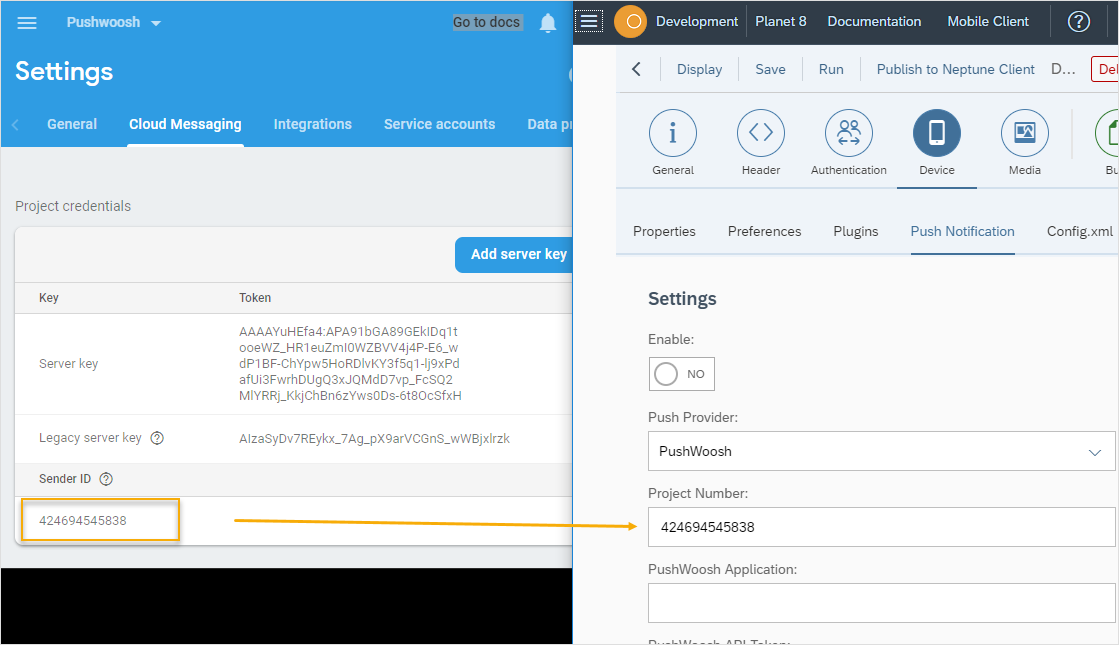
From the same tab, copy ‘Sender ID’, This Sender ID goes into ‘FCM Sender ID’ of Pushwoosh.
-
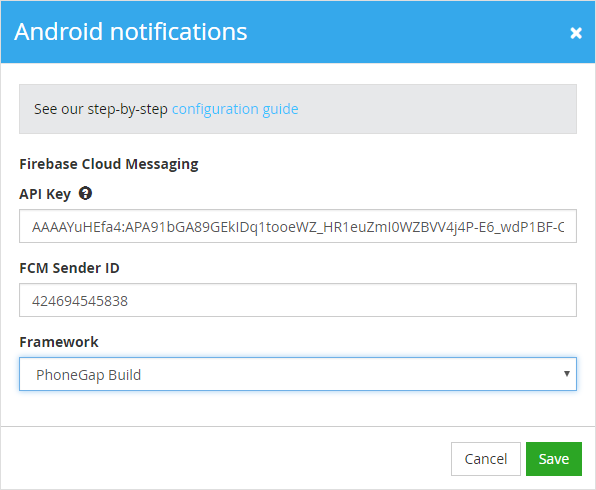
Choose ‘Phonegap Build’ as a Framework for Pushwoosh.
-
Now the Pushwoosh configuration will look like
Save the configuration.
-
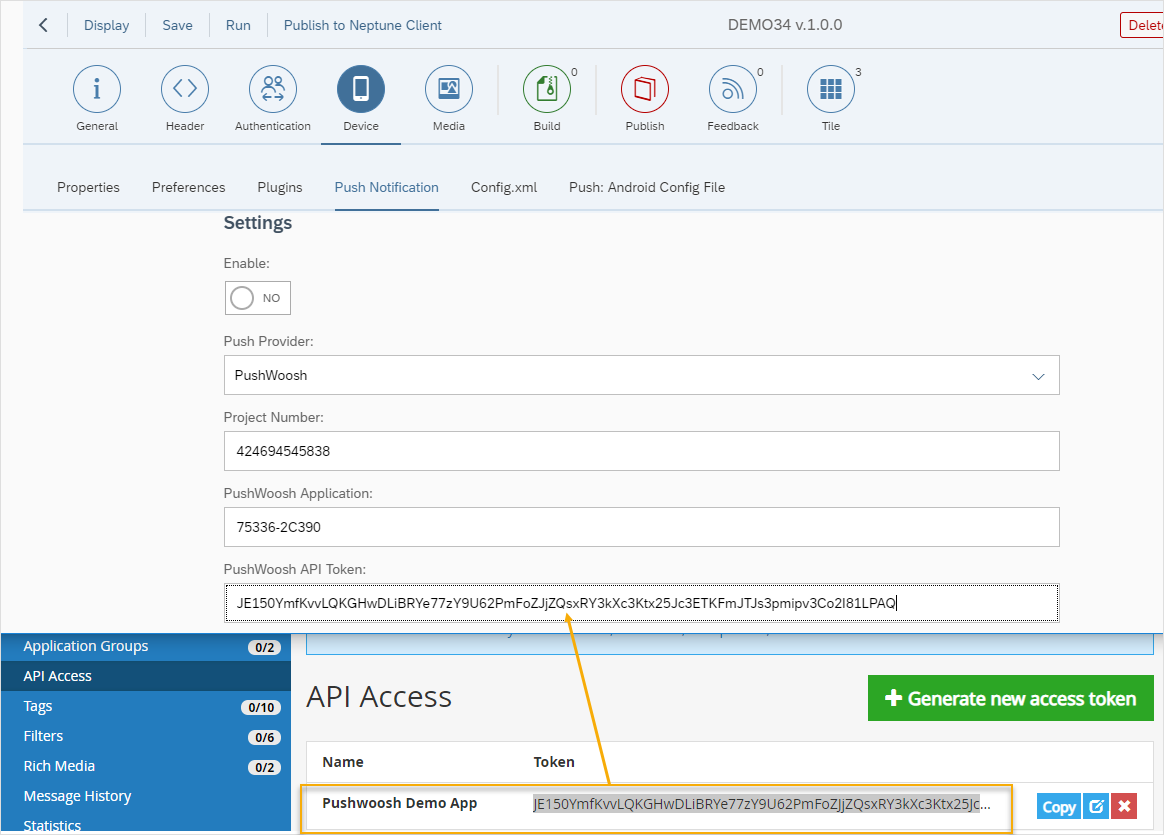
Create API Access Token in Pushwoosh: choose the option of API Access in Pushwoosh
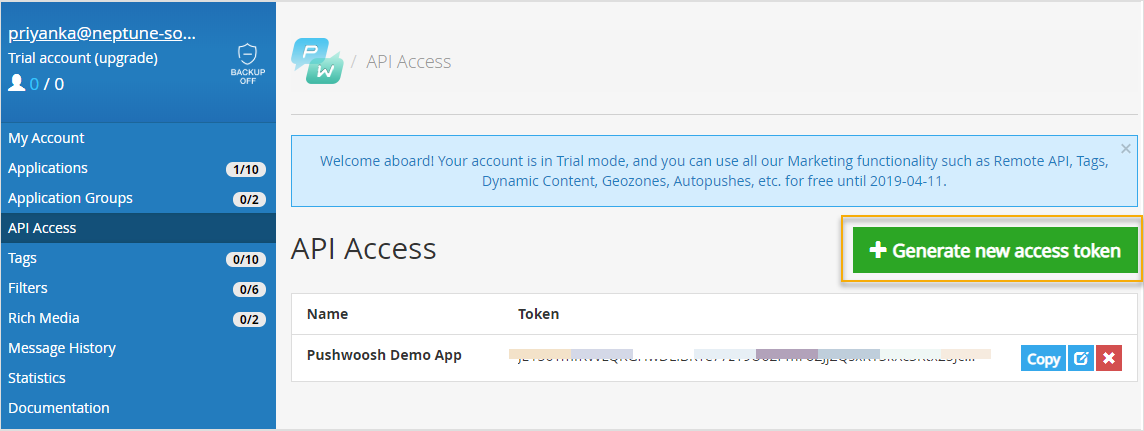
Note: For Trail account, users can create only one access token. For trial accounts, users can just edit the existing token to include the Pushwoosh Apps by clicking on Edit button

-
Add the Pushwoosh app into the access token.
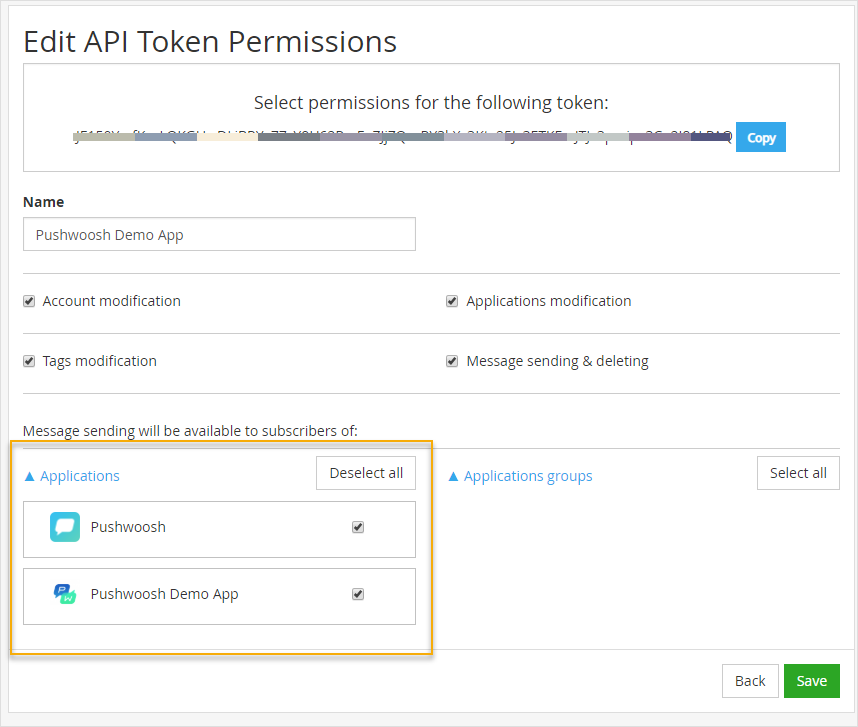
Save the access token.
Set-up SAP (STRUST)
Once Pushwoosh Set is completed, it is required to add SSL Certificates to SAP System.
To get an SSL Certificate:
-
Open Pushwoosh website (www.pushwoosh.com) or continue with the existing Pushwoosh session.
-
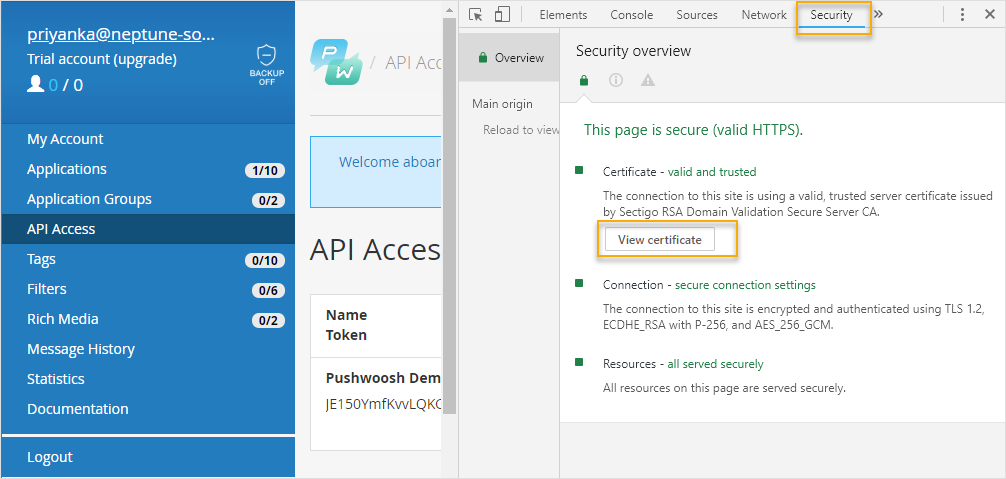
Open Developer Tools in the Browser and Open ‘Security’ tab.
-
Security’ tab shows the Certificate status, as well as a certificate, can be seen by clicking on the ‘View Certificate’ button.
-
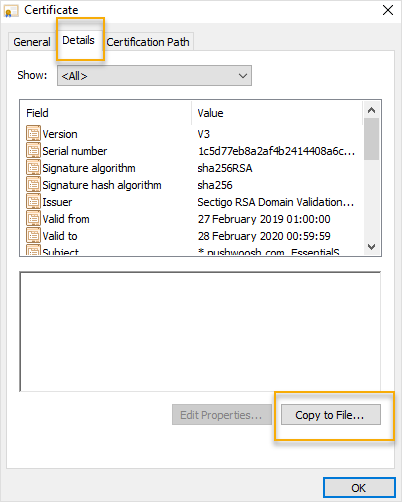
A pop-up comes with Certificate data. Export the Certificate as a file: Go to ‘Details’ tab and click on ‘Copy to File’ button.
-
A Certificate Export Wizard comes up and clicks to reach the Export File Format option.
Now, select ‘DER encoded binary X.509 (.CER)’ format
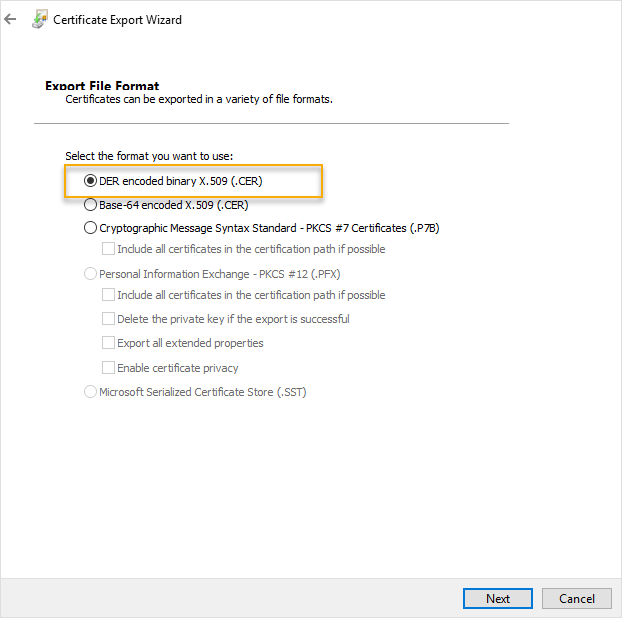
Click Next, give a file name and browse the location where the certificate file is to be saved. Click Next again and Finish to download the Certificate.
-
STRUST configuration: Login to SAP and open transaction code STRUST.
-
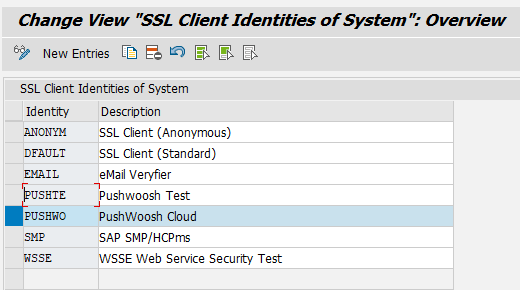
In the Menu - Environment → SSL Client Certificates. Create a new one for Pushwoosh - PUSHWO:
A Confirmation message confirms the successful export.
-
Go back to the main screen. A new entry can be seen in Trust Manager
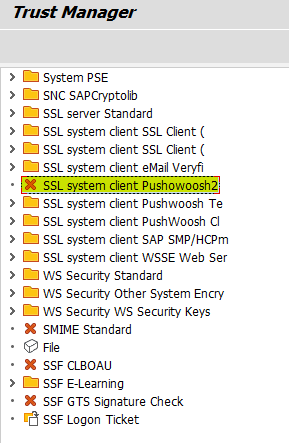 on the newly created entry and select ‘Create’. A pop-up comes up with
auto-filled data, click continue.
on the newly created entry and select ‘Create’. A pop-up comes up with
auto-filled data, click continue.
-
In the certificate section, click ‘Import Certificate’ to import the Pushwoosh SSL certificate
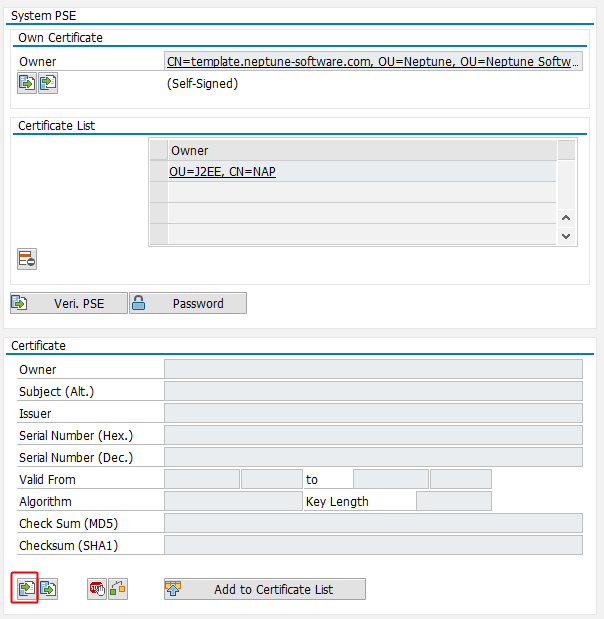 through the File system and select the certificate file that was
downloaded previously. Once imported, The Certificate data will be
reflected in Trust Manager.
through the File system and select the certificate file that was
downloaded previously. Once imported, The Certificate data will be
reflected in Trust Manager.
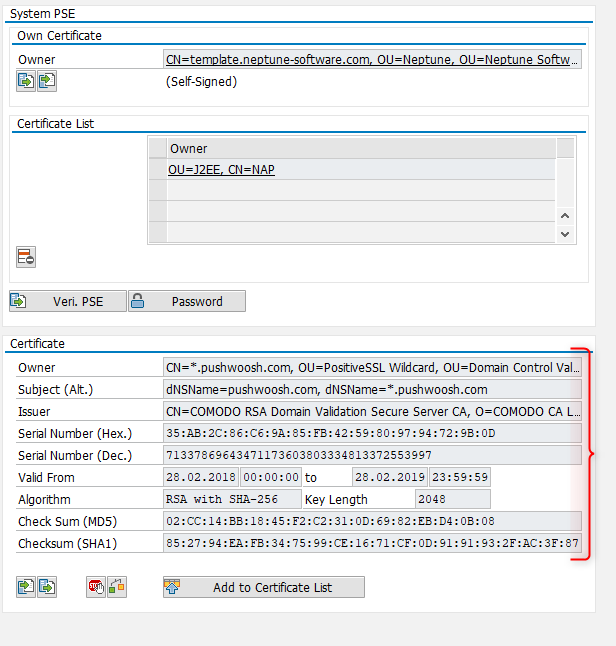 finally, click on the ‘Add to Certificate List’ button and Save the
changes in STRUST transaction.
finally, click on the ‘Add to Certificate List’ button and Save the
changes in STRUST transaction.
Set-up Neptune Mobile Client
After the set-up of Pushwoosh and SAP (STRUST), it’s time to set-up the Neptune Mobile client for Push Notifications.
Restriction: Push Notification set-up works only for Neptune Mobile Client
-
Open any Mobile client and under the ‘Device’ tab, a sub-tab named ‘Push Notification’ is available.
-
Pushwoosh Application = Application ID from Pushwoosh
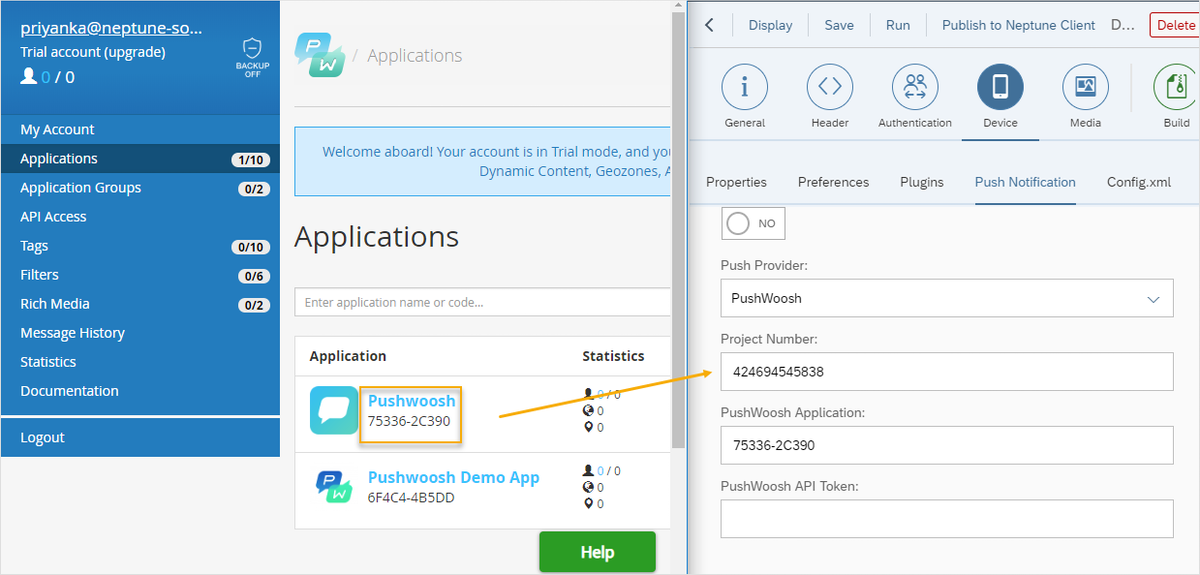
-
Pushwoosh API Token = API Access token from Pushwoosh
Note: The Sender ID, API Token and Pushwoosh Application IDs can be reused for all the Neptune Launchpad.
-
Save the Launchpad and Build the Mobile Applications using PhoneGap Build and distribute the set-up to the end-users.
Note: If there are any changes made with respect to Push-Notifications to the Launchpad, it is mandatory to rebuild the application from PhoneGap and re-distribute the application files (.apk or .ipa) to the end-users.
Using Push Notifications in Neptune Applications:
To use Push Notifications by Pushwoosh from Neptune Applications, Neptune provides a function module ‘/NEPTUNE/PUSH_PUSHWOOSH’. On the Actions on front-end, this function module can be executed in the back-end Application Class to trigger the notification:
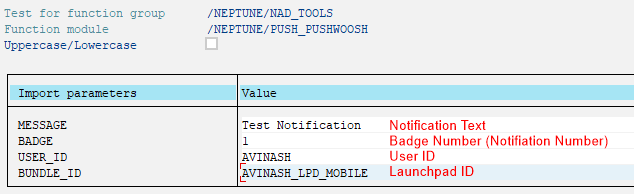
This function module will check if the Pushwoosh API Token is configured for the Launchpad ID and Will send the Notification to the devices where the launchpad application is installed (and logged in at least once with the given user ID).