Android Guide
Disclaimer: This blog guides you through the packaging of the Android App using Cordova CLI.
Prerequisite Setup
-
Install Java JDK and setup the Environment Variable "JAVA_HOME" to point to the install directory: https://docs.oracle.com/cd/E19182-01/820-7851/inst_cli_jdk_javahome_t/index.html
-
Install node.js and npm: https://nodejs.org/en/download/ and guru99.com/download-install-node-js.html#2
-
Install Cordova CLI: cordova.apache.org/docs/en/latest/guide/cli/index.html#installing-the-cordova-cli
-
Install Android SDK, the easiest way to do this is to download and install Android Studio: https://developer.android.com/studio (This will also allow you to run emulators to test your apps on a desktop)
-
[optional] Create a signing key for Android Apps
(using Window-10 Operating System)
Open Command Prompt as Administrator, and run the command within your Java directory:
keytool -genkey -v -keystore [keystore_name].keystore -alias [alias_name]
-keyalg RSA -keysize 2048 -validity 10000
This will generate a keystore file in the file directory of JAVA_HOME
While in this process, the Command Tool asks for little information like keystore password, organizational info and key password.
Keystore password and key password are important to be remembered as this will be required while signing the APK package.
-
[optional] Create a link file for use with the singing key
Create a file named 'release-signing.properties' with following lines:
storeFile=<keystore file path>
Type=jks
keyAlias=<keystore Alias name>
keyPassword=<key password>            //optional
storePassword=<keystore password>        //optional
Keep the keystore and properties files ready to be used.
-
[optional] Install Git on OS - required if you have plugins being referred from github: https://www.atlassian.com/git/tutorials/install-git
Android Build
Get Phonegap Build
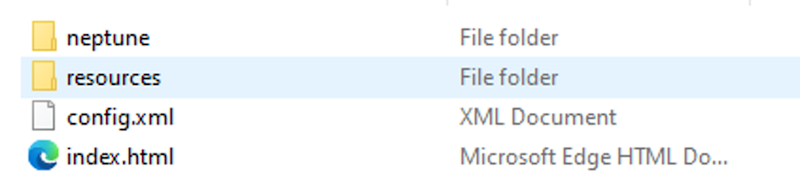
Get the Phonegap Build .zip file for the Mobile Client from Neptune Cockpit. This zip shall provide you following files:
-
folder 'neptune' has all the required dependency files for Neptune Mobile Client (May also be named 'public')
-
folder 'resource' has all the media pack files (May also be named 'res')
-
index.html is the main HTML file that is a wrapper for the Neptune Mobile App
-
config.xml has platform-dependent configurations, including a list of Plugins and icons of the App
Android Project
-
Here we should be using Command Prompt (Windows-10) in Admin Mode.
-
Create a new Cordova Project with Cordova Command
cordova create myAppName com.<namespace>.<myAppName> myAppName
-
Navigate the control the created folder myAppName
-
Move files from Phonegap Build .zip file to cordova project
-
Copy and replace index.html into <project_folder>/www
-
Copy "neptune"/"public" folder into <project_folder>/www

-
Copy resources folder into <project_folder>
-
Copy and replace config.xml into <project_folder>

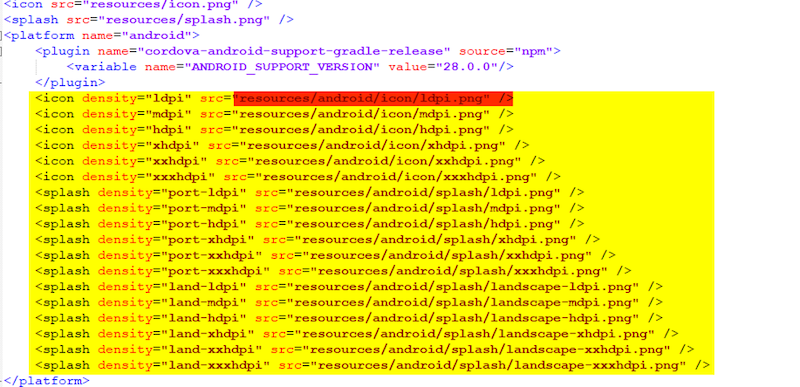
| Folder resources have all the icons and splash-screens for the App. The path is relative and is being referred in config.xml. The path must be updated to match with the resource folder directory path: |
-
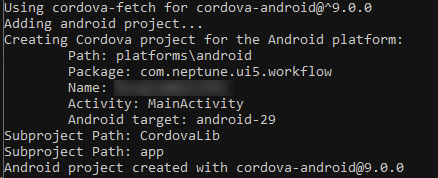
Add platforms data: In this case - android, in the CLI directory created in the previous step
cordova platform add android
-
This will create more files and folders within the directory, required for the Android Platform (If you experience errors here, try running "cordova requirements" to see what you might be missing)
-
Include the signing key files into platform folder created in prerequisite steps

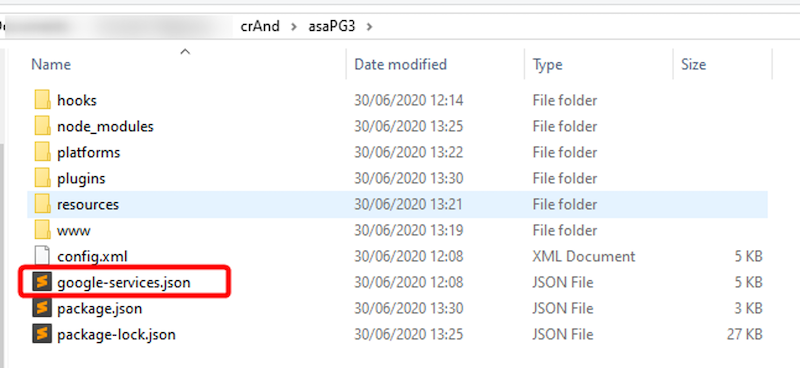
Using Push Notifications
If you are using push notifications, then certainly you would have Android Config File 'google-services.json' from the Phonegap Build .zip file. Copy the file into the root directory of the cordova project:
Build the APK package
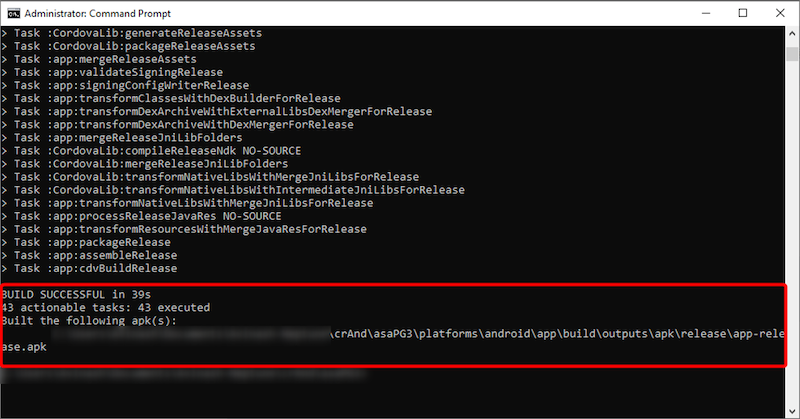
Run the cordova command to package and sign the Android App:
cordova run android --release -- --keystore=C:/.../<keystorename>.keystore --storePassword=<...> --alias=<...> --password=<...>
For debug mode (pre-release) use the command:
cordova build android --debug
It takes a while to build the complete package, but once done, you should be able to get the following confirmation on Command Prompt