iOS Key Creation
Disclaimer: The goal of this documentation is to provide you a guide on how to create a developer certificate and provisioning profile for your iOS Mobile applications.
Get UDID from users
The provisioning profile must include all the device IDs that you want to debug (UDID). You have to ask all you user to collect the UDID on their iOS device and send the UDID to you! Use this service: https://get.udid.io
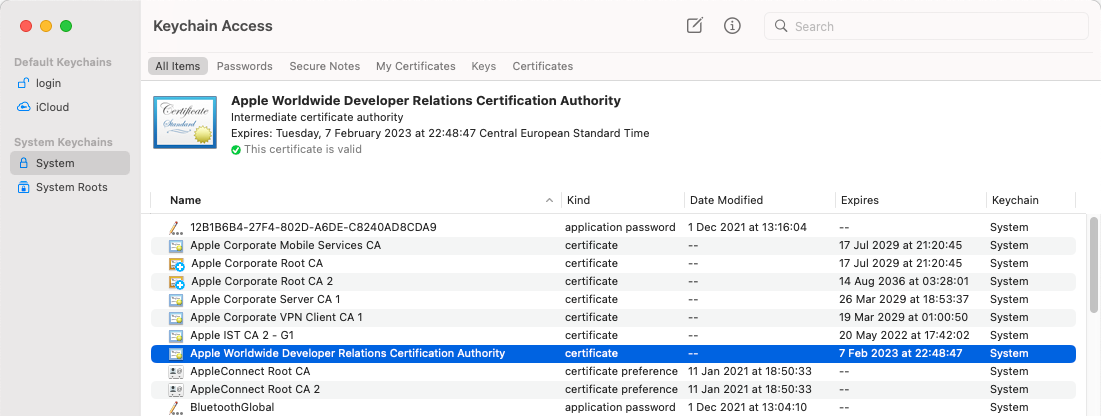
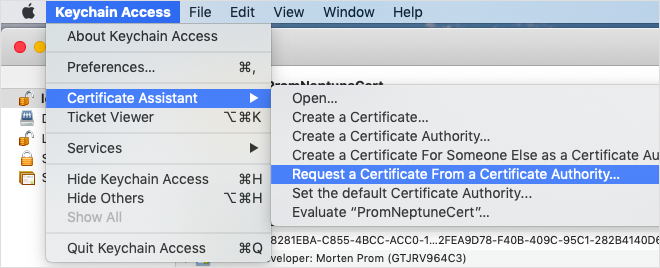
Create Certificate Signing Request
First you need to create a certificate. Open the Keychain app on your Mac. Keychain Access has been moved around a little bit, from Applications - Utilities to Applications - "Other" and now after the introduction of the Passwords app it is no longer in the applications folder at all. Keychain Access is still a part of macOS Sequoia, however it has been hidden and must now be opened via Finder in /System/Library/CoreServices/Applications/Keychain Access.app. Choose the "Apple Worldwide Developer Relations Certification Authority" certificate.
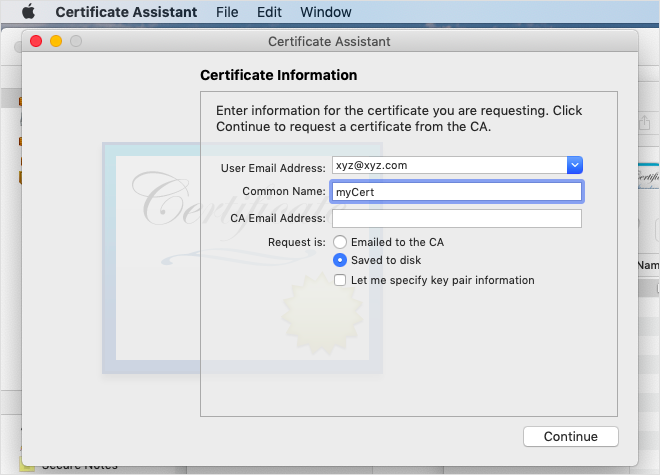
Create a certificate and save it on the Mac:
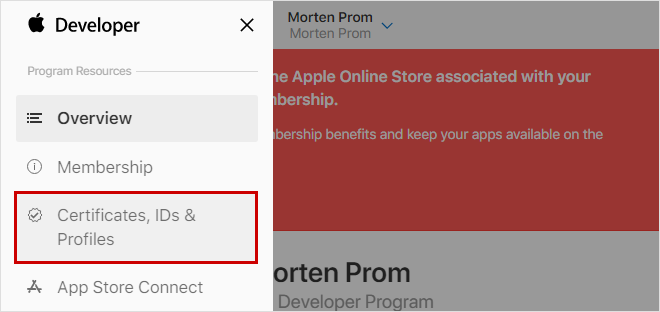
Go to the Apple developer site: https://developer.apple.com/develop/. Sign in or create an account. Go to the area for certificates.
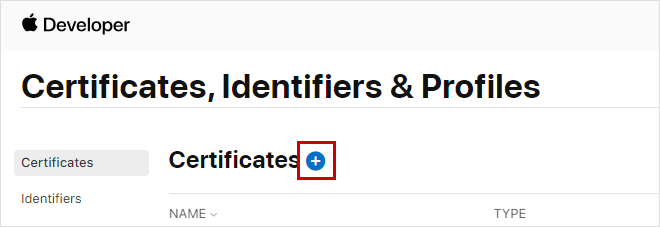
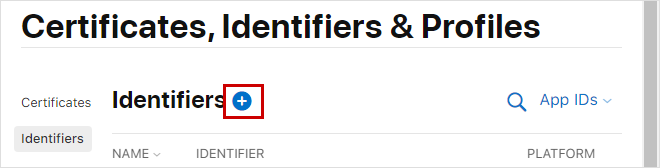
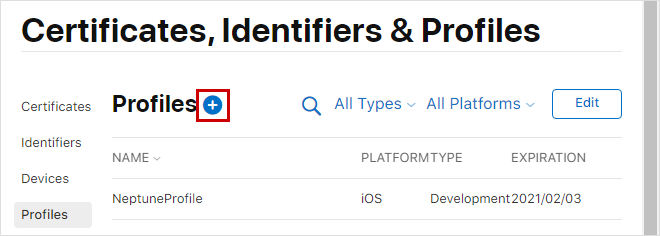
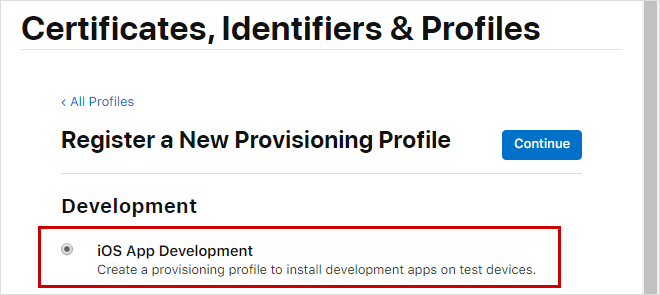
Choose on the add button (+):
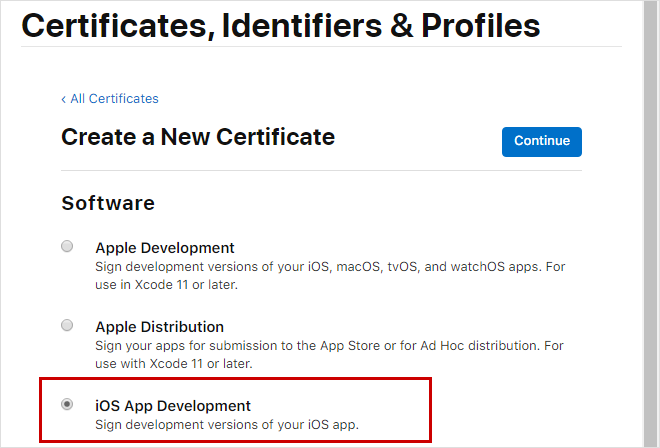
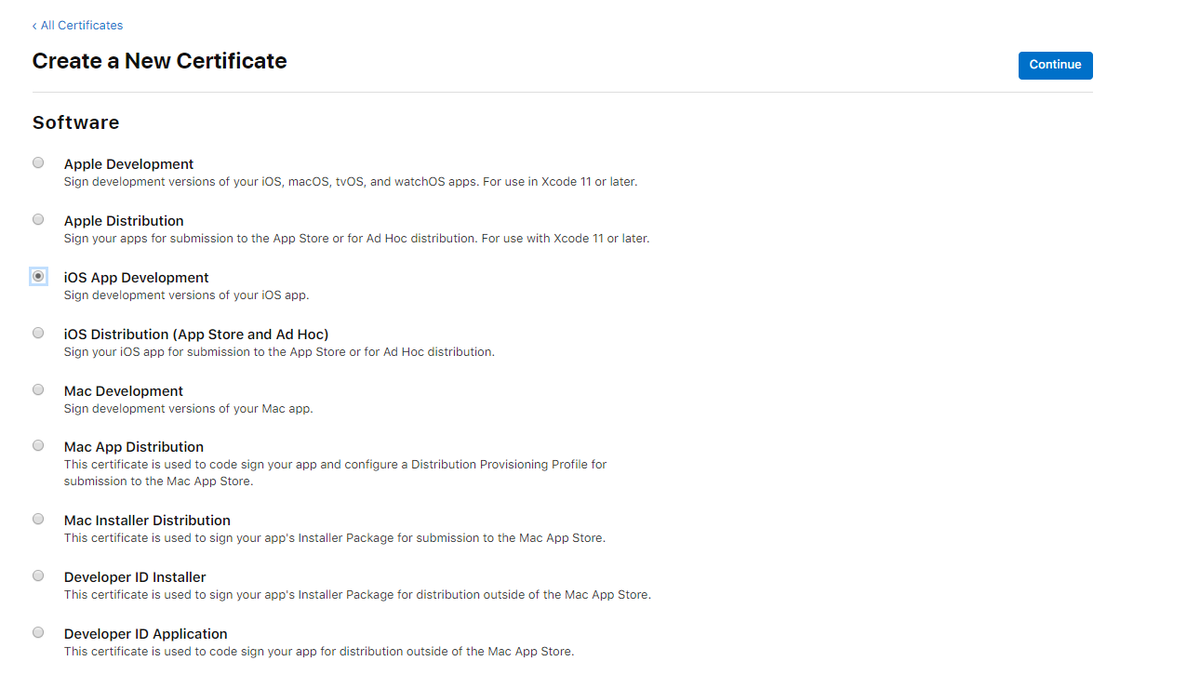
A lot of options, you want the "iOS App Development".
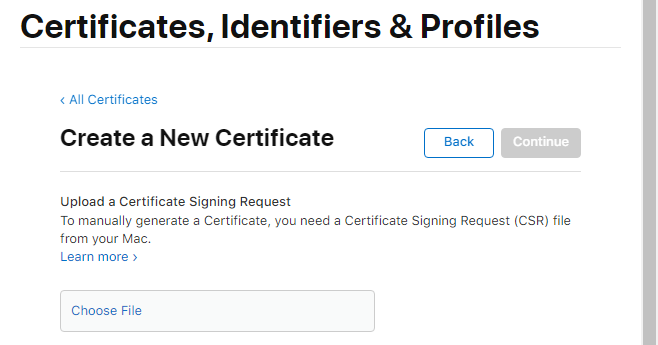
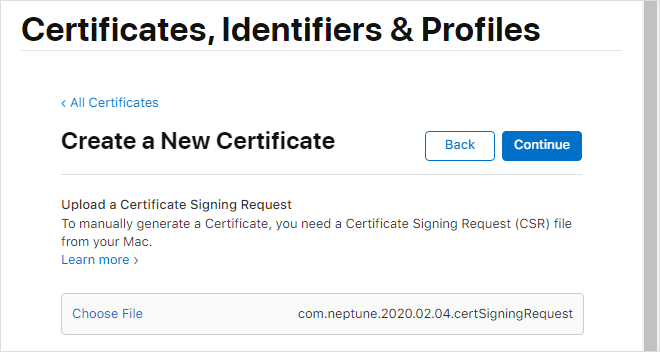
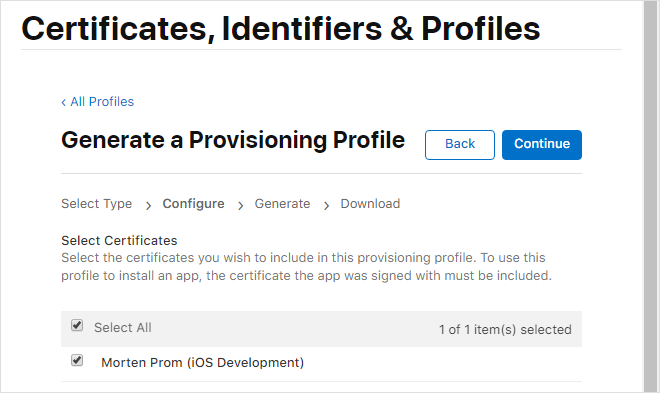
Upload the Certificate Signing Request file you created on your Mac, xyz.certSigningRequest.
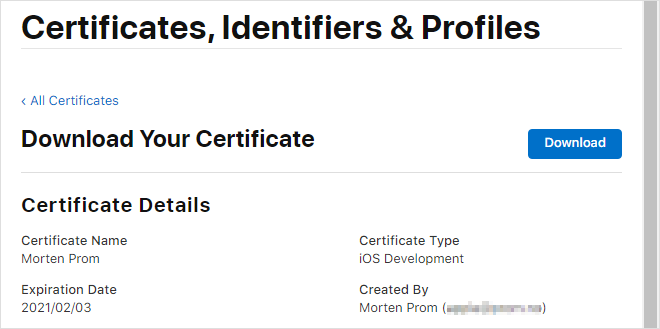
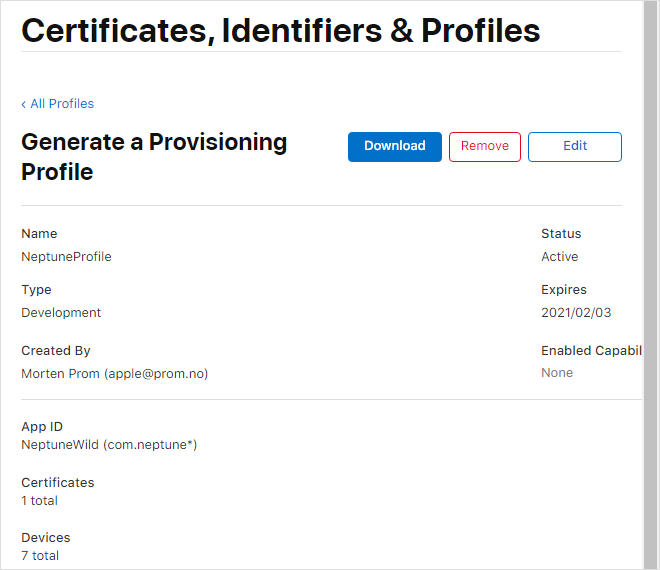
Download the generated certificate, xyz.cer:
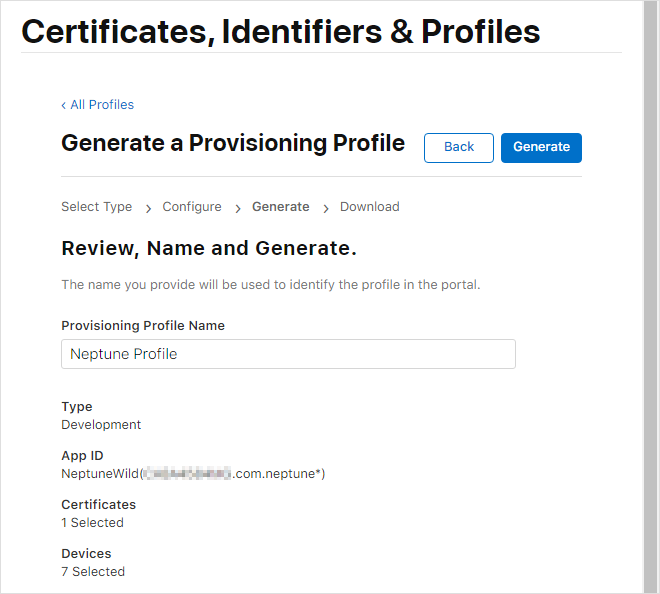
Create Identifiers
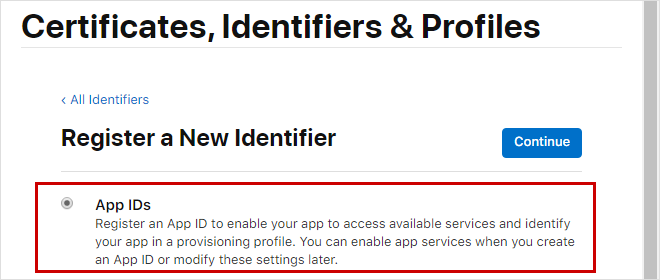
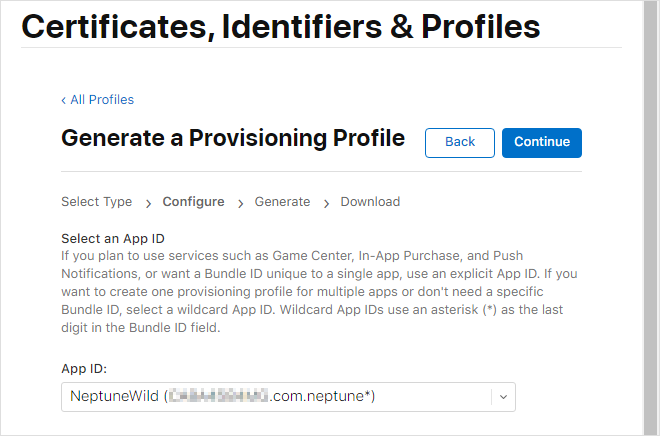
Go to Identifies and create a new identifier. Choose the "App IDs" type:
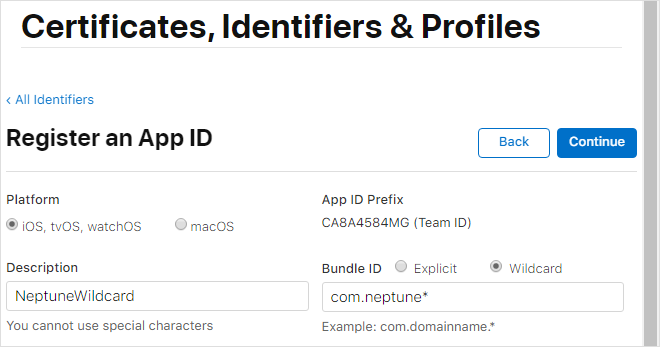
Choose wildcard and add you company identifier. VERY IMPORTANT: The mobile client ID in the Neptune configuration must start with the wildcard! Example: com.neptune.name
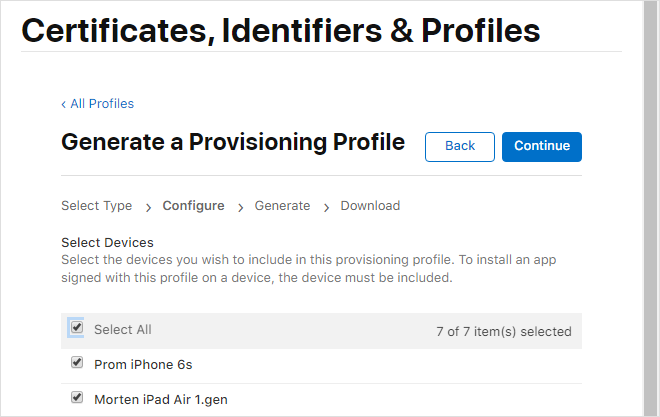
Add devices
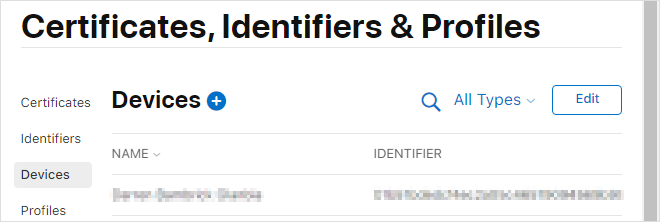
Go to "Devices" and add UDID for all iOS devices that should be able to run a mobile client built with this development certificate.
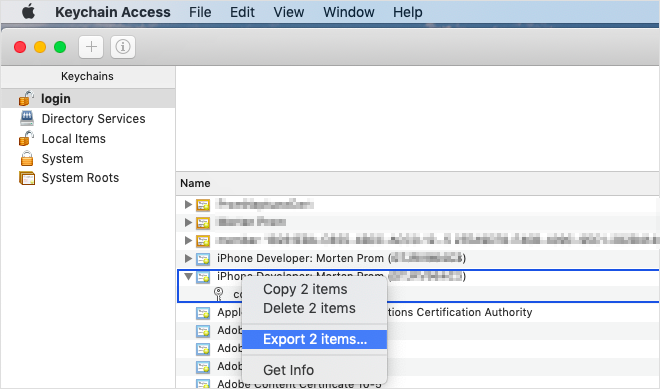
Create .p12 certificate
On your Mac, doubleclick the .cer file you’ve downloaded from your Apple developer account. This will install the certificate on your Mac in the Keychain app.
Choose the two certificate files in the Keychain and export them:
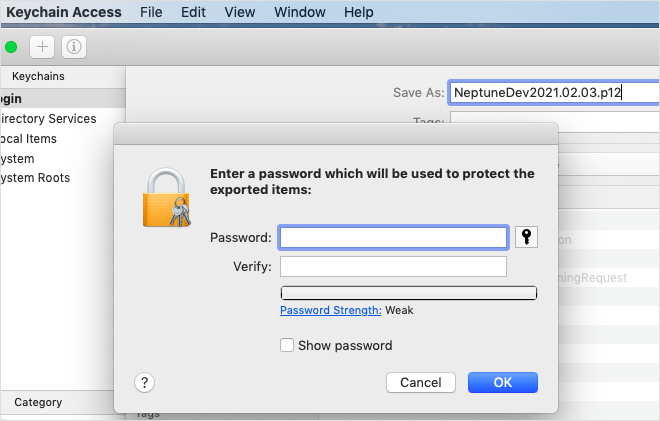
Add a password to open the certificate. The certificate will be used later in the Cordova setup or in the Neptune Mobile Build Service.
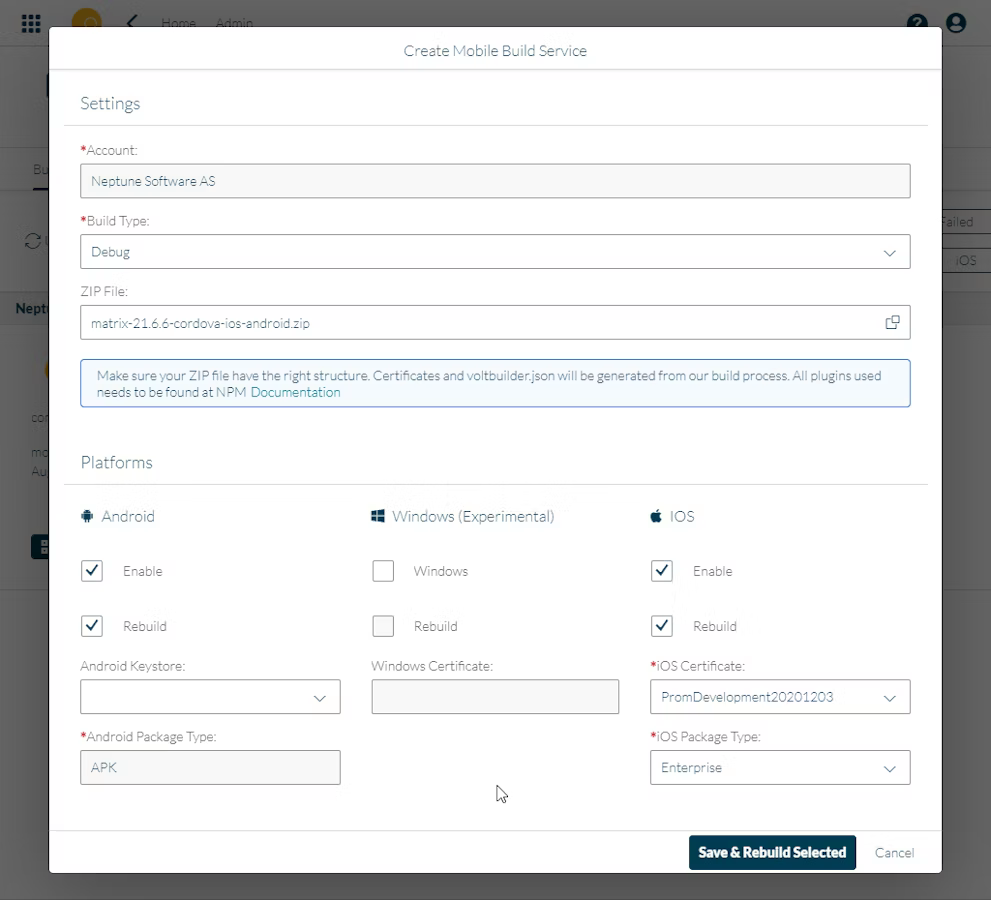
Neptune Mobile Build Service
That’s it :) Now you can use the new certificate and provisioning profile to build iOS native mobile clients. You can do that either in Cordova CLI or the Neptune Mobile Build Service.

Build the mobile client using your new certificate, install the result on your iOS device.