Create an advance Run script for a Connector
Prerequisites
For convenience, please check first guide to create a simple Setup and a Run script for a Connector
Procedure
For demonstration purposes, the following content will cover the case of using a table as a data source. Similar for the external API case. The objective of this example is to create two adaptive apps. One to view our data with custom filters with pagination enabled and another, to edit and create a new entry to the table which is being used. Four methods will need to be defined:
-
GET : Fetches data for the Run script
-
DELETE : Delete an entry
-
SAVE : Create and update an entry
-
LIST : Enable advanced filtering, lookups and more
Each method will include a custom function which will be described below at the Run script.
Setting up the Setup Script
The Adaptive Framework Setup Script is responsible for returning a field catalog describing the available data to be used within the Adaptive report.
Code for the Setup script:
let fieldCatalog = [];

fieldCatalog.push({ name: "name", label: "Name", type: "text"});
fieldCatalog.push({ name: "part_number", label: "Part number", type: "text" });
fieldCatalog.push({ name: "checkup_date", label: "Checkup date", type: "text" });
fieldCatalog.push({ name: "assigned_for_checking", label: "Assigned status", type: "text" });
fieldCatalog.push({ name: "latitude", label: "Latitude", type: "text" });
fieldCatalog.push({ name: "longitude", label: "Longitude", type: "text" });
fieldCatalog.push({ name: "checkup_interval", label: "Checkup interval", type: "text" });

result.data = fieldCatalog;
complete();
Setting up the Run Script
Code for the Run script:
const { Like, In } = operators;

switch (req.query.method) {

    case "Get":
        result.data = await processGet();  // fetches data
        break;

    case "Delete":
        result.data = await processDelete(); // deletes selected entry
        break;

    case "Save":
        result.data = await processSave();   // this is for saving the modified/new entry
        break;

    case "List":
        result.data = await processList(); // this is for the multiselect lookup and the counter in the header
        break;

    default:
        break;
}

complete();

// all functions
async function processList() {

    let options = {
        where: {}
    };

    // Where
    req.body._settings.fieldsSel.forEach(function (field) {

        if (req.body[field.name]) {

            switch (field.type) {

                case "MultiSelectLookup":
                    options.where[field.name] = In(req.body[field.name]);
                    break;


                default:
                    options.where[field.name] = Like("%" + req.body[field.name] + "%");
                    break
            }

        }

    })

    // Count total number of records
    const count = await entities.equipment_adaptive.count(options);

    // Pagination
    if (req.body._pagination) {
        options.take = req.body._pagination.take;
        options.skip = req.body._pagination.skip;
    }

    // Sorting
    if (req.body._order) {
        options.order = req.body._order
    }

    const accounts = await entities.equipment_adaptive.find(options);

    return {
        result: accounts,
        count: count,
        debug: {
            query: req.query,
            body: req.body,
            options
        }
    };

}

async function processGet() {
    return await entities.equipment_adaptive.findOne({ id: req.body.id });;
}


async function processDelete() {

    await entities.equipment_adaptive.delete(req.body.id);

    return {
        status: "OK"
    };

}

async function processSave(id) {

    await entities.equipment_adaptive.save(req.body);

    return {
        status: "OK"
    };
}| Make sure to connect the scripts with the Connector that you will use. |
Creating the two Adaptive Applications
Steps for creating the Edit and Create application
-
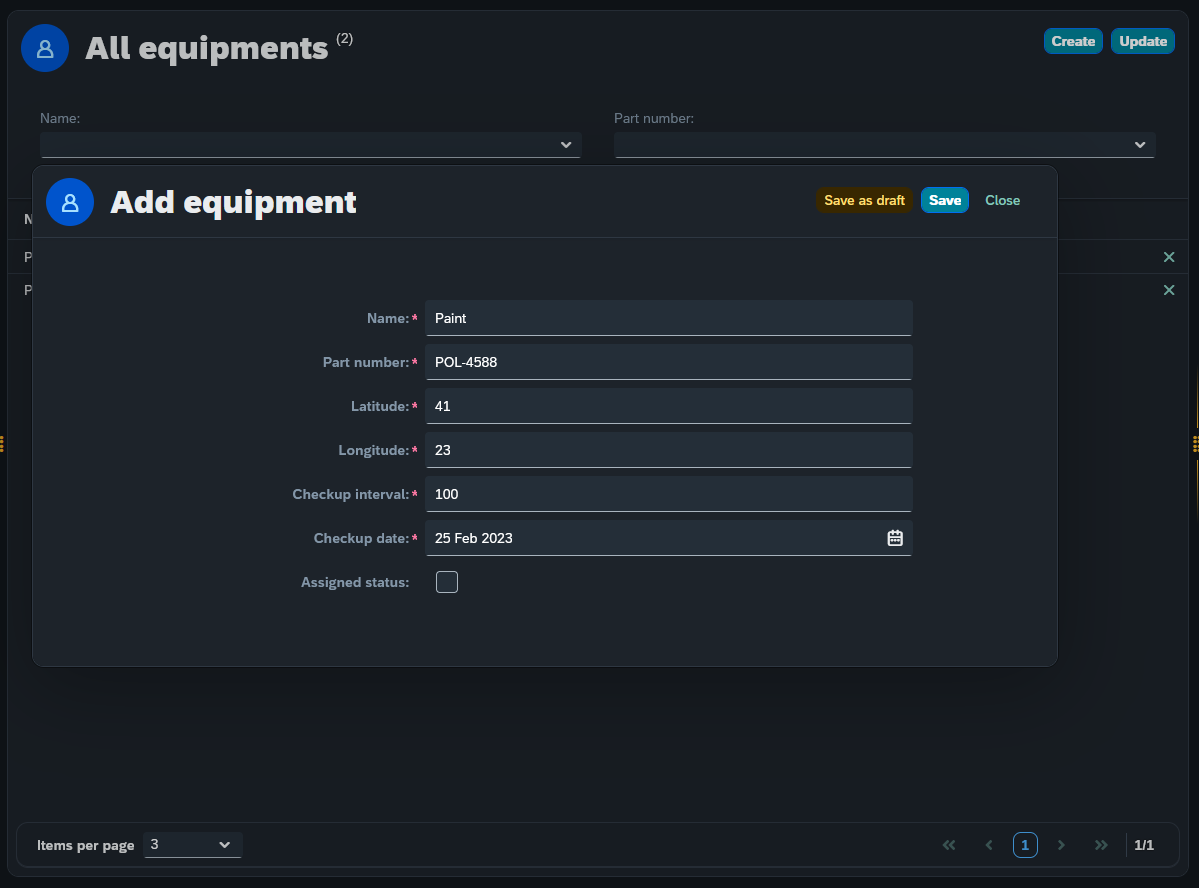
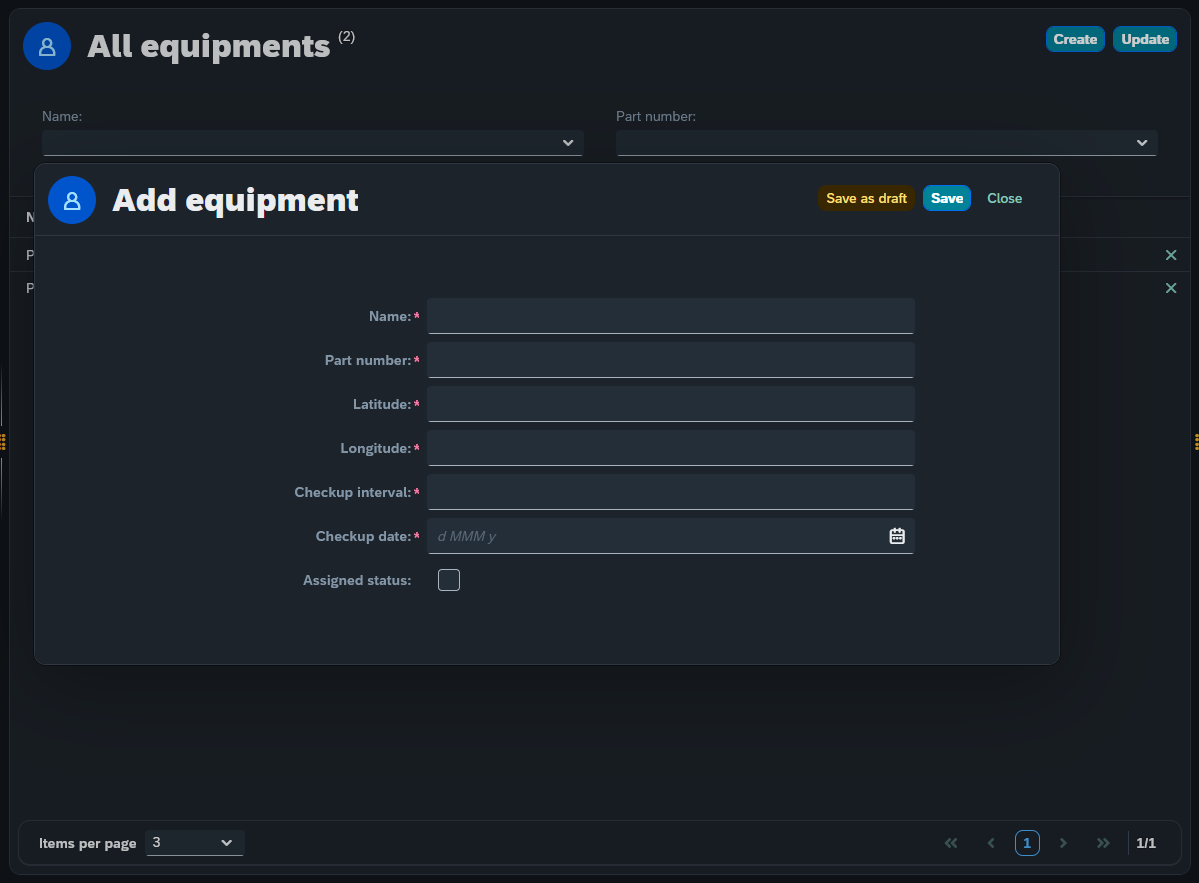
Create a new Adaptive Application, select your Connector and the planet9_adaptive_forms template
-
Drag all components from Inputs and drop them in the Form
-
At Settings enable Close and Save
-
Add custom features and save
This form will be used on the Create and ItemPress event in the main Adaptive application. Once pressed, the form will appear either with the corresponding data from the row we clicked or with an empty form for us to fill in to create a new entry.
Steps for creating the main application
-
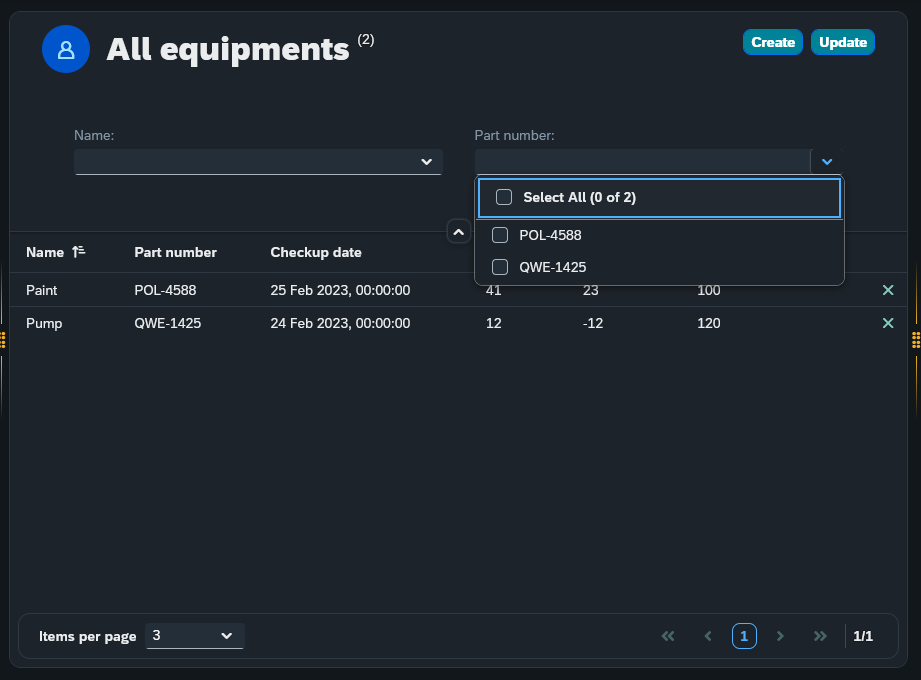
Create a new Adaptive Application, select the above Connector and select the planet9_adaptive_list template ( other templates can be used here as well )
-
For this example, grab from Input or Output, name and drop it in Filter
-
From Output, grab all components and drop them in Table
-
At Settings enable Run, Create and Delete
-
At Table enable Pagination
-
Add custom features and save
Setting the press events and filters
What is left now is to edit the filters in order to use the script’s filtering abilities and set up the two press events.