Settings on SQL Server Management Studio and SQl Server Configuration Manager
Prerequisites
-
Download SQL Server from Microsoft Website
-
Download SSMS (SQL Server Management Studio)
Procedure
-
Open SSMS (SQL Server Management Studio) and under Object Explorer, expand Security
-
Right click on Logins, create a New Login and enter a username and a password
-
Beneath General, located in the left bar, click Server Roles and enable public
-
Create a new database by right-clicking on Databases. Name it planet9 (keep all options on default)
-
Create a new user under planet9 from Database > Security > Users and give the user that was created in the above steps:

-
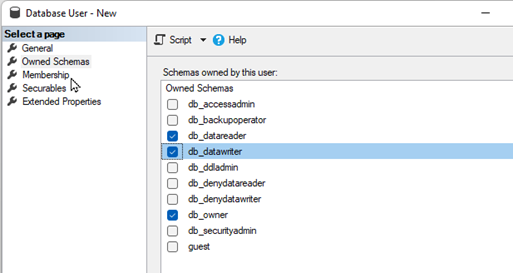
Under Owned Schemas, set the following parameters:
-
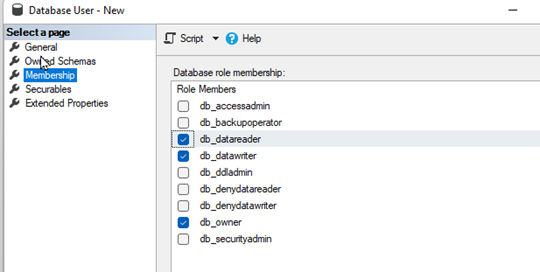
Under Membership, set the following:
-
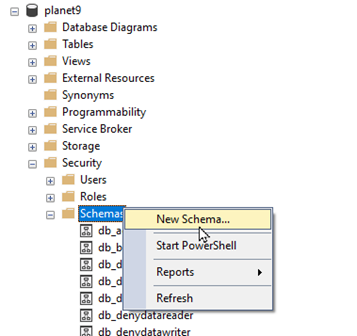
Create a new Schema under the planet9 database and name it planet9:
-
Search for Schema owner. In the below picture we are adding the same user that we created under Databases:
-
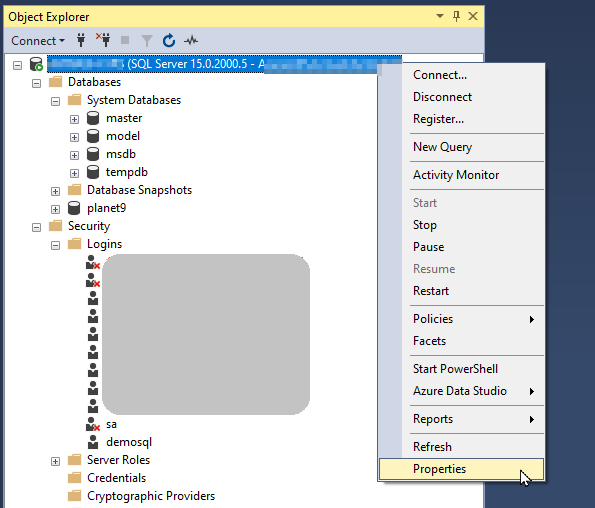
Set the Server Authentication :
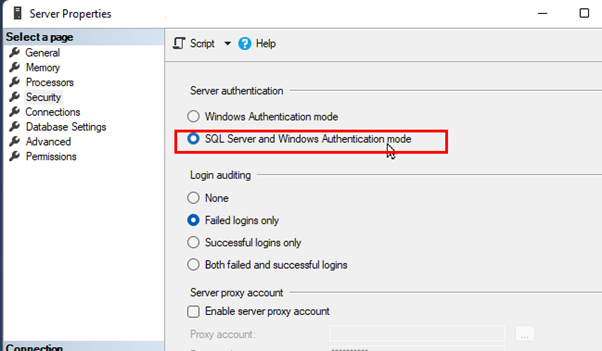
-
Restart the server
Results
-
Provided that all the information is accurate, you shall be duly connected to the SQL Server utilizing the demosql user