Configure an OpenID connect authentication
In this topic, you learn how to set up an authentication via OpenID and how to configure it in your Cockpit.
Procedure
-
In the Cockpit, go to Settings, and click System Settings.
-
Navigate to the Authentication tab and click Edit.
-
Click Add, and select OpenID Connect.
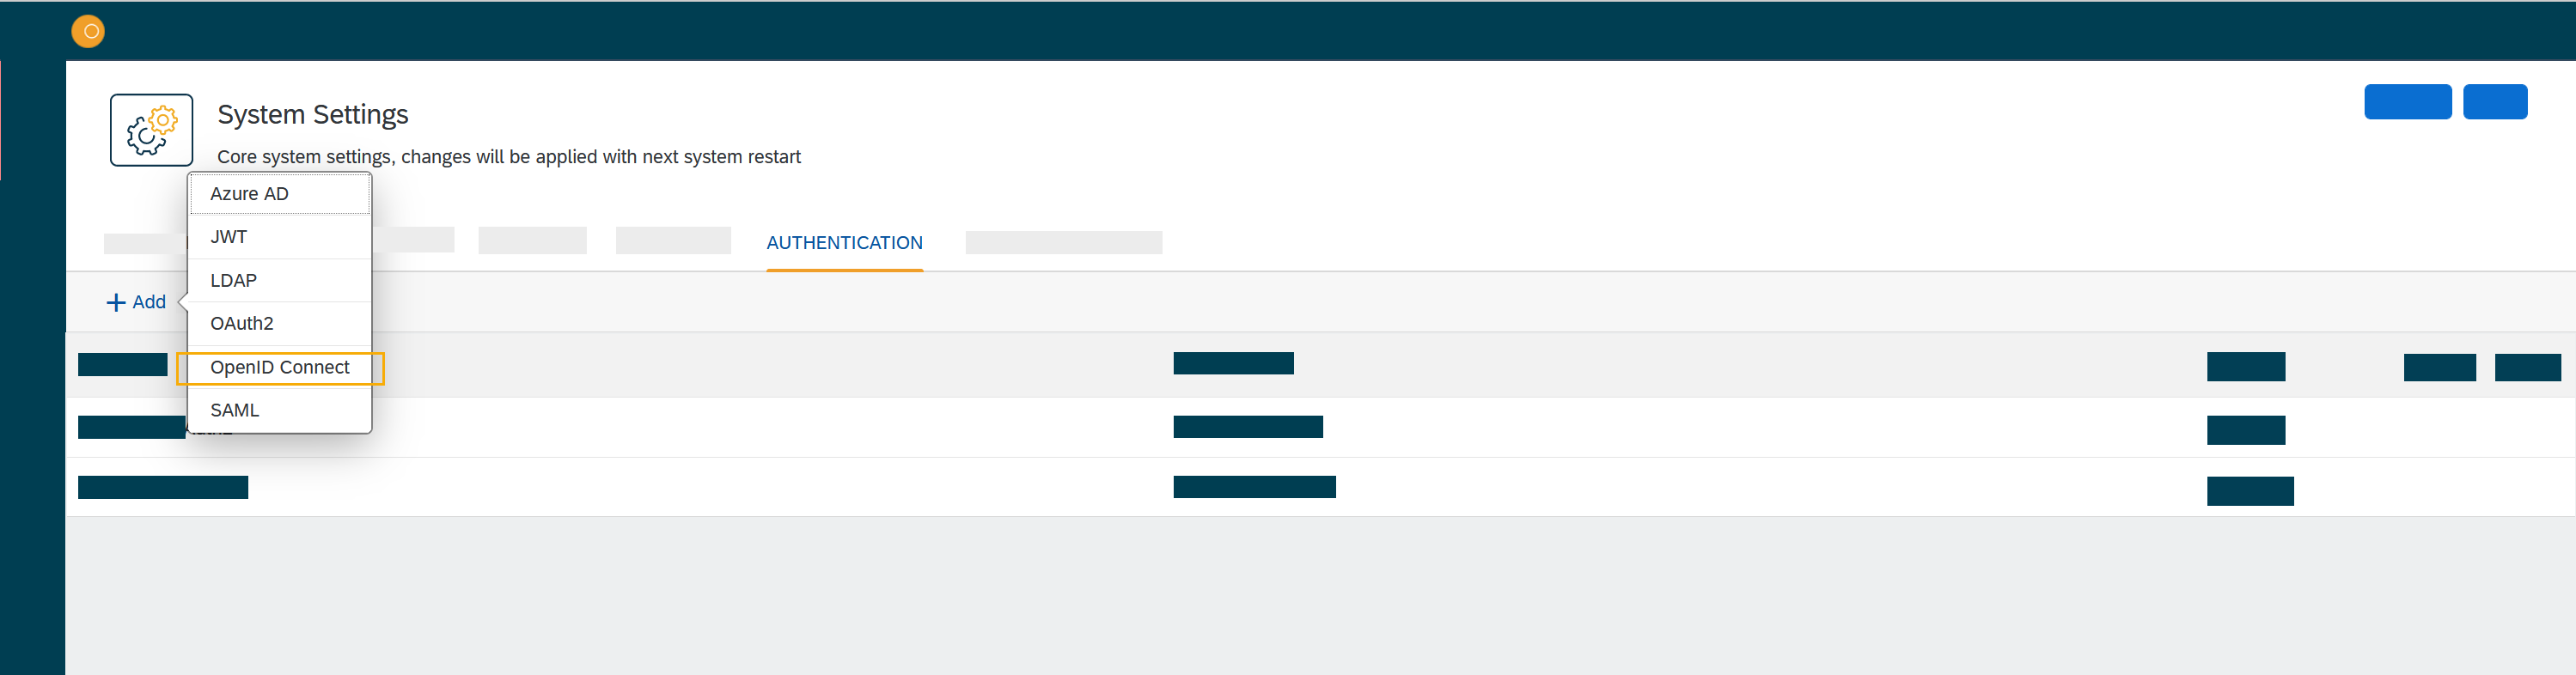
Result: The Authentication window opens.
-
In OpenID Connect, fill in or check the following fields:
-
Enter a Name for the authentication.
-
Check Active to activate this authentication method.
-
Check Show on login page to display the authentication method on the login page.
-
Enter a Description.
-
Enter a Path to generate the endpoints for the authentication method.
Refer to "myopenID"? See: https://community.neptune-software.com/documentation/system-settings/documentation/openidconnect -
In Client ID, enter the ID of the client that is registered at your identity provider.
-
Enter the Client Secret.
-
In Discovery URL, enter a well-known openid-configuration.
-
In Redirect Url, enter the URL that is used when the client is redirected back from identity provider.
The URL should look like domain/public/oidc_redirect.html. -
In Claims Assignment, click Add to add claims assignments.
-
In Auto Assignment, assign roles and the departments (Microsoft Entra ID/system?).
-
Optional: In Custom Script, you can enter your code to tweak the roles' assignment manually.
-
Click OK.
-
-
In System Settings, click Restart to activate the OpenID Connect authentication.