Setup SSO with SAP BTP and Neptune DXP - Open Edition
In this guide, you will learn how to set up Single Sign-On (SSO) between SAP BTP and Neptune DXP – Open Edition using SAP Cloud Identity Services and OpenID Connect.
The OpenID Connect authentication is a free to use authentication method implemented into Neptune DXP - Open Edition. It is the factory standard for handling authentication which covers everything from web applications to native applications.
In this guide, an SAP BTP trial account is used, but the same setup is also possible with a Productive or Free tier BTP account.
Prerequisites
-
You have installed Neptune DXP - Open Edition on SAP BTP.
-
You have an SAP BTP free trial account.
Procedure
Subscribe to SAP Cloud Identity Services
-
SAP Cloud Identity Services – Identity Authentication is the standard product from SAP to control and manage authentication to SAP Cloud applications and is available as subscription in SAP BTP.
-
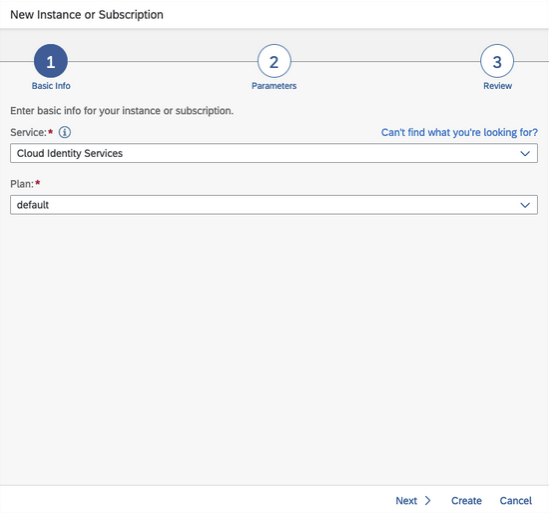
In the SAP BTP subaccount create a new subscription to the service Cloud Identity Services with plan default and click Create.
-
You will receive an email to activate your account for Identity Authentication Service. Click the link to Activate and set a password for the Administration user to access the Administration console.
Configure Trust
-
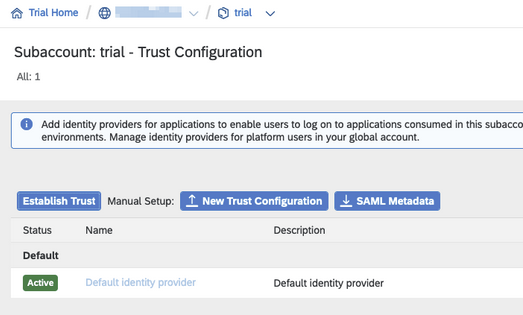
In the subaccount under Security - Trust Configuration click the Establish Trust button.
-
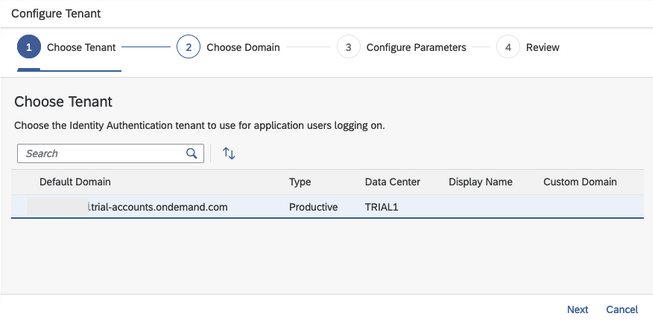
The tenant which has been created, will be shown in the list. Select it and click Next.
-
In the next screen, select the domain which ends with
ondemand.comand click Next.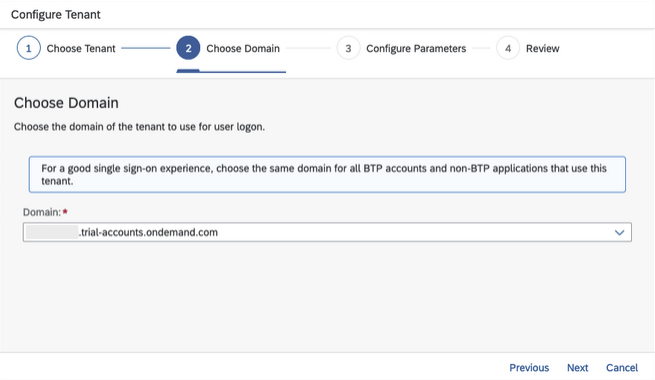
-
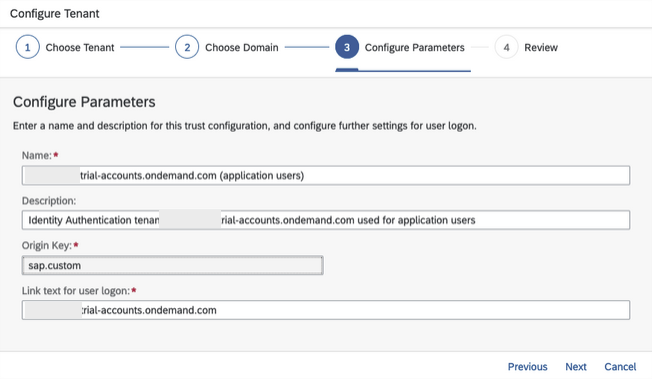
You can configure the name, description and link text or leave it as suggested. Click Next and Finish.
Cloud Identity Services configuration
-
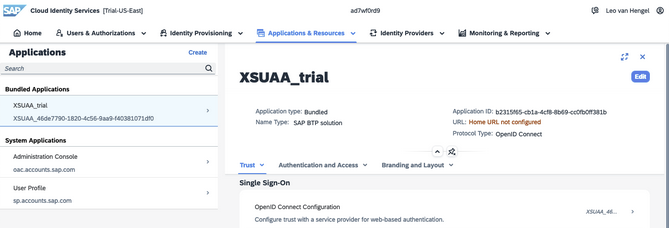
In the Cloud Identity Services administration console, a new application is automatically configured with the trust that has been established.
-
In this application, you need to add a new
client IDandclient secretwhich will be used later in the Neptune DXP – Open Edition. Go to Client Authentication under Application APIs.
-
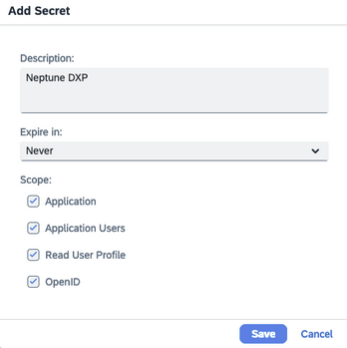
Click the Add button under Secrets.

-
Add a description for this secret and click Save.
-
Copy the
client IDandclient secretand save them, you will need them in the upcoming steps.
Redirect URIs
-
Under Trust click OpenID Connect Configuration.

-
Here you add a new
Redirect URIthat matches the hostname of the neptune-dxp application on SAP BTP.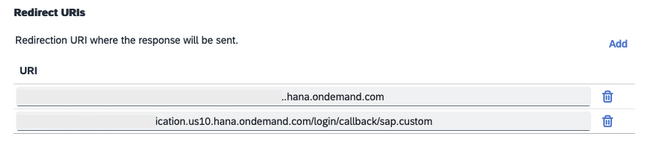
Neptune DXP – Open Edition configuration
-
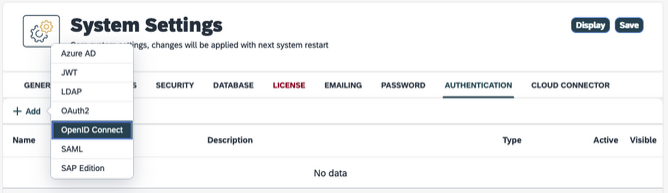
Within Neptune DXP – Open Edition Cockpit, in the System Settings select the Authentication tab. Click Edit and Add a new OpenID Connect authentication.
-
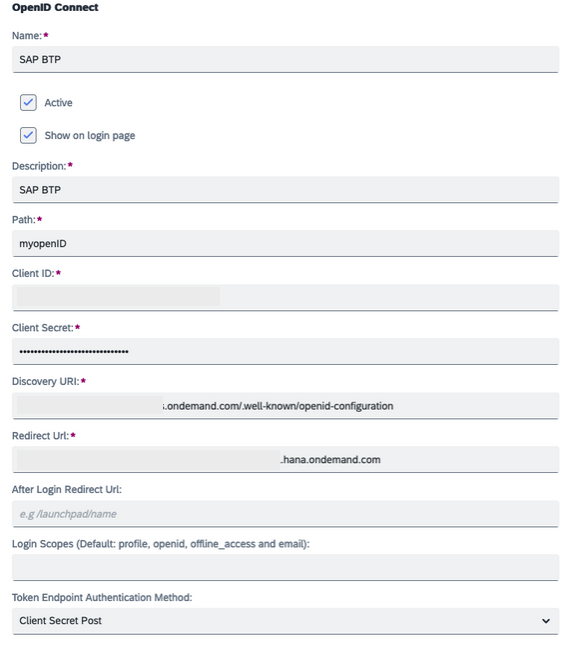
Enter the following values in the mandatory fields:
-
Name: SAP BTP
-
Active: Enabled
-
Show on login page: Enabled
-
Description: SAP BTP
-
Path: myopenID
-
Client ID: <client id>
-
Client Secret: <client secret>
-
Discovery URI: https:// <cloud identity tenant-id>.trial-accounts.ondemand.com/.well-known/openid-configuration
-
Redirect Url: https:// <neptune dxp host>
-
Login Scopes: openid
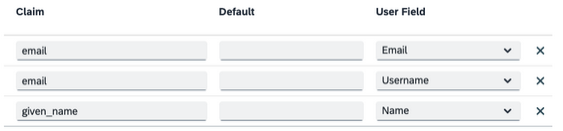
Claims Assignment:
-
Email: Email
-
Email: Username
-
Given_name: Name
-
-
Save and restart the Neptune DXP - Open Edition by pressing Restart.
-
After the restart, launch the Neptune DXP - Open Edition in a new private window or another browser, and ensure the SAP BTP login option is available.
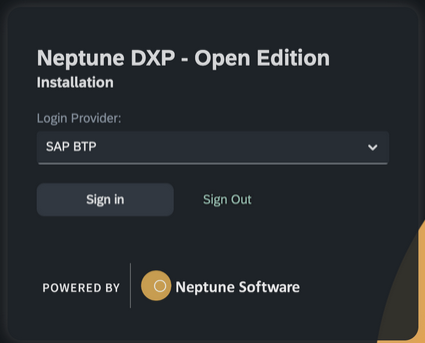
-
Click Sign in, and you should be directed to the Cloud Identity Service login page.
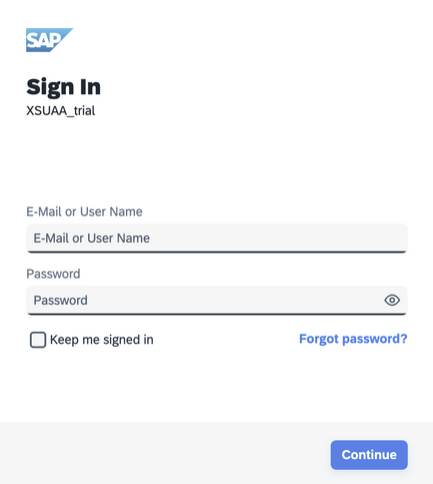
After login, you will get a "403 forbidden" error. This is correct because the user does not have any roles assigned in Neptune DXP - Open Edition.
Login to Neptune DXP - Open Edition with Local Provider as admin.
-
From the Neptune DXP - Open Edition Cockpit, open Role and click Add, to add a new role.
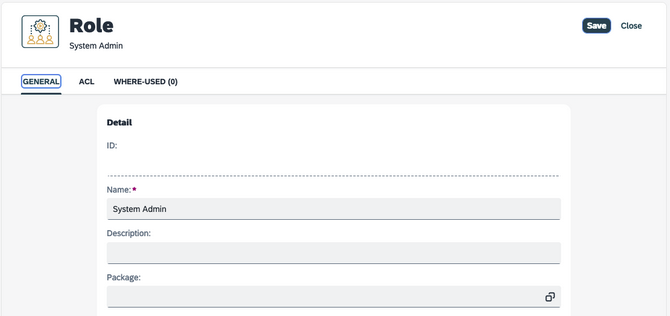
-
On the ACL tab, select All Edit and Save.

-
From the cockpit, open Security Group and create a new security group with the name "Administrator".
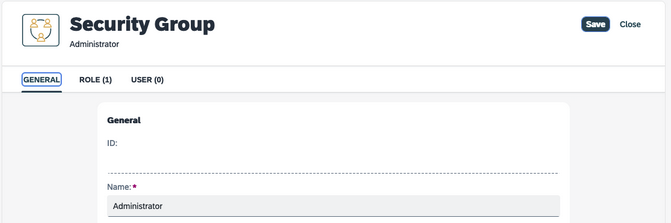
-
Assign the role you have created above and click Save.
-
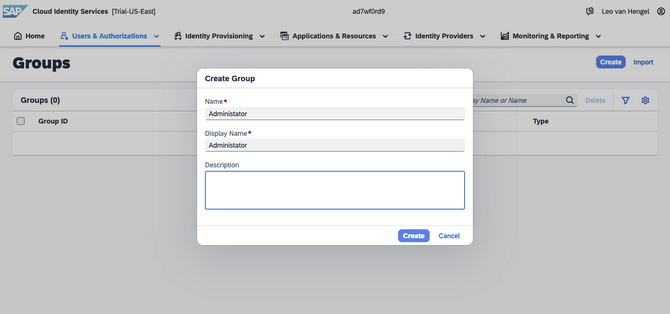
Login to SAP Cloud Identity Services Administration Console, go to Users & Authorizations and select Groups.
-
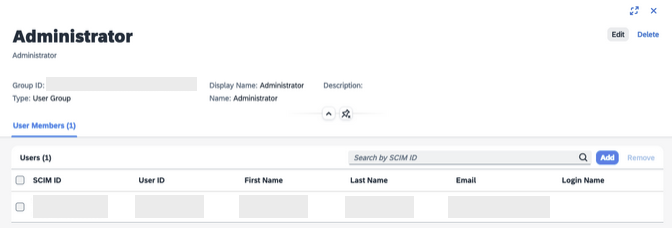
Create a new group with the same name as in the Security Group in Neptune DXP - Open Edition. In this case: "Administrator".
-
Add the user to this group for which you want to login to Neptune DXP - Open Edition.
-
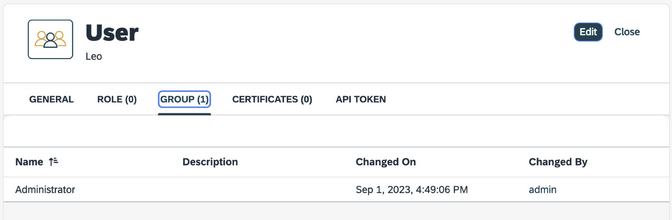
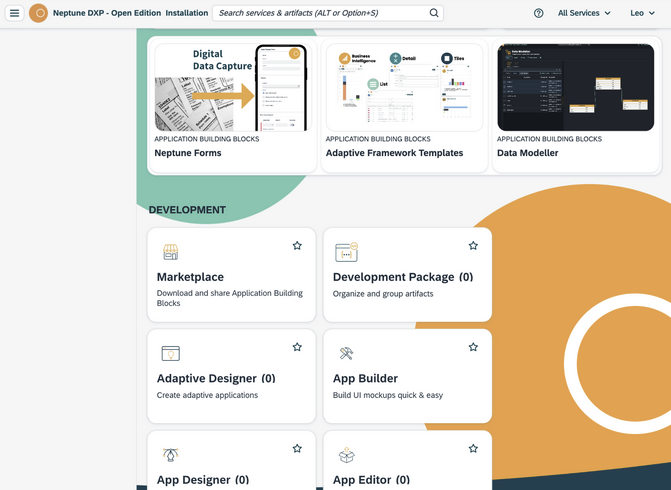
Login to Neptune DXP - Open Edition using SAP BTP option, and now, you will be able to access the Cockpit.
-
From the Cockpit, open the User tool and click on your user. The user is correctly mapped to the Administrator Group, therefore there is no need to assign users are roles within this tool. The user and roles assignment can be managed in SAP Cloud Identity Services.