Getting started with the Script Editor
This page will provide insight about the Script Editor
Create a project
Script Editor works with projects. A project serves as wrapper file that contain one or more scripts on a specific topic.
To create a new Project:
-
In the Cockpit, go to Development and click Script Editor.
-
On the top right of the 'Projects dialog', click New.
-
Enter a name for your project. Optionally, enter a description and choose a predefined package.
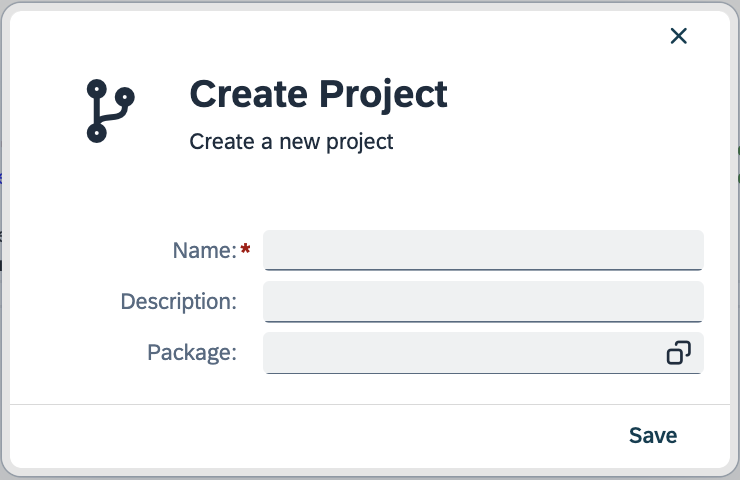
-
Click Save.
Create and run a script
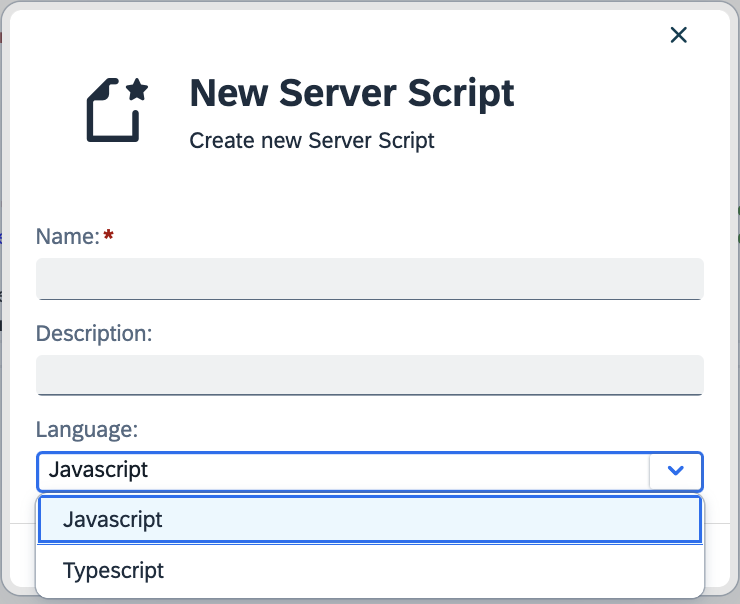
Creating a script
-
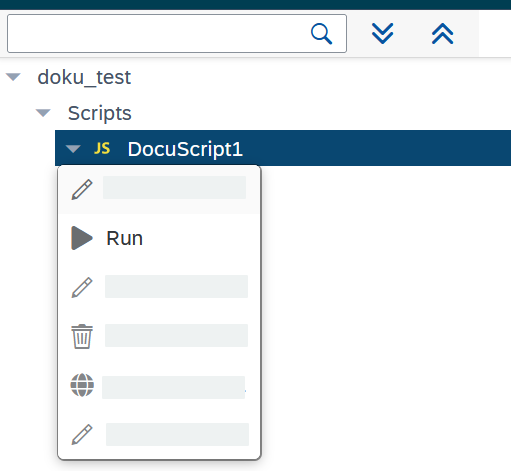
Right-click on Scripts. When you open a new project, the entries Scripts and Globals are entered by default.
-
Right-click on Scripts and select New Script.
Result: A new dialog opens.
You can select Import Script to open a .js file that is stored on your computer. -
Enter a name for the script, write a description and choose whether to use typescript.
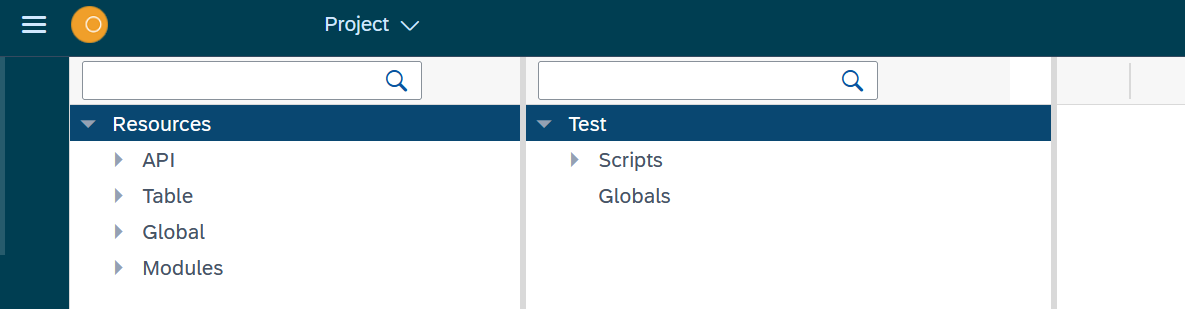
Add resources to a script
You can import the following resources in your script:
-
APIs
-
Tables
-
Globals
-
NPM Modules
| Make sure your script is in editing mode in you want to add resources in. There should be an open-lock-symbol next to your script in the Application component pane. |
Browse the Reusable component pane for the resource you want to add to your script.
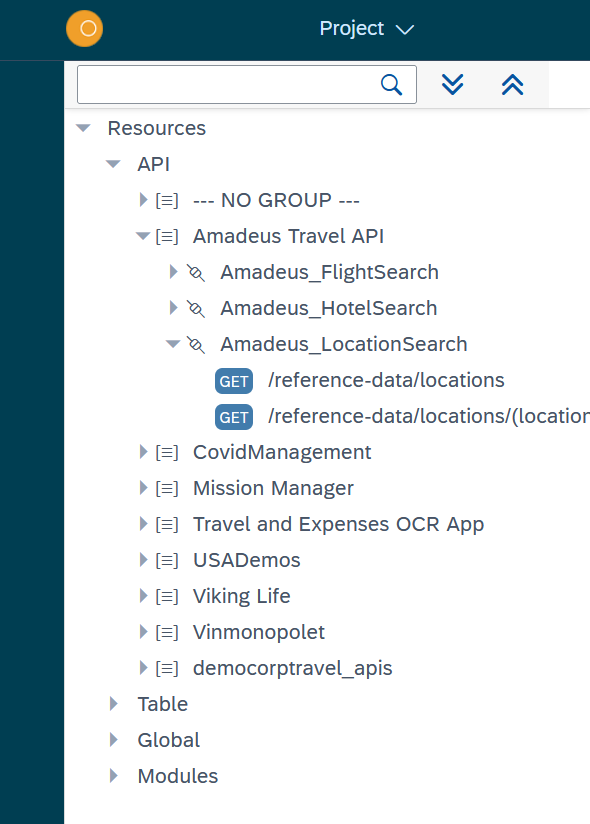
APIs
By adding an API to your script, you can perform basic API operations that depend on the definition of your chosen API.
From Resource Panel drag n drop an API in your selected script. Enter the new context name if required.
To perform an API call, right-click on the Script editing pane and select Code Snippets. There you will find all generated code snippets for each API you have included in your script.
For example, this is the generated snippet for a GET request with some default parameters:
const opts = {
    city_name: "Oslo",API_key: "e5306191ca20e6u2e84105ae8c980022",
    parameters: {},
    headers: {},
    data: {},
    body: {},
}

try {
    // Send api request.
    const response = await apis.weatherqcity_nameappidAPI_key(opts);
    // Log response data
    console.log(response.data)
} catch(error) {
    log.error("Error in request: ", error);
    return fail();
}
Tables
By adding a Table to your script, you can conveniently store, manage, and manipulate structured data within your scripts.
From Resource Panel drag n drop a Table in your selected script. Enter the new context name if required.
Right-click on the Script editing pane and select Code Snippets. There you will find all generated code snippets from for each Table you have included in your script.

Under entities, you will find all snippets to perform queries and more actions.
Globals
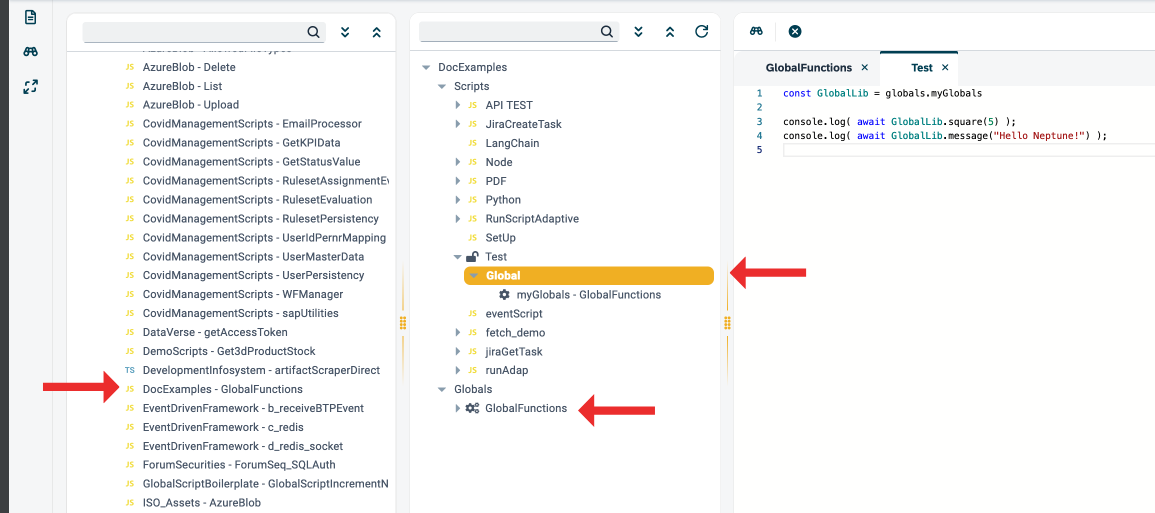
Global are reusable scripts that can be accessed in any project for you selected script. These scripts contain functions or logic that can be shared and reused by different parts of a script.
How to set up a Global Script
This will be an example of a global script exporting two functions.
-
Open a project and create a new script. In this example, the script is GlobalFunctions
-
Click on the Edit and then Mark as Global
Now your Global will appear in the resource panel and under your project.
At the moment, this Global script does not contain any logic. By adding Asynchronous functions, we can export these function for utilization. Here is a short Global script that exports two functions:
const square = async function (x) {
    return x**2;
};

const message = async (x) => x;

complete({ square, message });

// complete allows us to export the functions we have defined
Utilizing the Global script
-
From the resource panel, drag n drop your Global in a script you desire, in this example the script is Test. Here you have the option to add a new context name to the Global for convenience
-
Import your Global operator and call the functions:
const GlobalLib = globals.myGlobals // importing and shortening name

console.log( await GlobalLib.square(5) );
console.log( await GlobalLib.message("Hello Neptune!") );
Modules
Modules are refer to packages or libraries that are published on the NPM registry and can be easily installed. NPM is the default package manager for Node.js and provides a vast ecosystem of open-source modules that developers can leverage to add functionality to their projects.
There are two types of Modules in Neptune DXP - Open Edition:
- Internal
-
These are default modules that Open Edition provides that considers essential for server-side scripting
- Custom
-
Any module installed through the NPM Module service Open Edition provides
To import a module in your script:
-
From the resource panel, drag n drop a module in a script you desire. Here you have the option to add a new context name to the module for convenience
-
Import the module in the script:
// Axios, a popular JavaScript library used for making HTTP requests from a web browser or Node.js
const axios = modules.axios;