Custom Components
A custom component is a type of application that can be created using the App Designer. Similar to building blocks, once created, it is available in the App Designer alongside other components and can be added to your application. Updates to this component are automatically reflected in all applications where it is used.
Procedure
Here are steps to create a custom component.
-
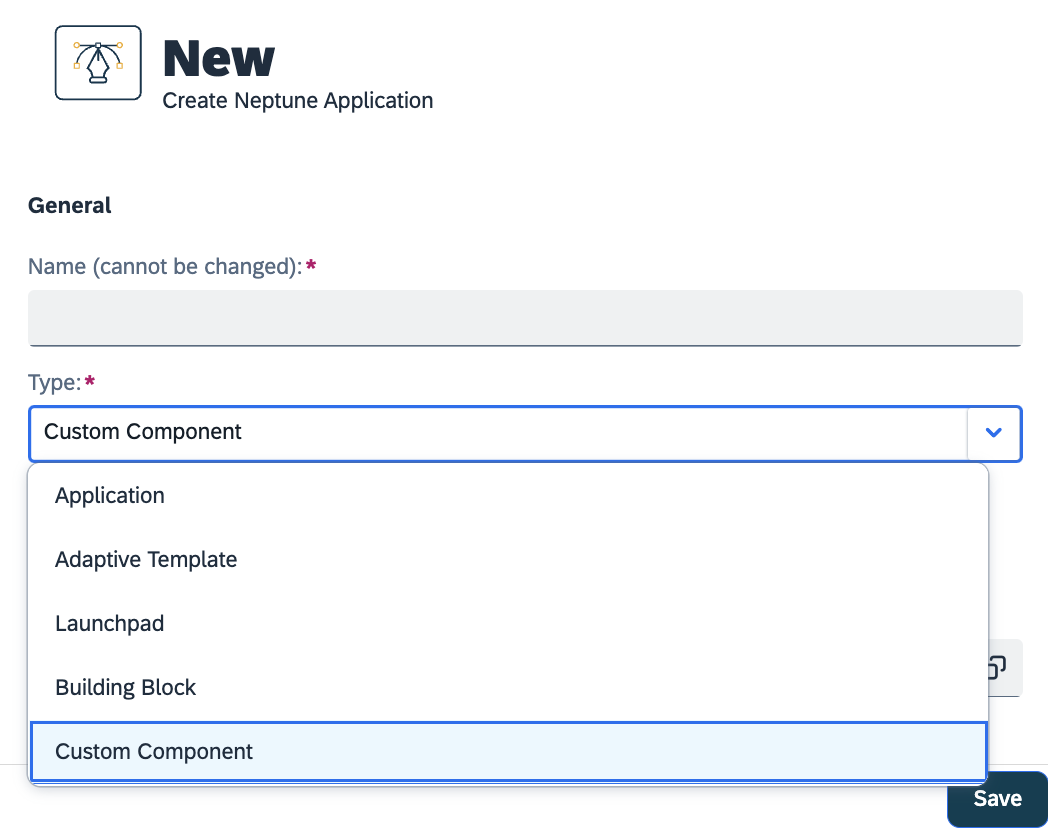
Open the App Designer and click New to create a new application.
-
Select Custom Component as the type of application.
-
Design the component you want. Save and Activate. Test your component and ensure it is functioning as desired.
-
When creating a custom component, a default namespace with the name
CustomComponentwill automatically be generated.namespace CustomComponent { export function log() { console.log("hello world!"); } }Once the custom component is added in an application, the contents of the above namespace can be accessed by doing
{nameOfCustomComp}.log().You can always create your own namespaces with a specific name namespace MyNamespace { export function greeting() { console.log("hello Neptuner!"); } }The contents of the above namespace can be accessed by doing
MyNamespace.greeting().
Interface Tab
Documentation and Icon
-
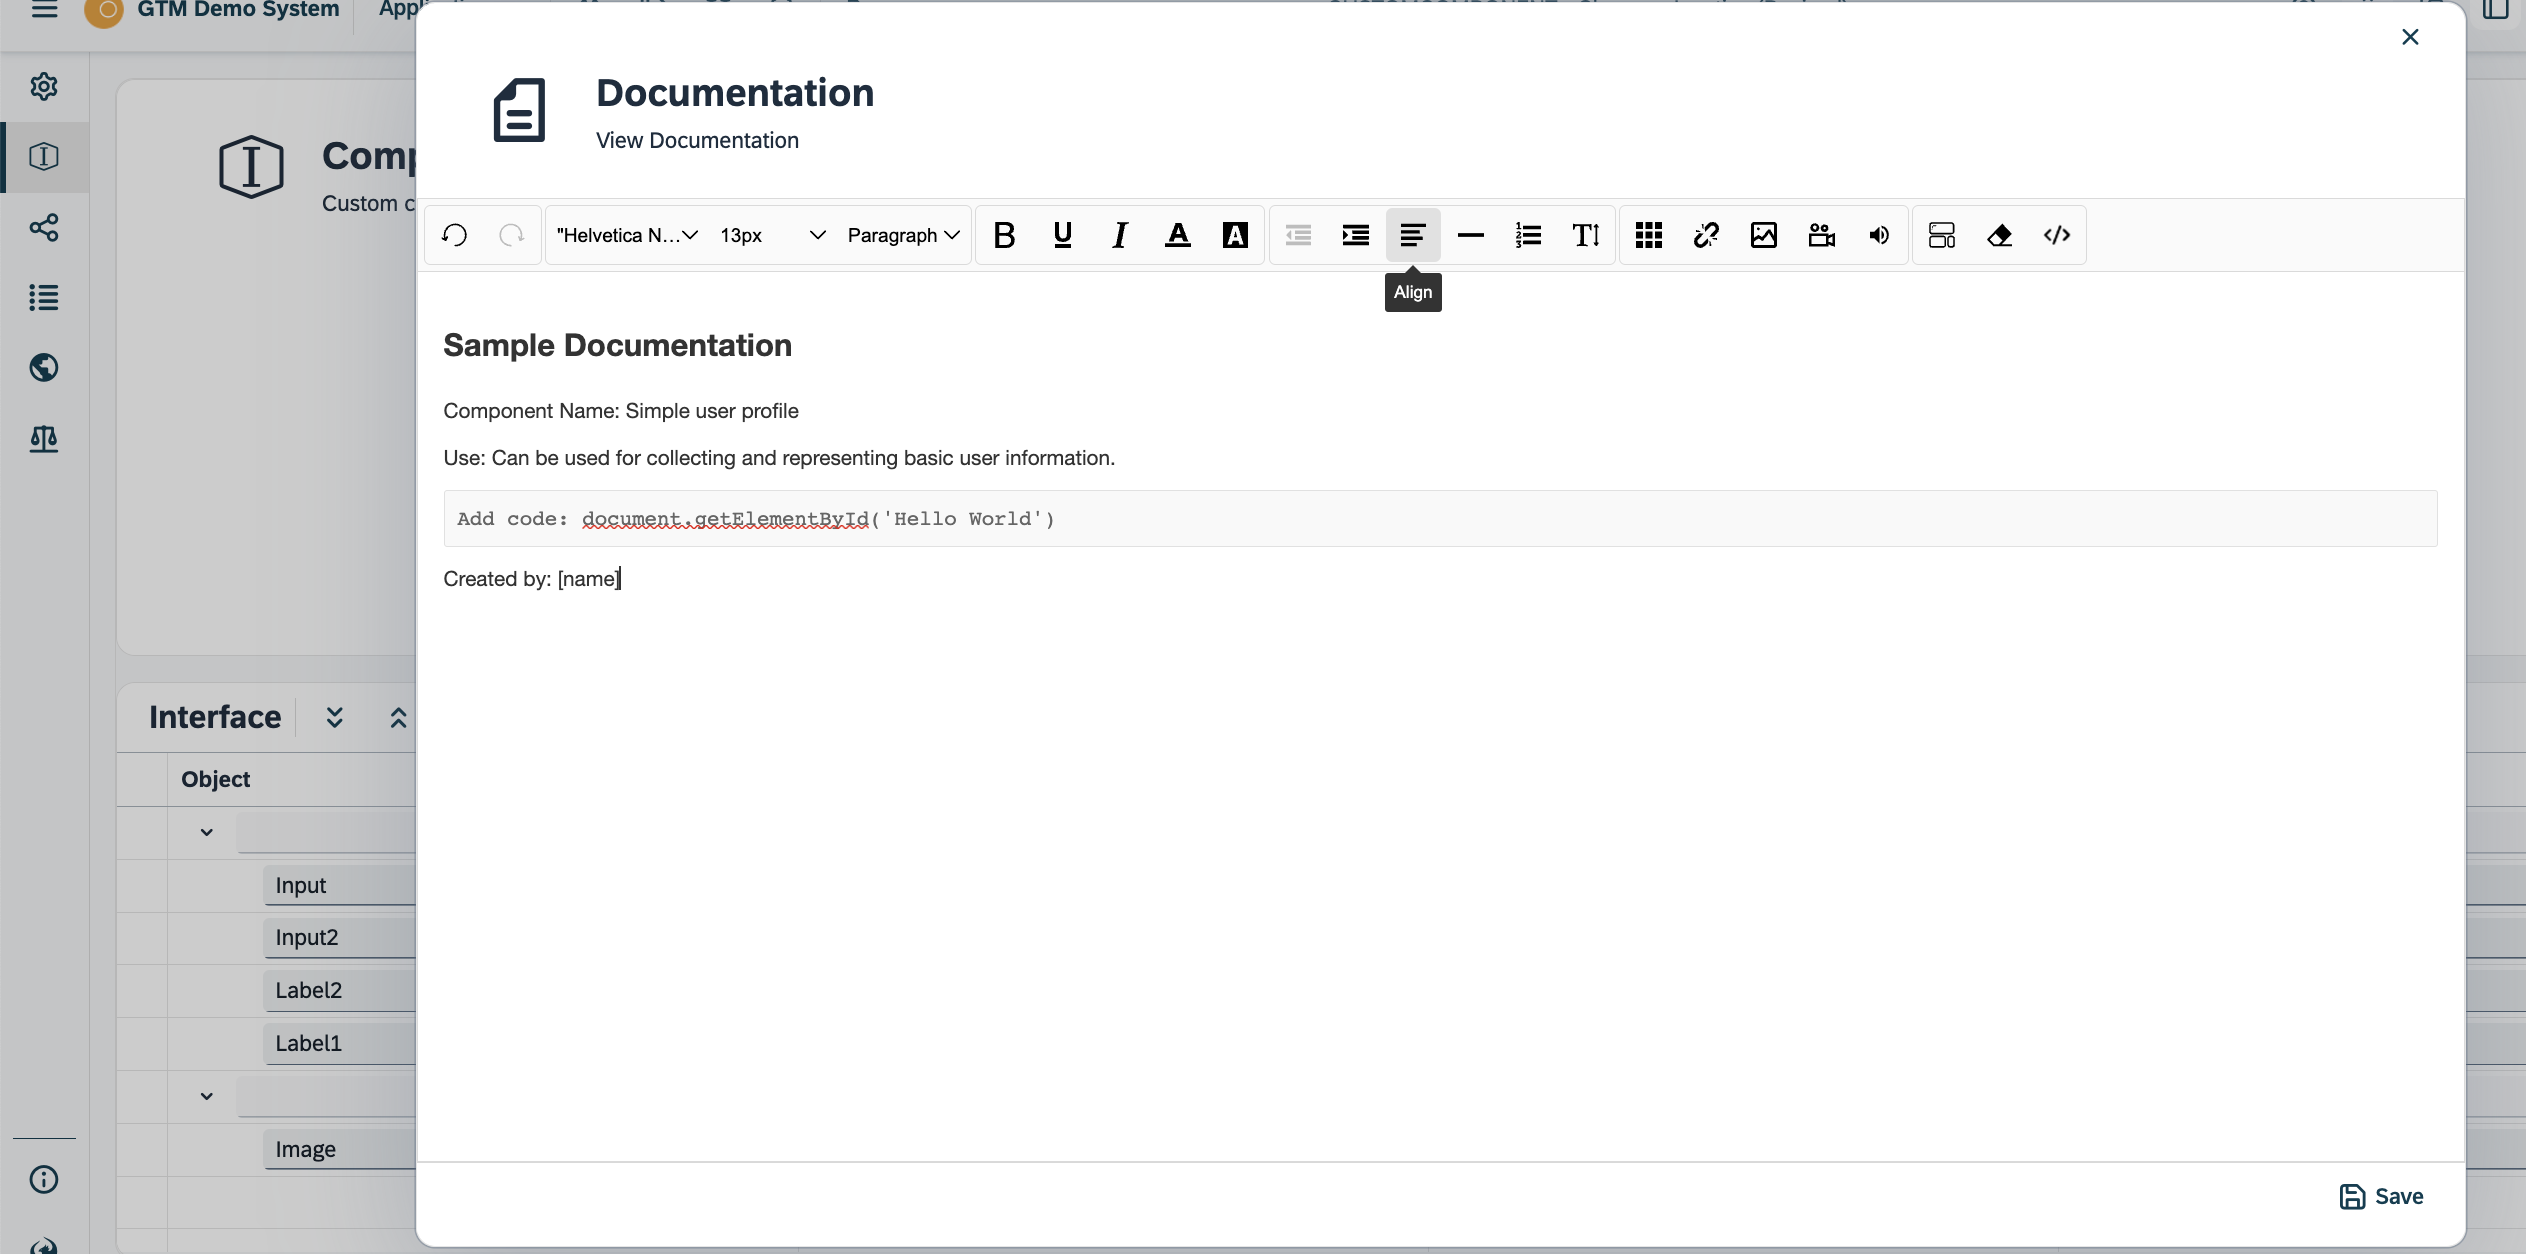
Add documentation for your custom component.
-
Add an icon to identify your component. This will be reflected in the component library.
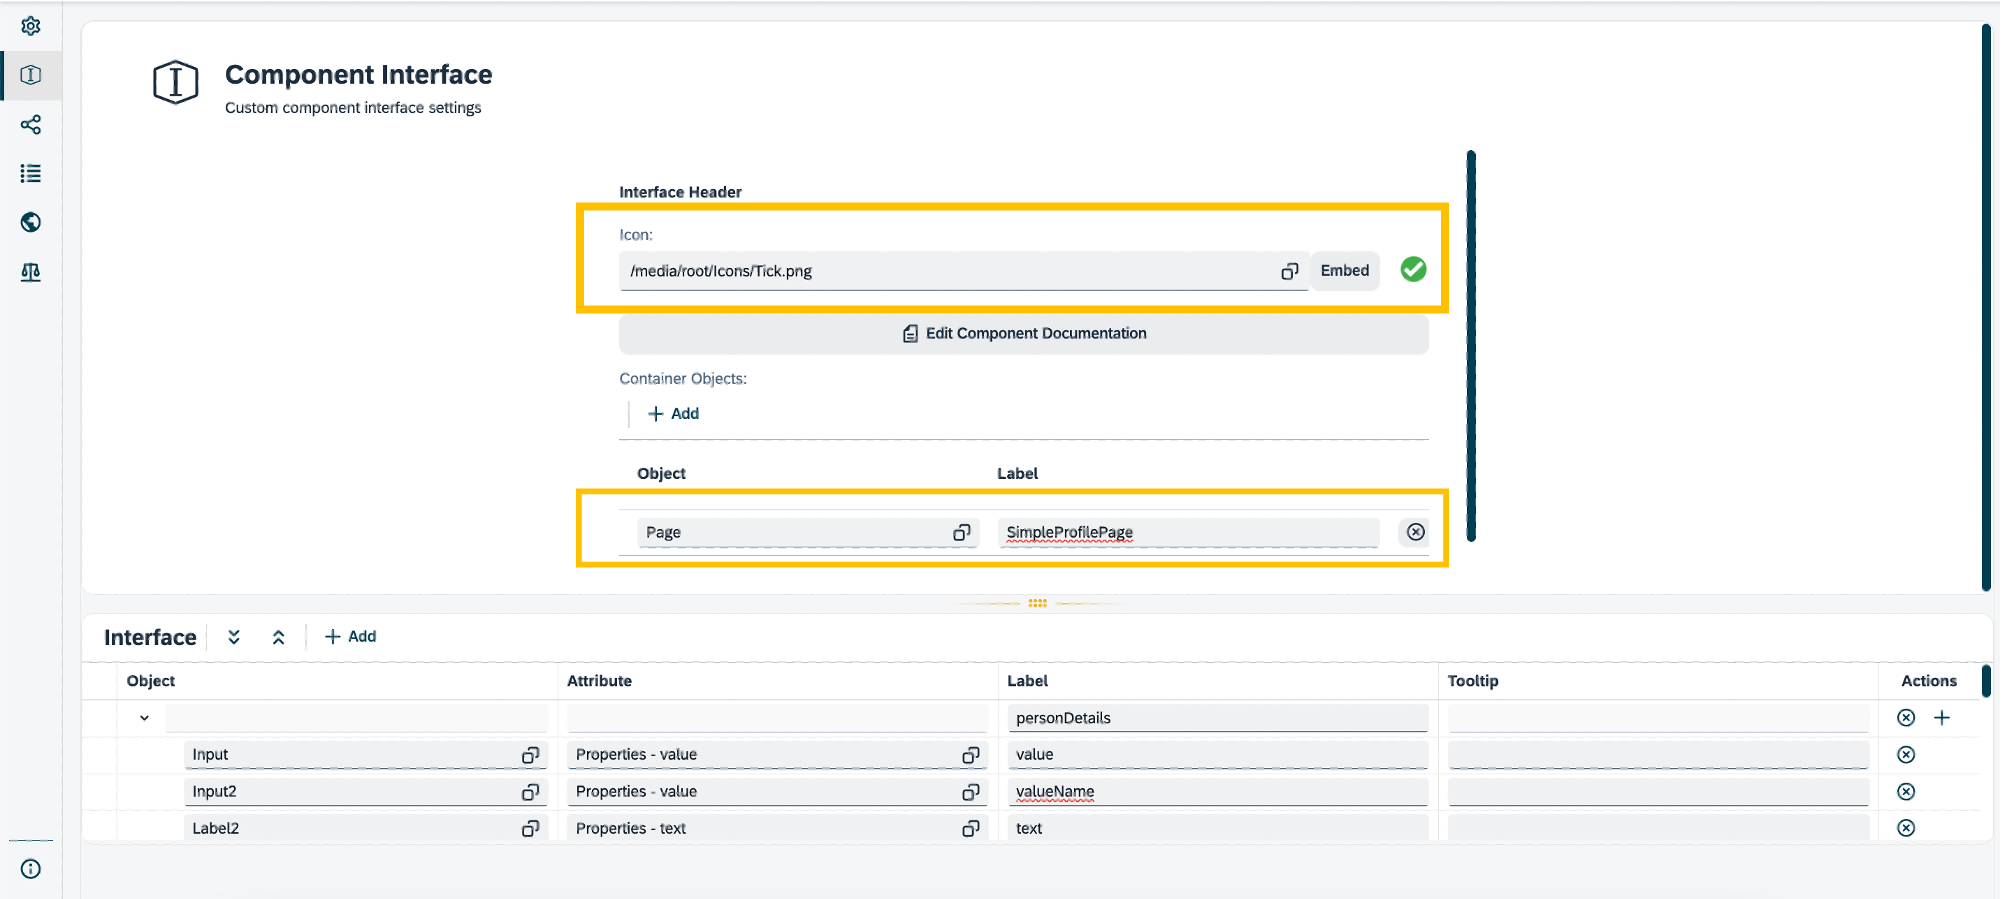
Container Objects
-
Add Container Objects if you want to interact with your existing components within your custom component.
-
Click Add and select the available components you have.
To see the difference, open the application which contains your custom component.
-
Navigate to your custom component within the application.
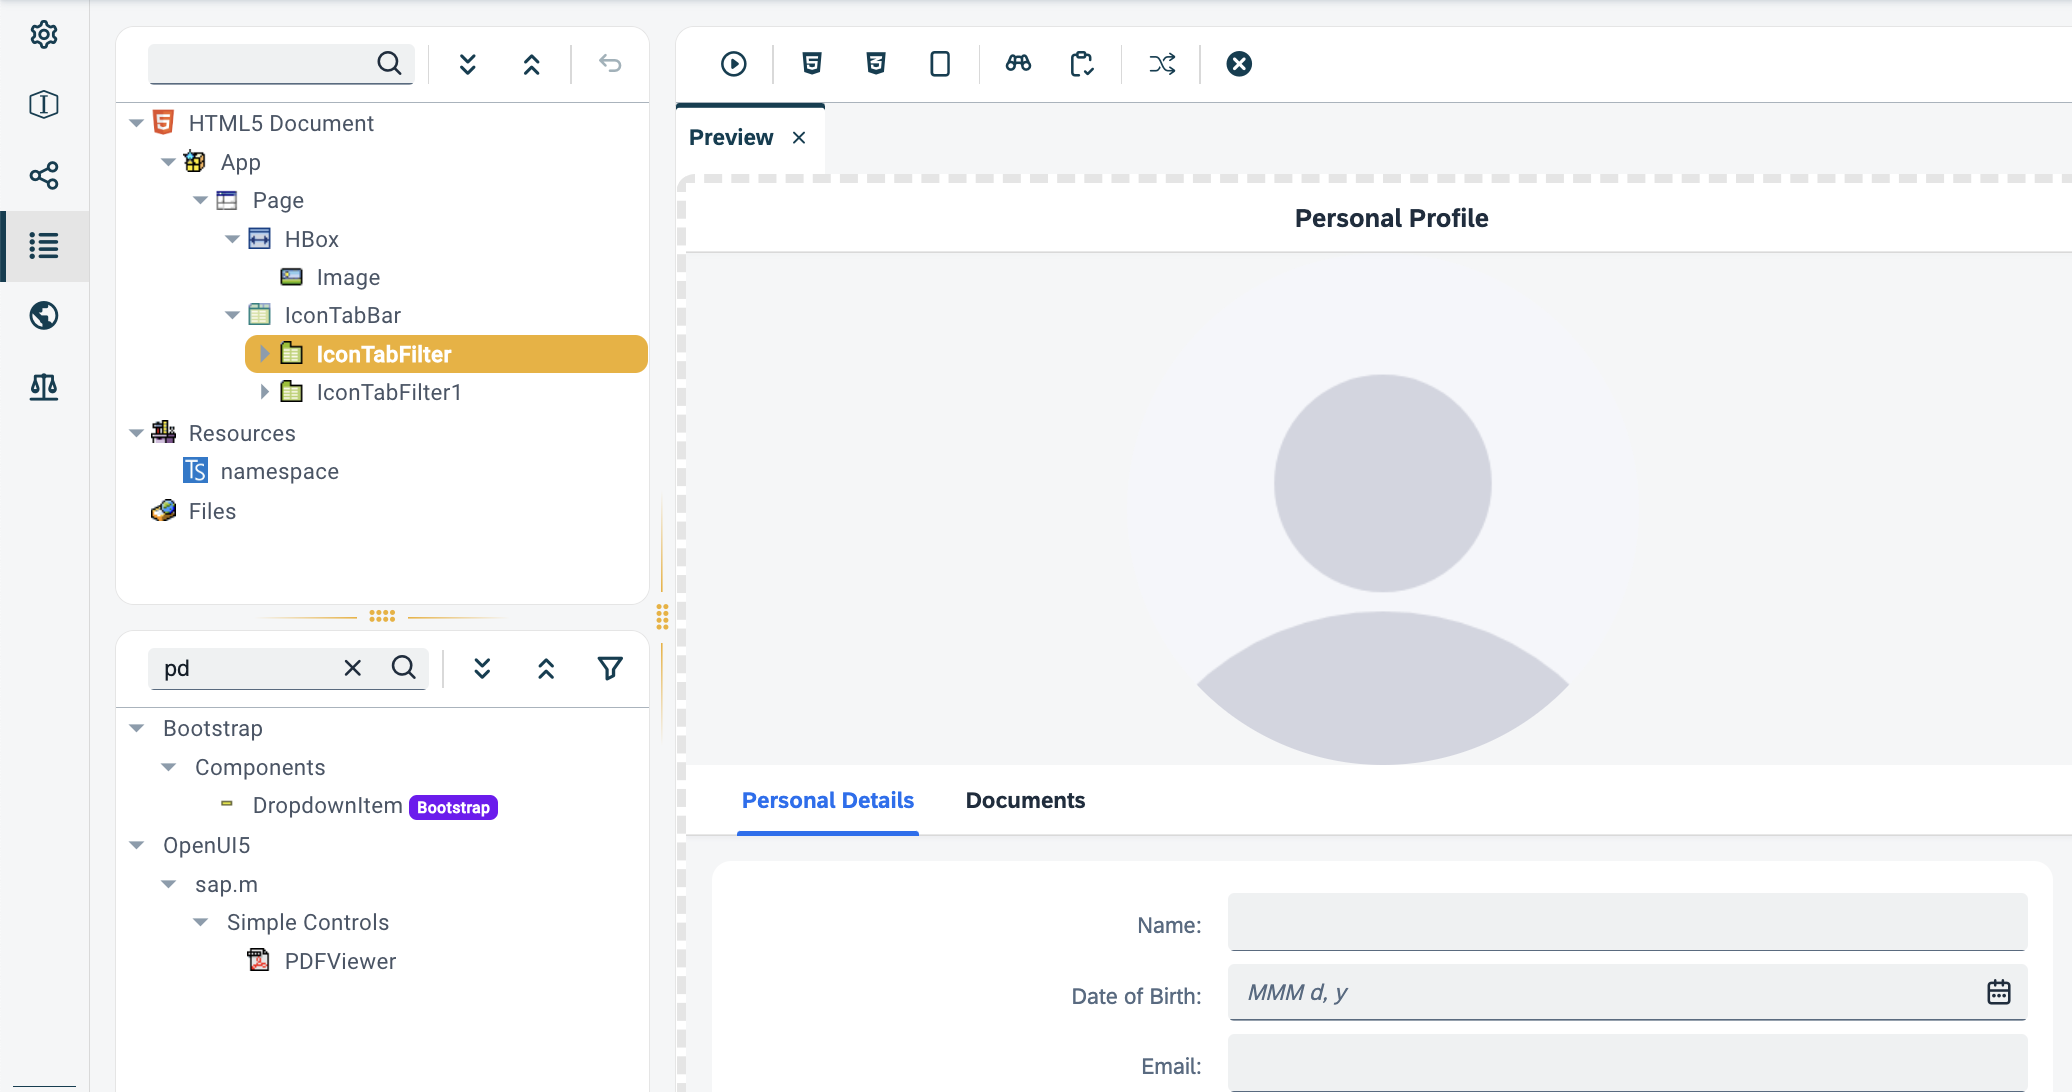
You will now be able to expand your custom component and drop other components within them from the component library.
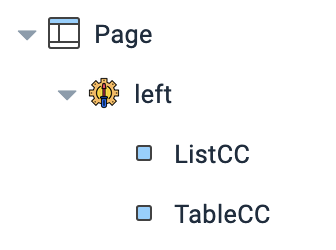
For example, if you added a container object which is a
sap.m.Listthen within your main application you will be able to drop components which asap.m.Listcan accept.If you are simultaneously editing your main app and custom component, make sure to refresh the master data in your main app to fetch the latest changes from your custom component. However, if new Container Objects are added in then, you must add the custom component from the component library again.
-
Interface
-
To interact with the properties/attributes of your custom component’s components within an application, add an Interface.
-
Press Add and add a Label to group your properties. See the results in Figure 2 below.
-
Choose which component you want in Object and the specific property/attribute at Attribute.
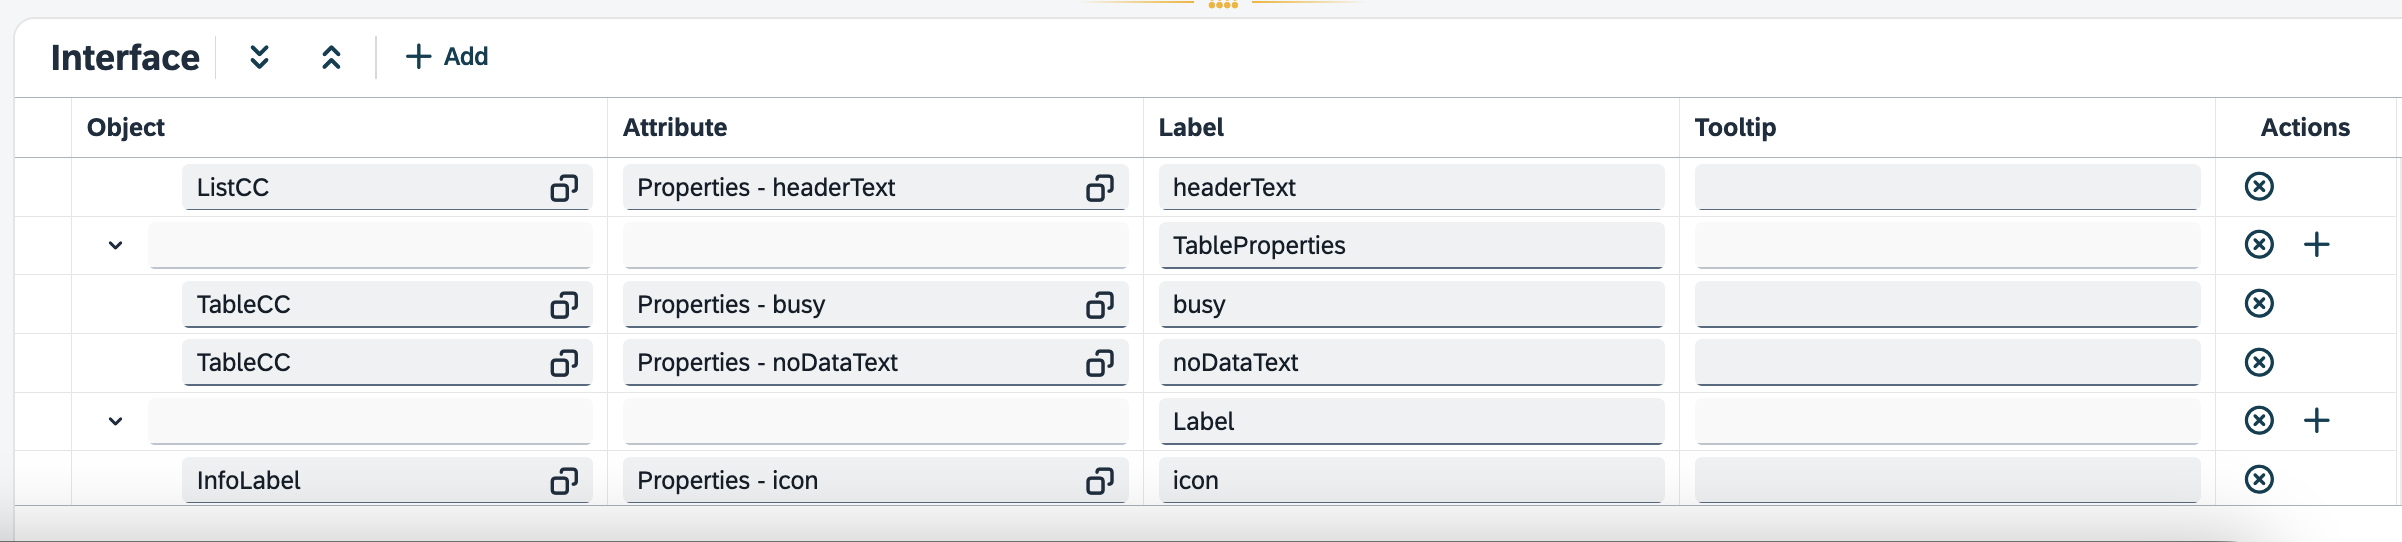 Figure 1. Exposing properties in the Interface.
-
-
Open your application that contains the custom component.
-
Click on the custom component. You will now see in the properties pane all available properties/attributes you can modify.
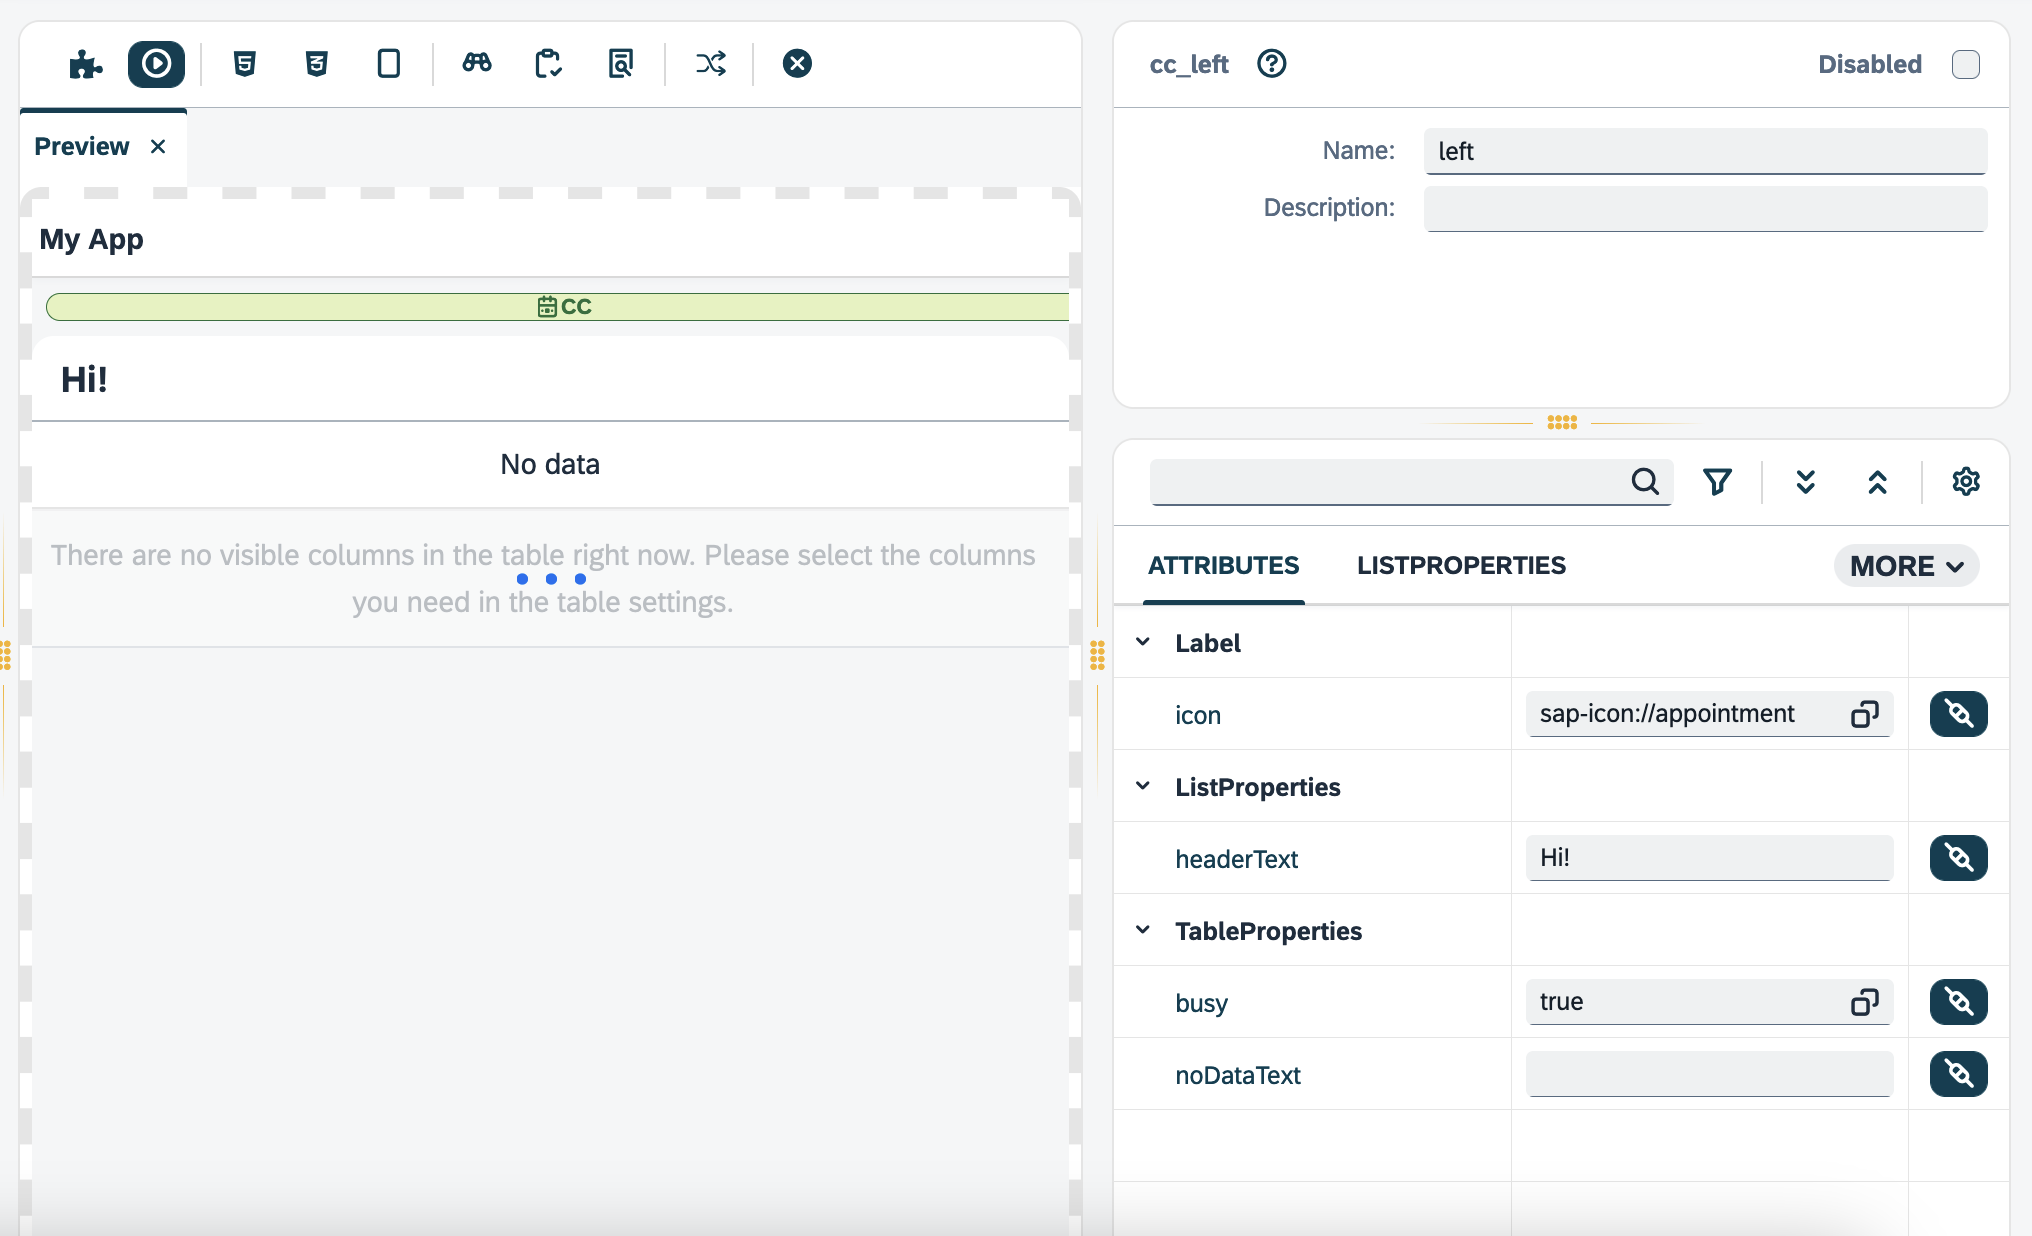 Figure 2. Accessing the custom component’s properties.
| You can see in which applications the custom component is being used in Where Used pane. Clicking on the application will navigate you to the selected application. |
Results
-
With this setup, your component is now available to be used in other applications by anyone using the same system instance.
Notes
-
CSS and custom headers within your custom component will be included in your main application, keep caution since this can affect the main application.
-
To interact with the components of the custom component within the main application, simple add
{nameOfCustomComp}_{nameOfComp}in front of the method. For example:// name of custom component : myccapp // name of component : InfoLabel // name of method : getText() var text = myccapp_InfoLabel.getText(); // If the component is a data model // and the name is "storageModel" var data = modelmyccapp_storageModel.getData(); -
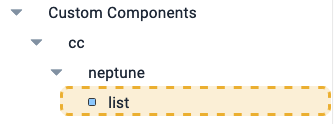
When naming your custom component, adding an underscore
_will indicate a folder in the component library. For example, the namecc_neptune_listwill create a custom component calledlistwhich will be located in the foldercc/neptune.