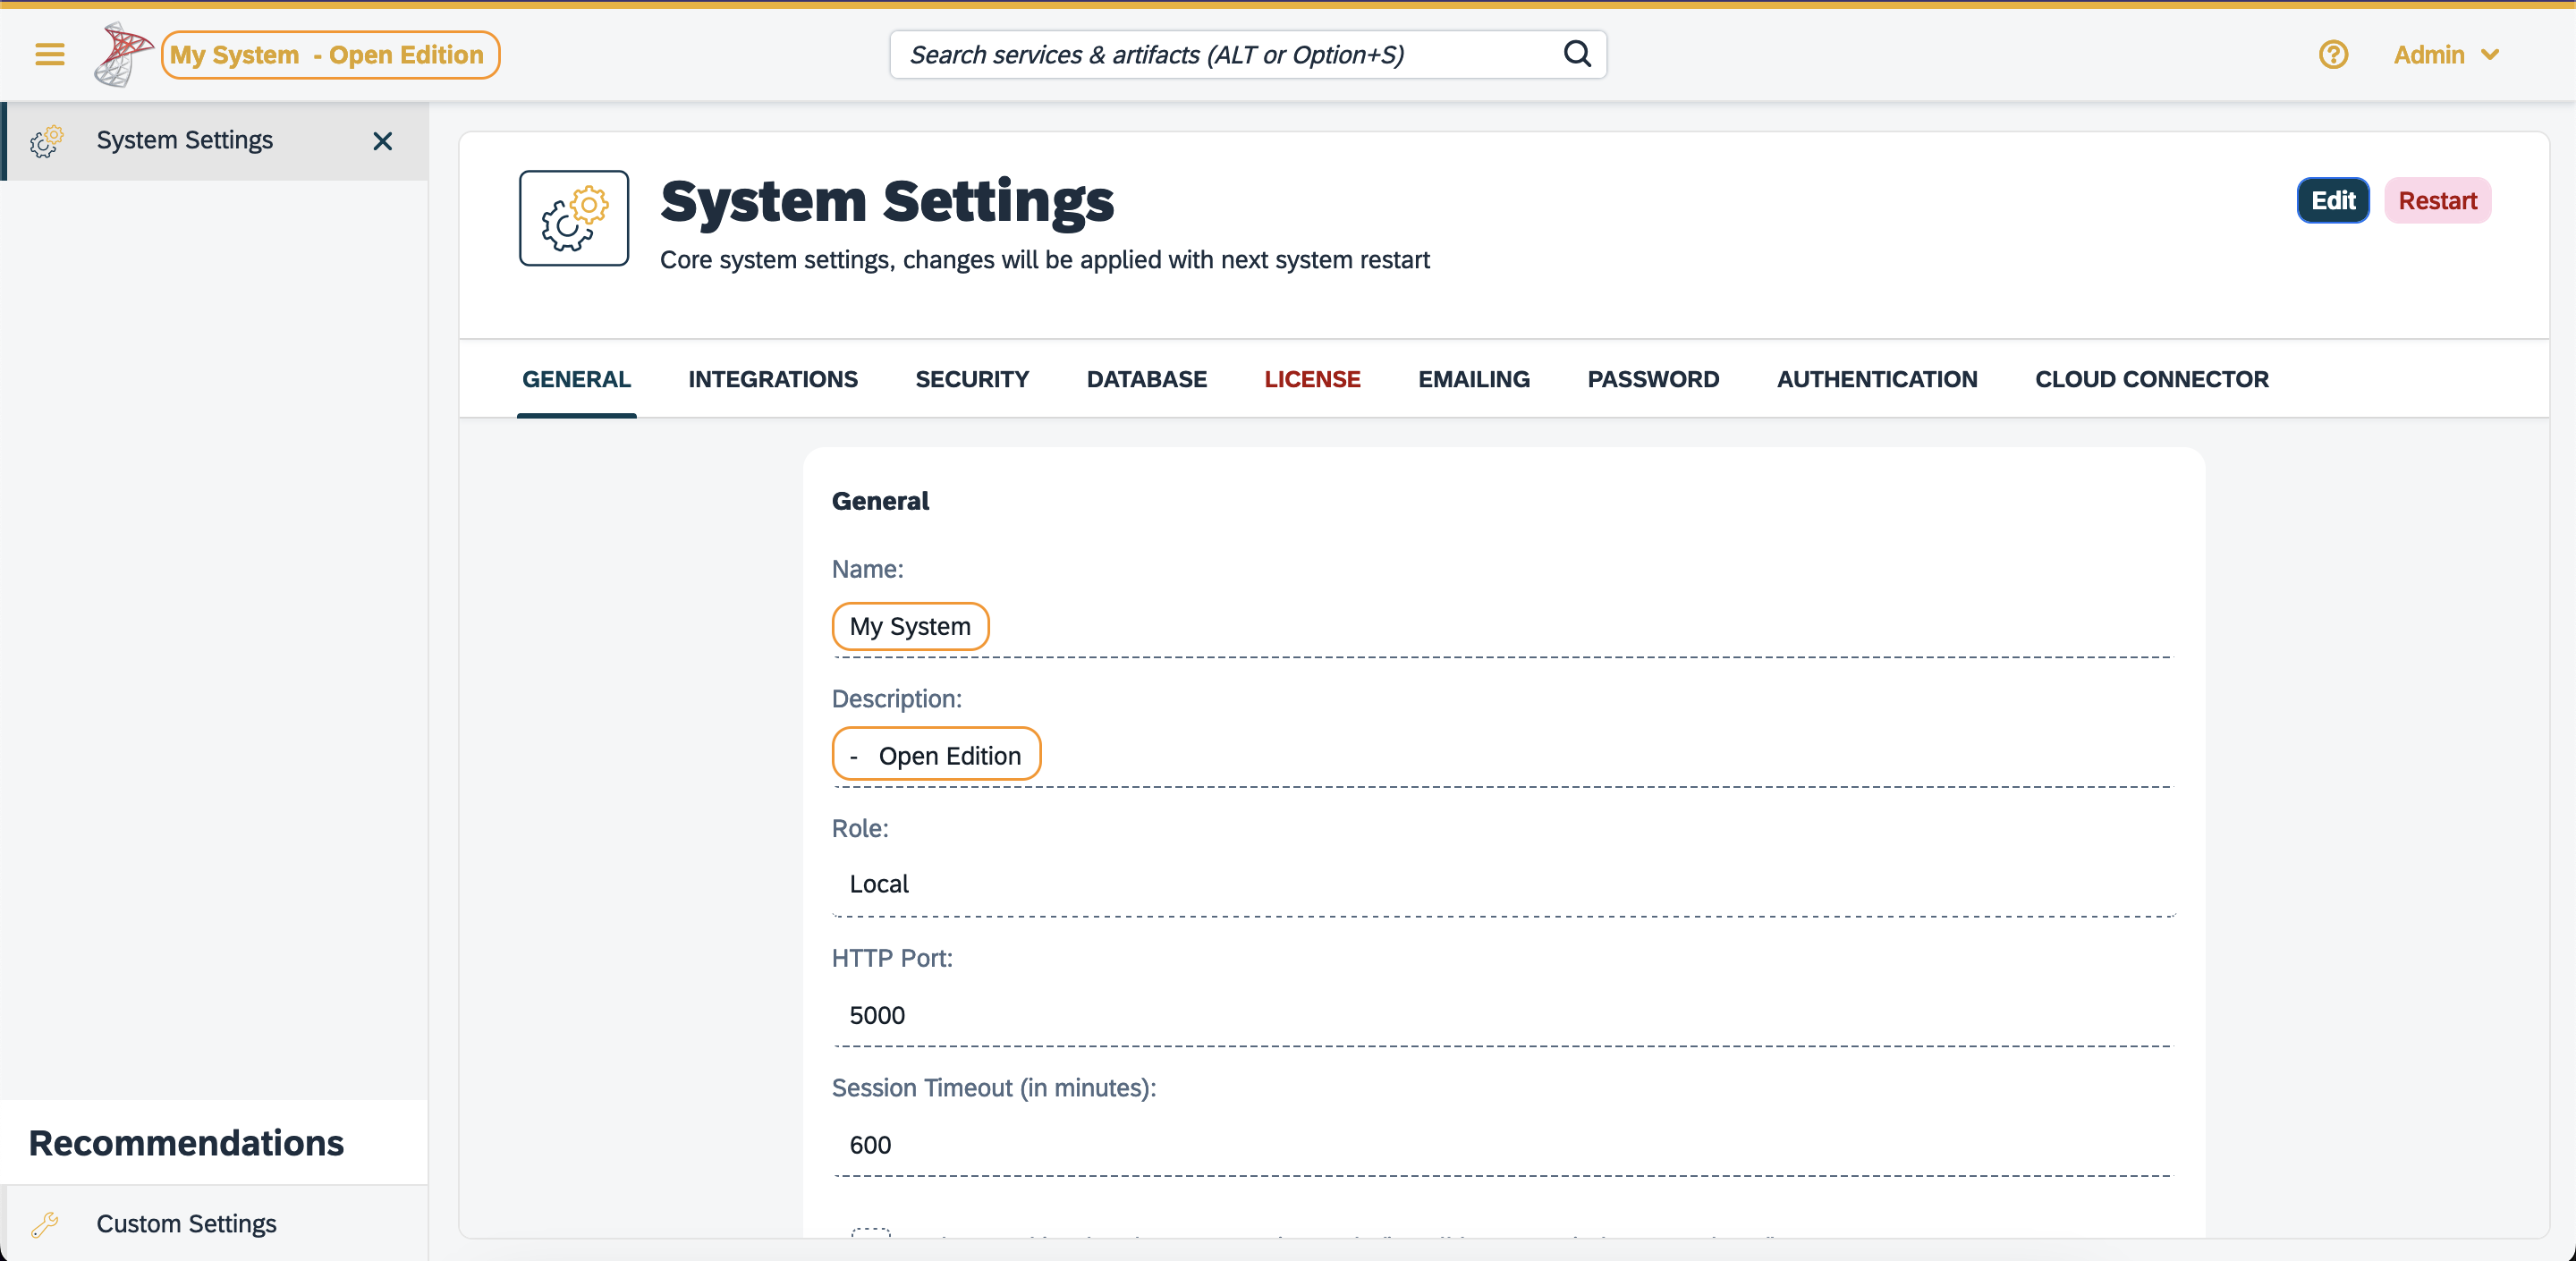
General, Integrations, and Security tab
-
In the General tab, you can assign a name, and a description to the system.
-
In the Integrations tab, you can add available integration within Neptune DXP - Open Edition.
-
In the Security tab, you make web-related security settings.
General tab
General
- Name
-
Enter a name for your system.
- Description
-
Enter a short description of your system.

In the upper left of the user interface, the description is shown next to the name of the system. - Role
-
Assign one of the following roles to your system:
-
Local
-
Development
-
Integration
-
Test
-
Quality Assurance
-
Staging
-
Production
-
Sandbox
-
- HTTP Port
-
HTTP port to access the cockpit
- Session Timeout (in minutes)
-
Enter the time span in minutes for a session timeout. If the user does not refresh or request a page within this time span, the session ends and the user has to log in again.
- Delete cookie when browser session ends (i.e. all browser windows are closed)
-
Check or uncheck.
- HTTP Response Timeout (in seconds)
-
Enter a timeout period in seconds that defines for how long a session remains active after the last refresh or page request.
- Background Job Interval (in seconds)
-
Enter a value in seconds for background job intervals.
- Number of Server Worker Processes
-
Enter a number for the maximum number of jobs that are processed simultaneously in the background.
Logging
- Log all requests to stdout (standard output) and logs/requests
-
Check or uncheck.
- Disable audit log
-
Check or uncheck. Disabling the audit log is an optional step, as the data generated from the audit log can accumulate to a substantial size over time.
Language Server
Check it to enable auto-completion features when you use the App Editor.
| This is hidden when you run Neptune DXP - Open Edition on Neptune DXP Cloud. |
Login
- Disable Local authentication
-
Check to disable the local authentication option from the login options. For example, if you want to use JSON Web Token (JWT) authentication as default, then disable local authentication. In Default login url, enter the login URL that is mentioned in defining JWT authentication.
Error notifications
Select the system components you want to receive error notifications from. Enter email addresses to receive these notifications.
SSL Security
Enable SSL by specifying the port and adding a certificate. You can generate one
in ![]() Certificates.
Certificates.
Integrations tab
Firebase - Push Notification
Firebase Cloud Messaging (FCM) is used to deliver push notifications to Android devices, Google Chrome and Mozilla Firefox. Use your FCM credentials to set up web push notifications for your site. The API keys that you enter here are stored securely and are used by the web push notifications service to connect to the FCM server. The Message Sender ID (project number) that you enter here is used by the Android SDK and JS SDK for Google
Security tab
In the Security tab, you perform the following tasks:
- Disable Frame Guard (X-Frame-Options)
-
Check or uncheck. Allows your instance to be embedded within frames or iframes on other websites.
- Accessed using HTTPS (will enable secure cookies). Remember to set 'X-Forwarded-Proto': 'https' if you are using a reverse proxy
-
Check or uncheck.
- Cookie attribute SameSite value
-
Select the cookie type.
The SameSite attribute in cookies determines when and how they should be sent with cross-origin requests. It has three values:
-
Strict: Only sent in first-party contexts, providing high security.
-
Lax: Sent with top-level navigations, but not with cross-origin sub-requests, balancing security and usability.
-
None: Sent with both top-level navigations and cross-origin sub-requests, but requires Secure and HTTPS, used judiciously for specific cases like Single Sign-On
-
In the following sections you can enter URLs to whitelists for Proxy, CORS, and CSP.