Install Neptune DXP - Open Edition on SAP BTP with PostgreSQL
In this topic, you learn how to install Neptune DXP - Open Edition on SAP BTP with PostgreSQL.
Prerequisites
-
You have created a trial account on the SAP Business Technology Platform (BTP) in Set up a trial account.
-
You have created a subaccount on the SAP BTP with four memory units assigned in Set up a subaccount on the SAP Business Technology Platform.
-
You have enabled Cloud Foundry in Enable Cloud Foundry.
-
You have added organizational space to your subaccount in Create organizational Spaces.
-
You have added a quota plan to the space of your subaccount in Add a new quota plan.
Procedure
Installation
-
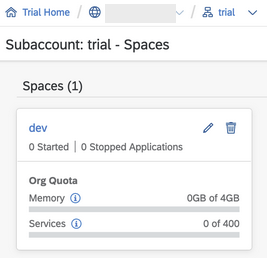
Install the Neptune DXP - Open Edition inside the available subaccount "trial" and space "dev".
PostgreSQL Hyperscaler Option
| Neptune DXP - Open Edition utilizes the SQLite database by default, which is not recommended for productive use. In the event of a Docker container restart in your SAP BTP trial account, all data is lost due to the SQLite database being stored within the container. |
-
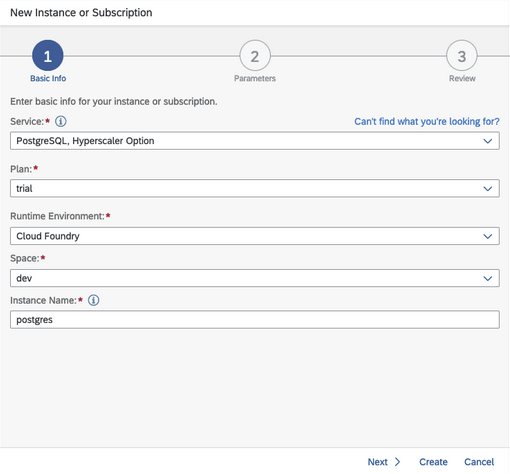
Create a new instance for PostgreSQL Hyperscaler Option in your trial subaccount.
Deploy Neptune DXP - Open Edition
-
Install the Command Line Interface (CLI) for Cloud Foundry (cf).
You can find the installation file for macOS, Windows, and Linux here: Downloads. -
Follow the installation guide here.
-
Go to the Business Technology Platform (BTP).
-
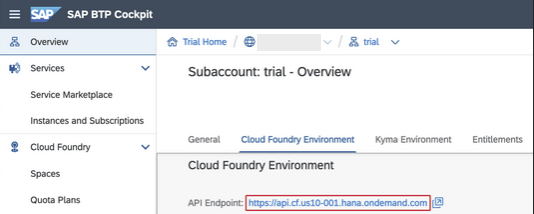
Go to the Overview page of your subaccount.
-
Copy the API Endpoint link.
-
Open a terminal. Enter the following command and replace
API Endpointwith the link you have copied:cf login -a API Endpoint -
Enter your login credentials to the SAP BTP. Check if the
Org nameandSpace namematch with the details of your subaccount. -
Enter the following command to deploy the latest Docker container:
cf push neptune-dxp -m 4096M -k 4096M --no-start --random-route --docker-image docker.io/neptunesoftware/planet9:v22.10.7 -
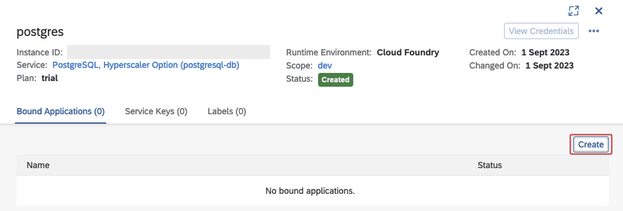
Go to the postgres service from your instances view and click Create under Bound Applications.
-
Select the
neptune-dxpapplication and click Create.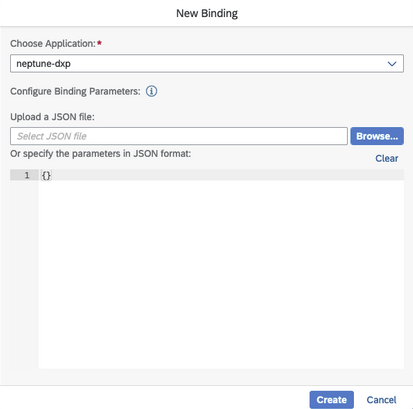
-
After the binding is created, you can click on View Credentials to get your PostgreSQL connection details which will be used in connecting the Neptune DXP - Open Edition.
-
Enter the following command in your terminal, to set user variables.
cf set-env neptune-dxp PLANET9_IP 0.0.0.0 -
Enter the following command in your terminal, to start the application.
cf start neptune-dxp -
Neptune DXP - Open Edition will start with SQLite. To change the database connection to PostgreSQL, enter the following commands in the terminal.
cf set-env neptune-dxp DB_TYPE postgresql cf set-env neptune-dxp DB_URI_POSTGRES <value of uri from dialog> cf set-env neptune-dxp DB_PSQL_SSL true cf set-env neptune-dxp NODE_TLS_REJECT_UNAUTHORIZED 0 -
Before restarting the application, you need to create the
planet9schema in your PostgreSQL database. -
Enable ssh on your
neptune-dxpapplication, using the following command.cf enable-ssh neptune-dxp -
Create the ssh tunnel, with two values from your credentials file,
hostnameandportfor PostgreSQL.cf ssh -L 63306:<hostname>:<port> neptune-dxp -
With the ssh tunnel active, you can create the schema. You can use either the
psqlcommand from the terminal, or connect with a database client such as: DBeaver.CREATE SCHEMA planet9; -
Restart the application with the following command.
cf restart neptune-dxp -
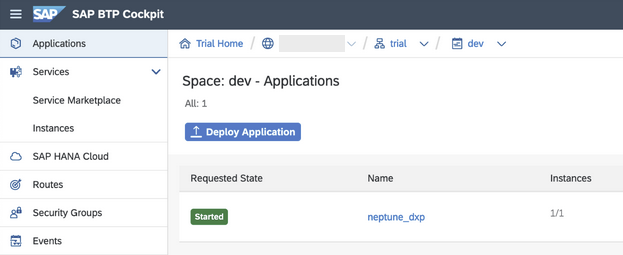
After the command is successfully executed, the application is running in your SAP BTP cockpit.
-
In Application Routes, click on the link. You are forwarded to the login page of Neptune DXP - Open Edition.
-
Sign in with the Username
adminand the Passwordadmin.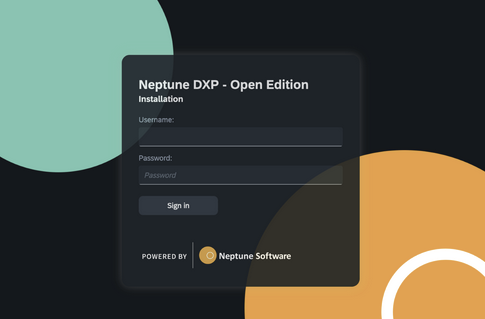
-
After login, it is recommended to change the admin password.