Use Connectors in the App Designer
In this topic, you learn how to use a connector in the App Designer.
Using the Connectors in the App Designer offers users a range of choices for seamlessly integrating data sources into their applications.
Using the Connector component
Prerequisites
-
You have created a connector.
Procedure
-
Open your application and search for
Connectorfrom the resource library. -
Place the component in Resources of the application tree.
-
In Properties > connector, select your existing connector.
| Ensure you rename the connector component to a logical name that reflects the data source. |
-
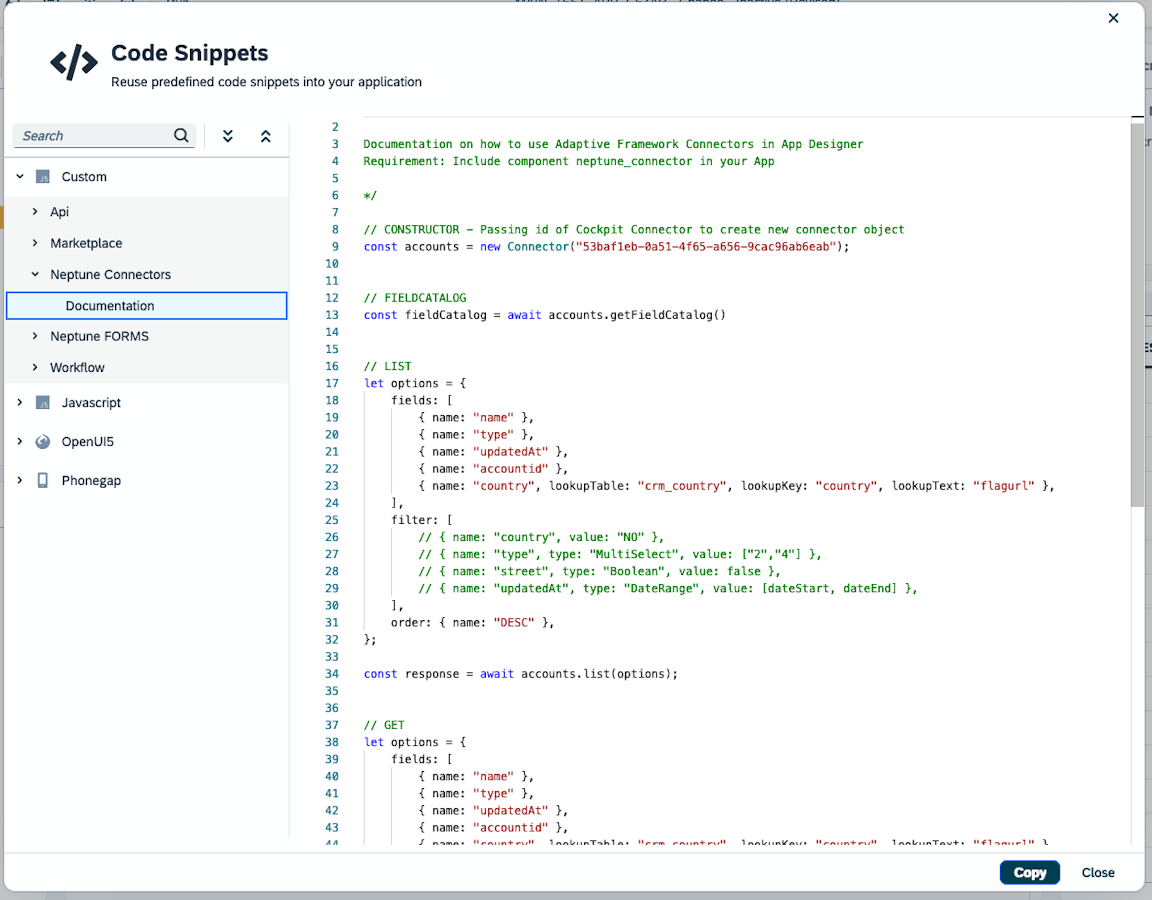
In a script, right-click.
-
Choose Code Snippets.
-
Expand Connectors > NameOfConnector.
There you will find there the generated scripts for your connector, which are ready for use.
-
-
Select a method.
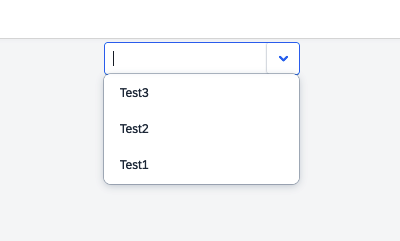
In this example, we will use the List method to fetch all the data and then bind the attributes to a
sap.m.ComboBoxcontaining a onesap.ui.core.Item. -
Select the List method and place it in a script.
-
Remove the filter object key.
// the name of our connector component is "connectData" async function listconnectData() { const options = { fields: [{ name: "name" }, { name: "text" }, { name: "image" }, { name: "updatedAt" }, { name: "createdAt" }, { name: "updatedBy" }, { name: "createdBy" } ], order: { name: "DESC" }, }; const response = await connectData.list(options); modelComboBox.setData(response.result); // set the model to the combobox } listconnectData(); -
Bind a field to the Properties > text of the
sap.ui.core.Item.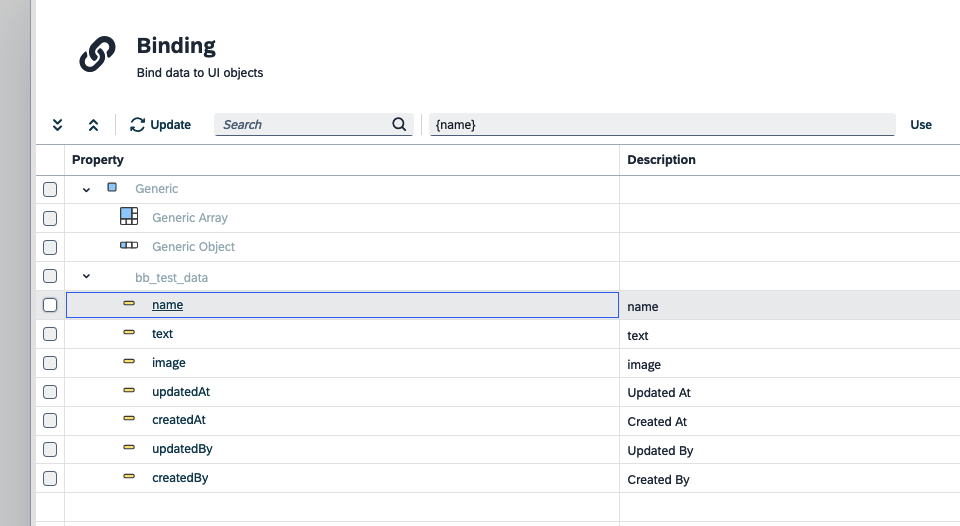
Using the Extended System Connector bundle
With the Extended System Connector bundle, available in the Neptune DXP Marketplace, you now have the capability to create new connectors for the following:
-
SAP OData
-
SAP HANA Database
-
Salesforce
-
MS SQL Server
-
ServiceNow
-
Neptune DXP - Open Edition - System Tables
Prerequisites
-
You have created a table definition.
-
You have created a connector.
-
You have installed the External System Connector & Code Snippet from the Neptune DXP Marketplace.
Procedure
-
In the App Designer, create a new application using the Full Screen Template.
Result: You have created an application.
-
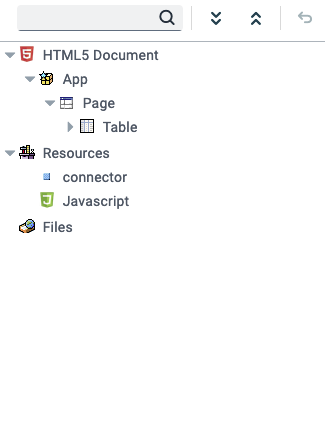
Drag a Table component in the Page of the application.
-
Drag the connector component and a JavaScript file in the application’s Resources.
-
In your Javascript file, right-click, open the Code Snippets, and under Custom, you will find the Neptune Connectors code snippets.
-
Copy your Connector’s ID from the Connector tool.
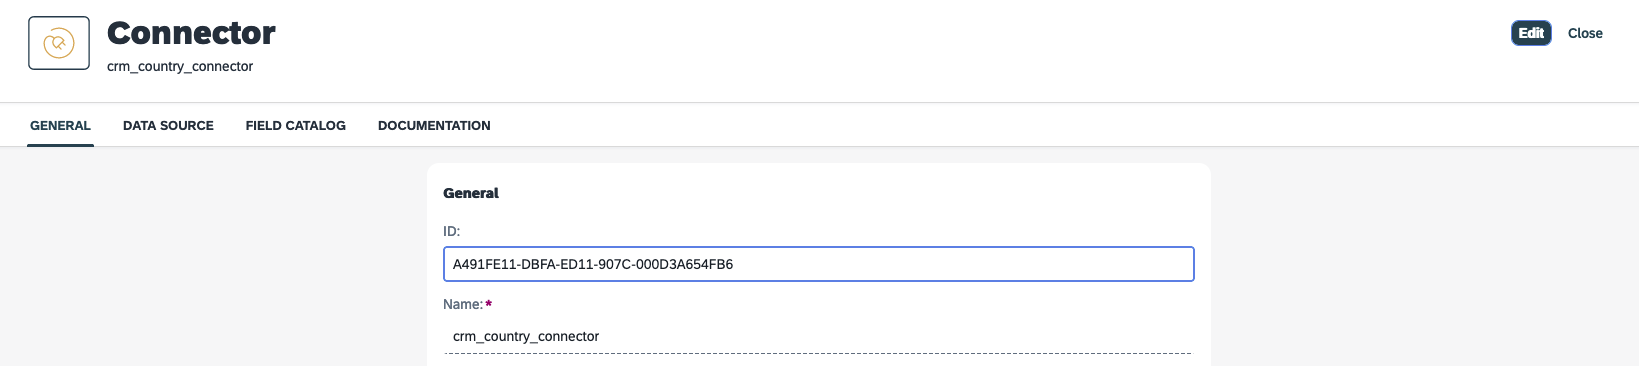
-
Copy-paste the Constructor code snippet and replace the connector’s ID with your connector ID.

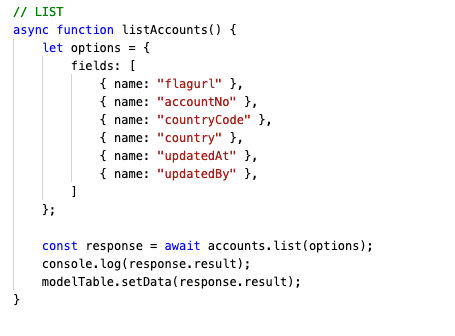
-
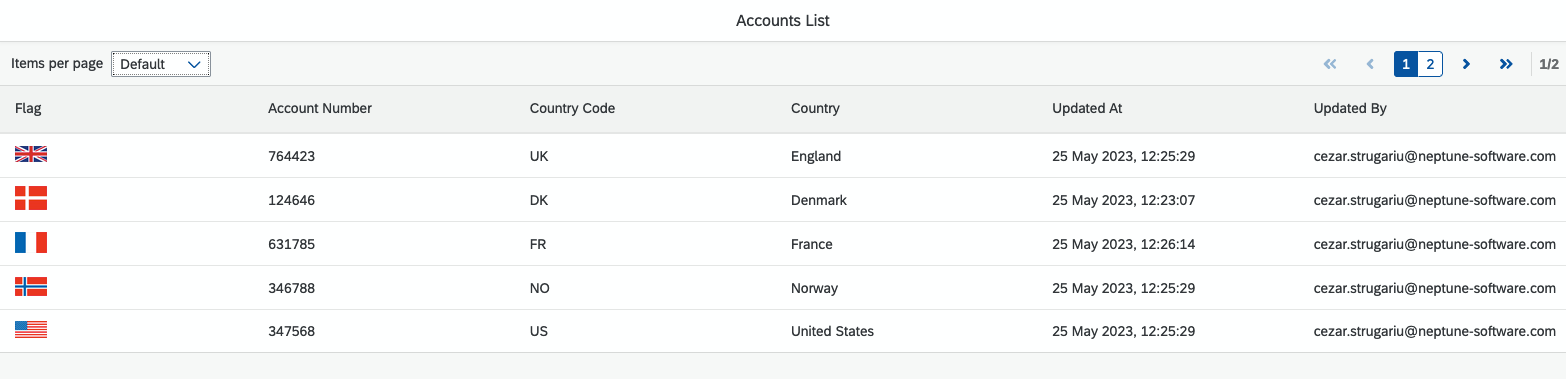
Create an async function, paste the LIST code snippet, and set the data to your table (set the table’s Model Source to Generic Array).
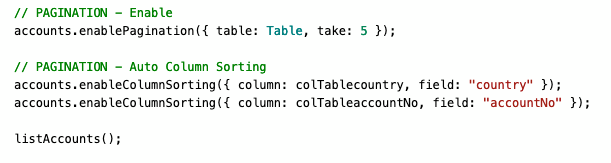
-
Paste the Pagination and Auto Column Sorting code snippet, and call the function.
-
Right-click on your table, open the Wizard and define your fields.
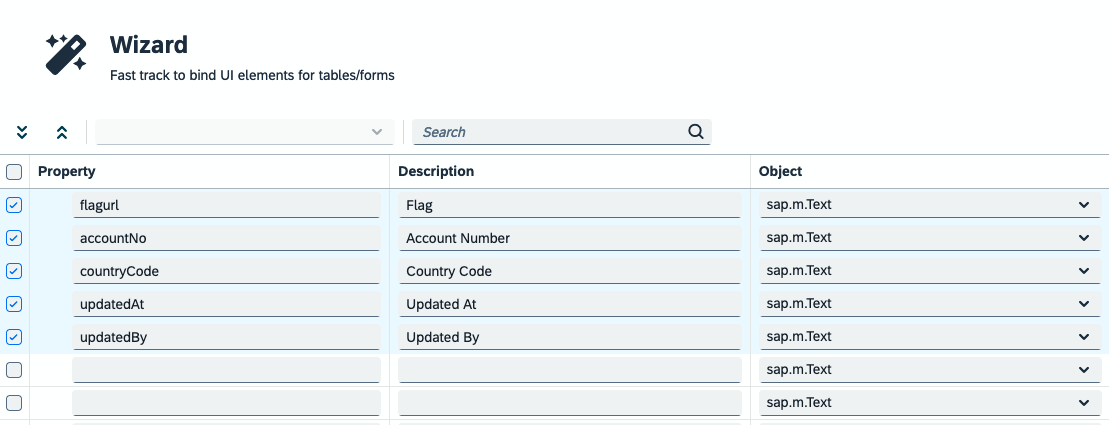
-
Save, Activate and Run the application: