Add an OData resource
In this topic, you learn how to define an OData resource and add it to Neptune DXP - Open Edition.
Procedure
-
In the Cockpit, go to Connectivity and click OData Source.
-
In OData Source, click Add.
Result: The settings of the OData resource open. You start in the General tab.
-
Enter a meaningful Name.
-
In Version, select the version of your OData resource.
-
Assign the OData resource to a Group or Package of artifacts.
-
In Endpoint, enter the URL of your OData resource.
-
In Description, enter a description of the OData resource.
-
Activate any of the following options that fit your OData resource:
-
Allow Untrusted Certificates: Allow self-signed certificates that were added in Proxy Authentication.
-
Enable Proxy: Allow proxy to reach external servers to prevent CORS issues.
-
Use in App Designer: Allow this artifact to be used in the App Designer.
-
-
Click Save.
Results
-
Your OData resource is saved with the current settings. OData Source adds an ID to your OData resource and saves change dates.
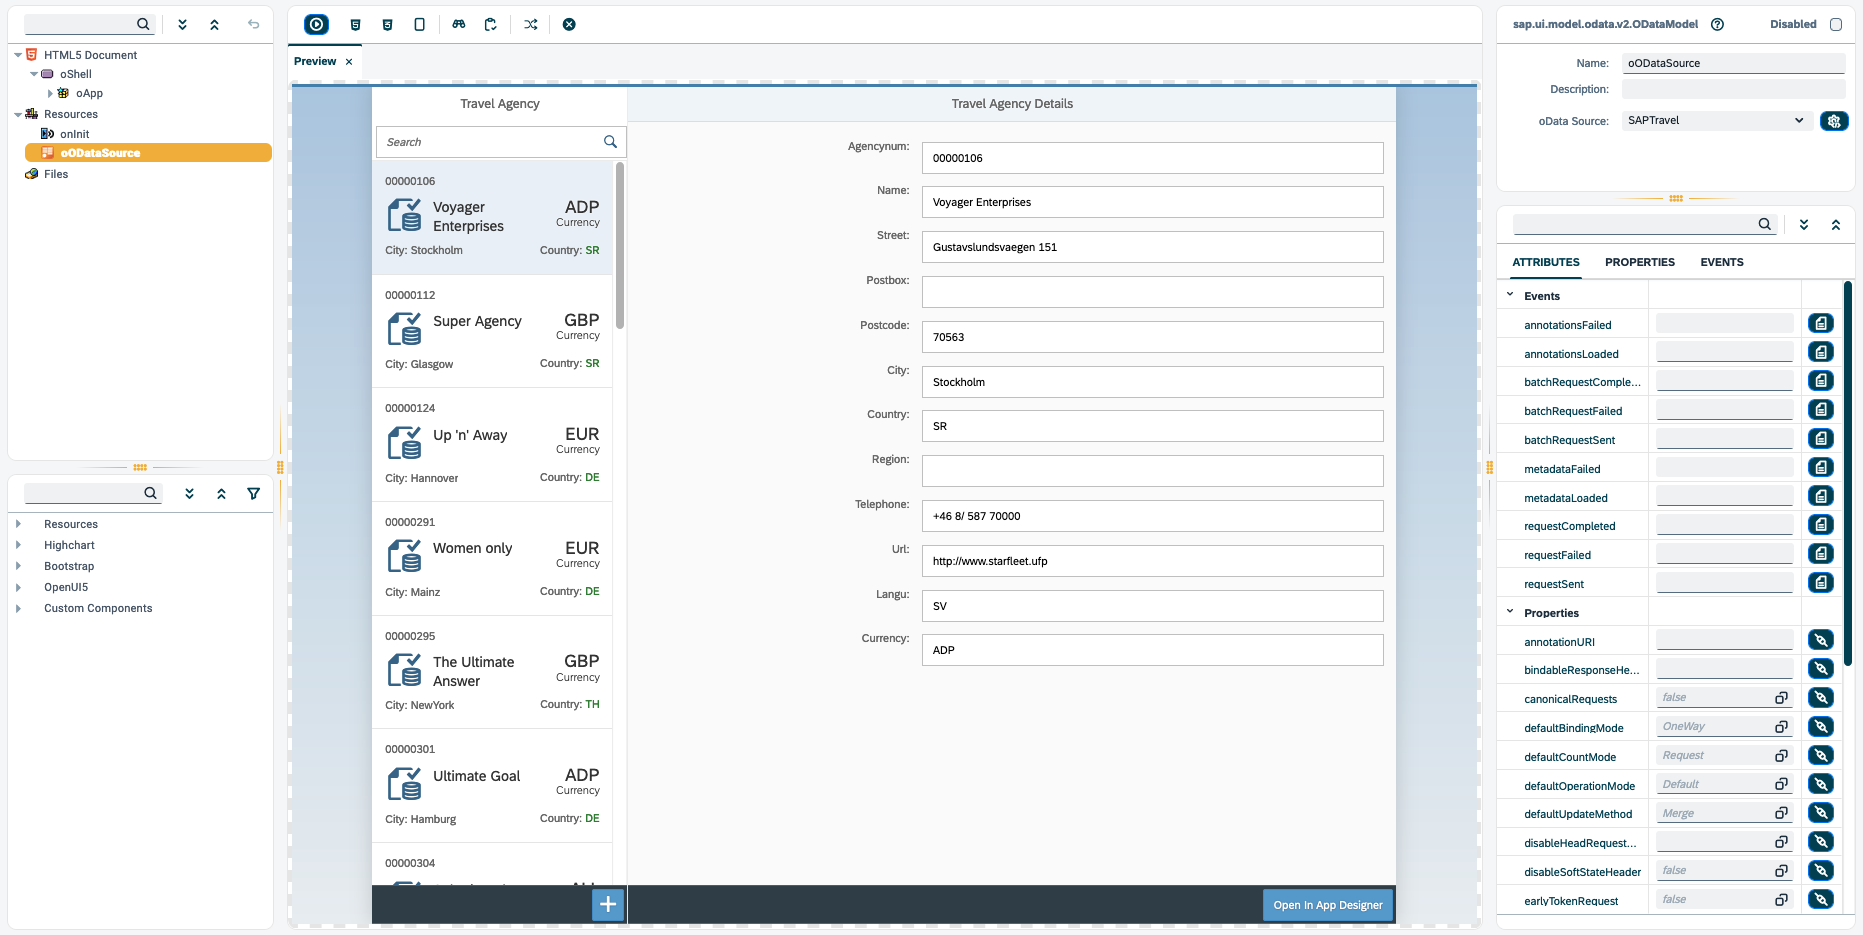
Note: You can test your OData Source in the App Designer.
-
Drag and drop the OData Source component in the resources of your application.
-
Select your oData Source.
-
Get the data to your List ( getODataoList(); ).
-
Set the Model Source of your List to your OData Source.
-
Bind your elements to your desired fields.