App Editor Visual Studio Code Extension
In this topic, you will learn how to set up and use the Neptune DXP - VS Code Extension to enable you to create React applications locally while leveraging on the Neptune DXP tools.
Installation
Install the VS Code Extension from the Visual Studio Code Marketplace.
Authentication
In order for the extension to retrieve the remote services from your Neptune DXP instance, you will need an authentication.
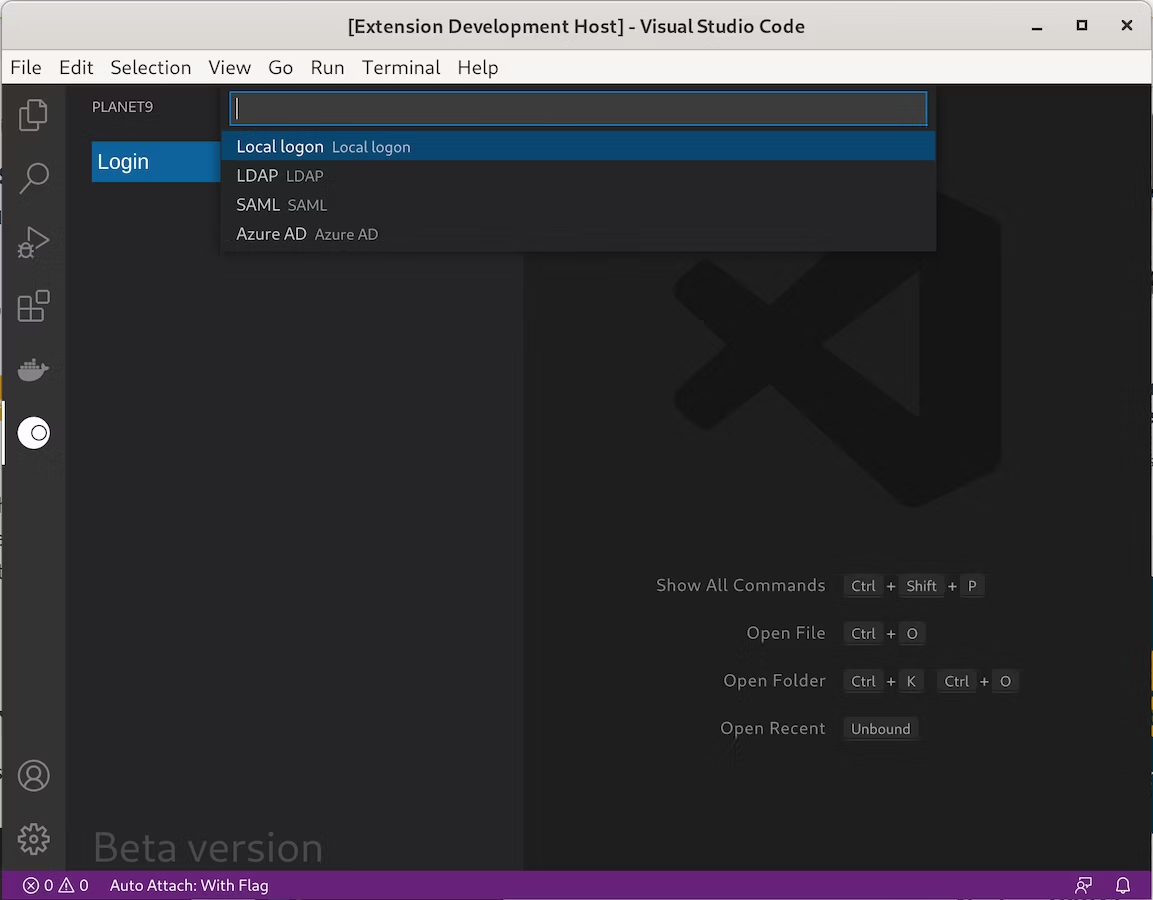
Press the login button and choose your preferred authentication method towards your Neptune DXP - Open Edition instance.
Currently, the following authentication methods are supported:
-
Microsoft Entra ID
-
LDAP
-
SAML
-
Local Authentication
- NOTE
-
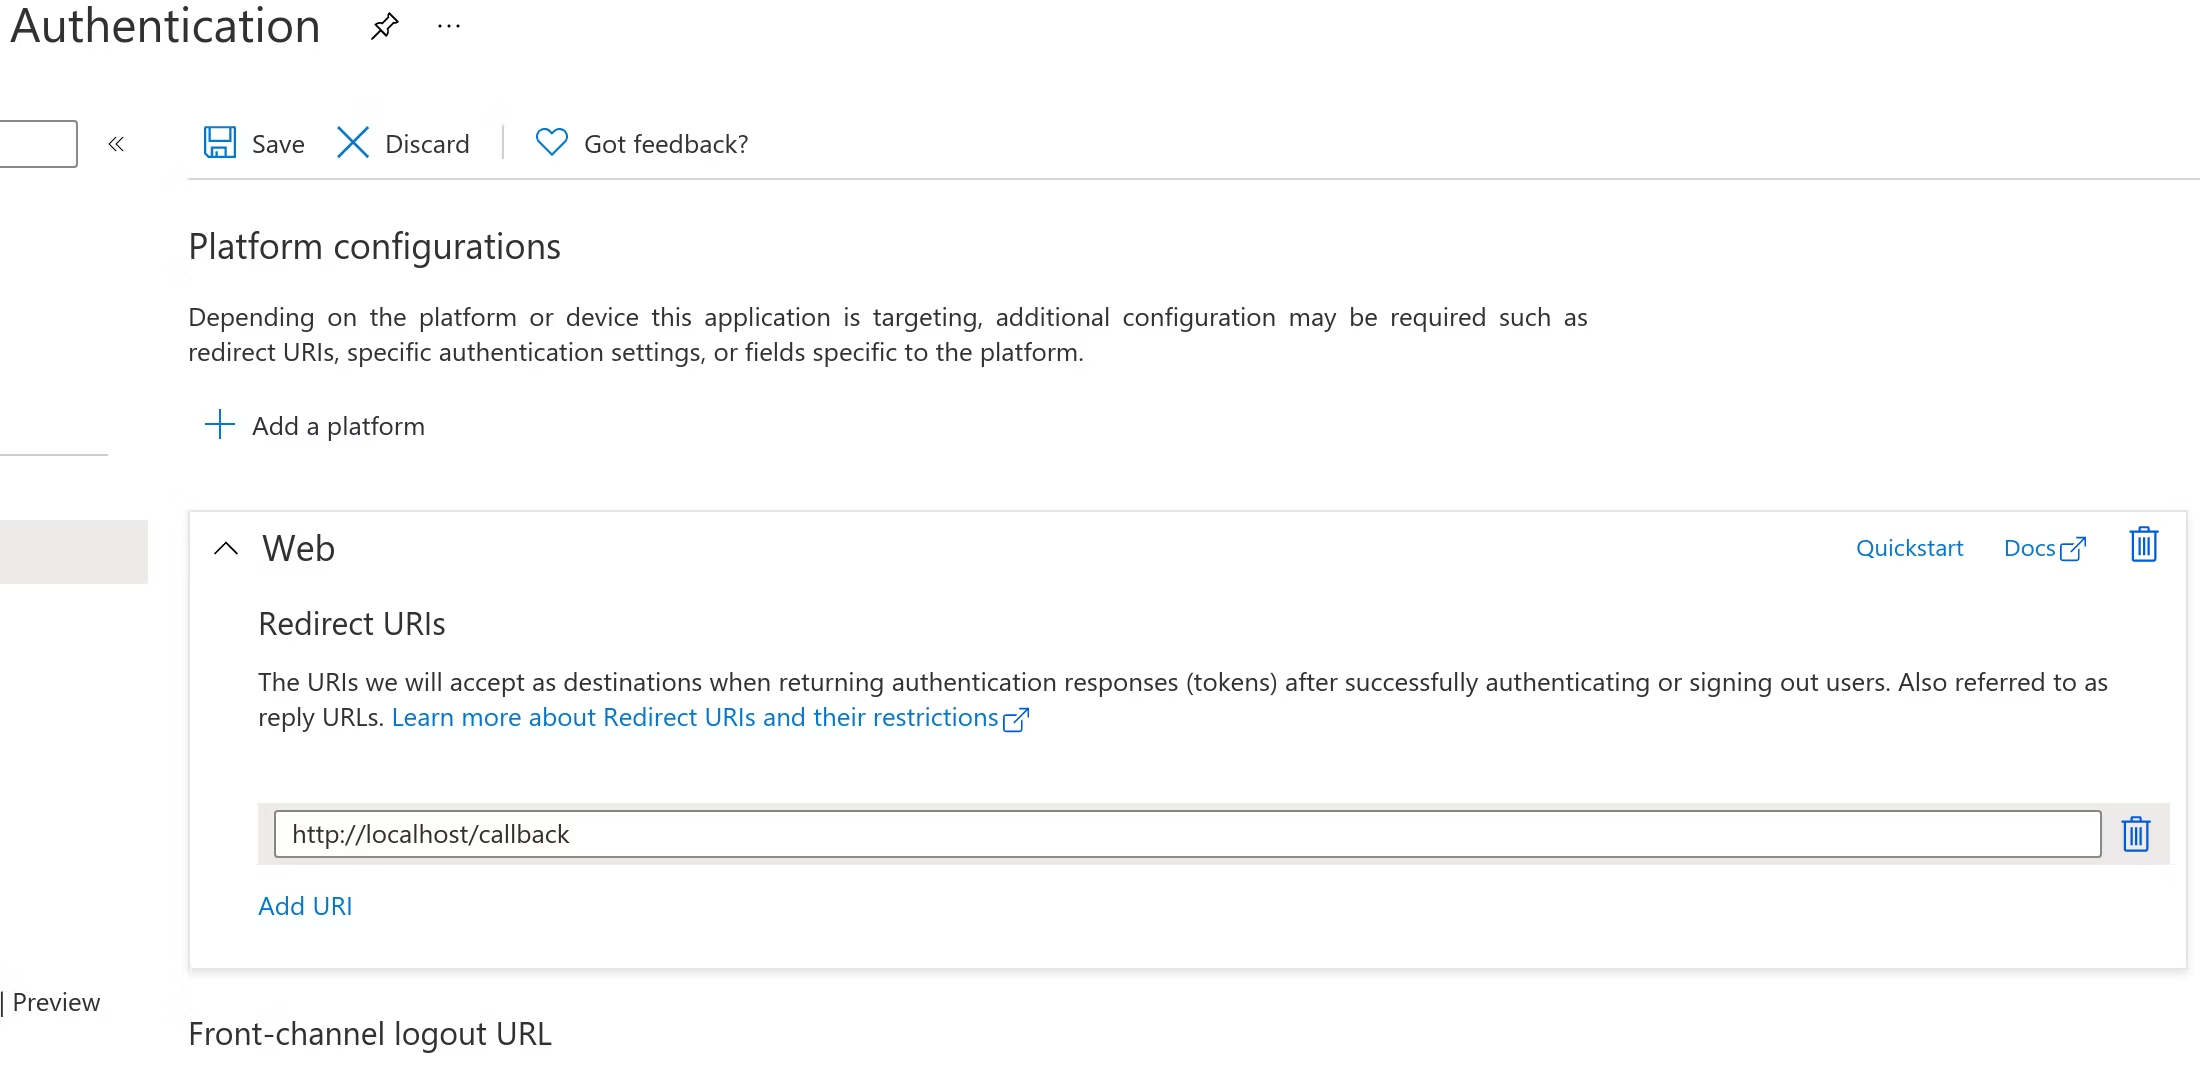
If you are authenticating using Microsoft Entra ID you will have to add "http://localhost/callback" as a redirect URI in your Microsoft Entra ID application, or else the authentication request will be denied by Azure.
Creating a new project
Click New project, select a name, then choose the location to place the project.
This will also create an empty project on the server, as well as importing the example xref: API Swagger Petstore 3.0 to the connected server.
Starting the development server
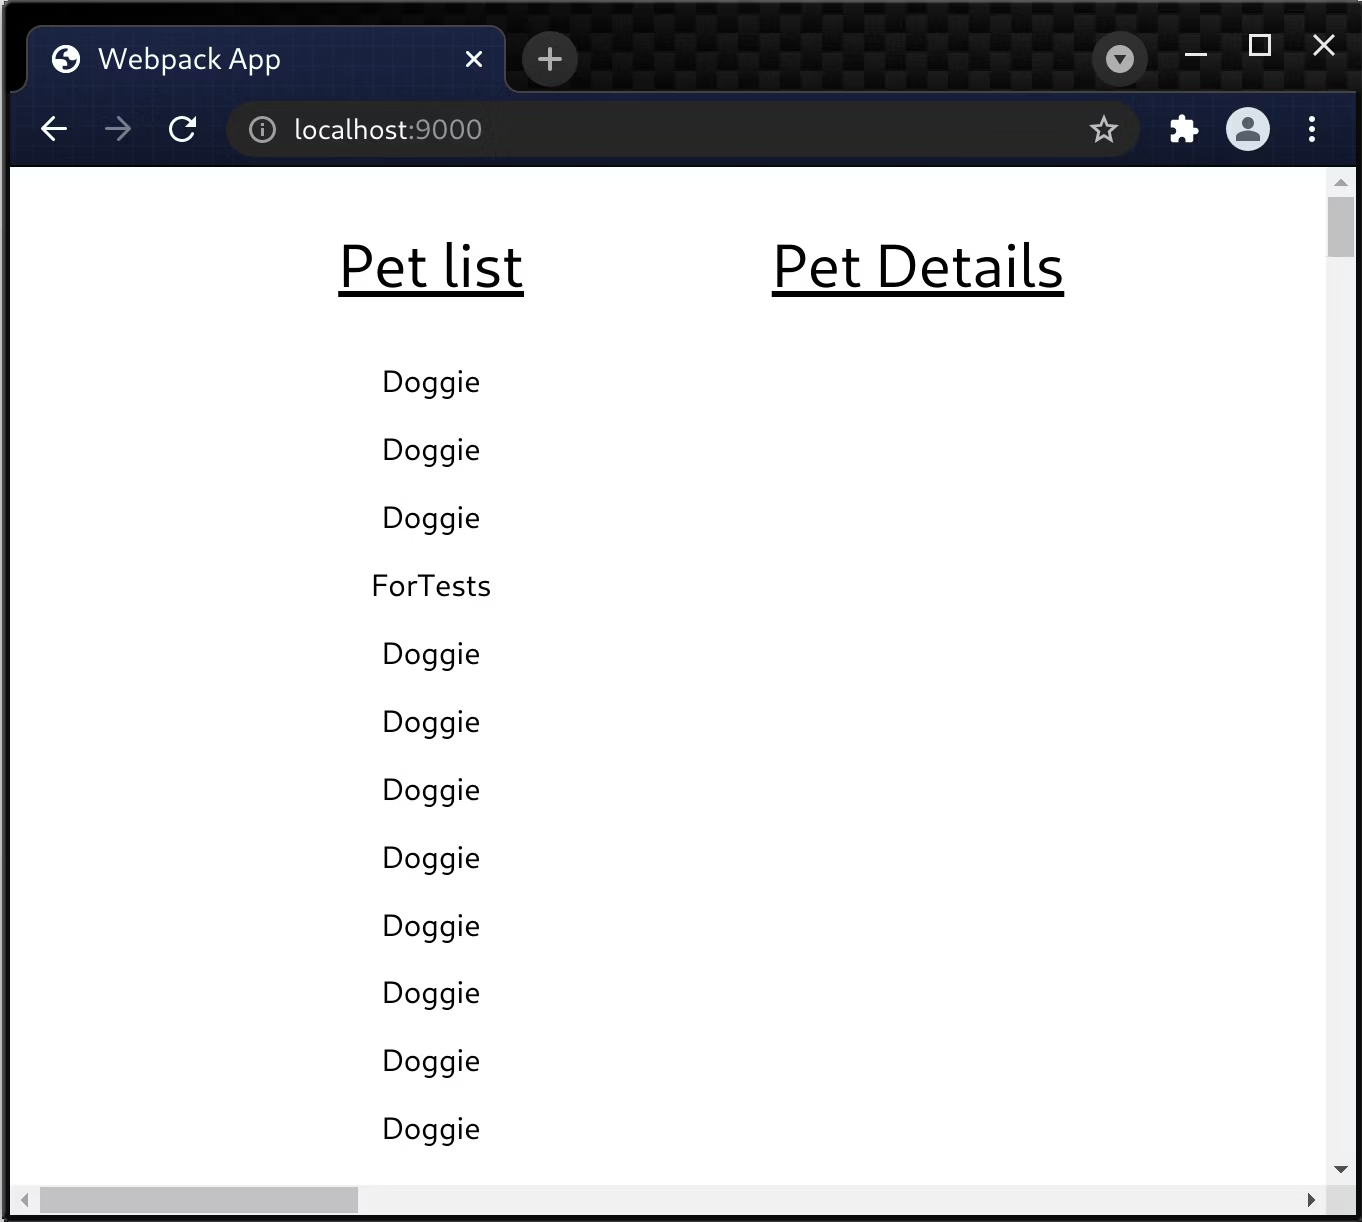
Press the Start development server button or F5, to start the development server.
This will open the project in your default browser, and will also start the webpack build process which will rebuild your code and reload the browser page each time you save.
Subsequently, to stop the development server, press Stop development server or press Shift+F5.
Importing and using APIs from the Neptune DXP - Open Editor
Press the Add API button to get a list over available APIs from Neptune DXP connected instance. Select the one you want and import it. This will auto-generate code for the API and allow you to import it as follows:

API Authentication
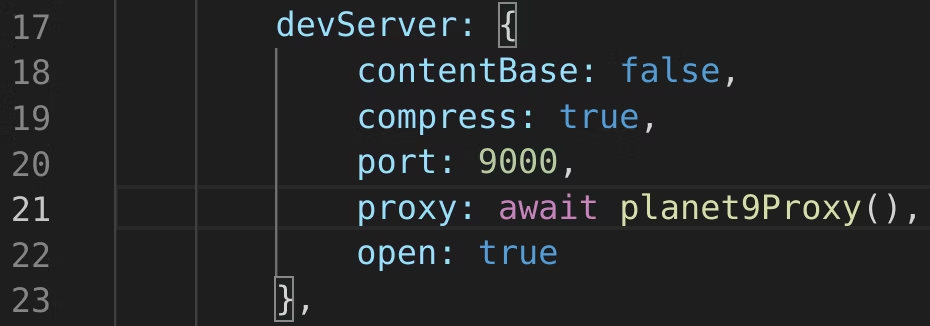
In order to develop an application locally and at the same time use relative paths to resources and services (Images, APIs, etc…), you have to proxy relative path requests to a Neptune DXP - Open Edition instance. By default these will be sent to the currently connected instance.
In order for your app (which is running locally on your computer) to gain access to API’s in the Neptune DXP, it needs to be authenticated.
In order to do this, you will use the same session that was used to connect the VS Code extension to Neptune DXP, to authenticate requests from the app to the Neptune DXP. This is done through a proxy which is used in webpack.dev.js
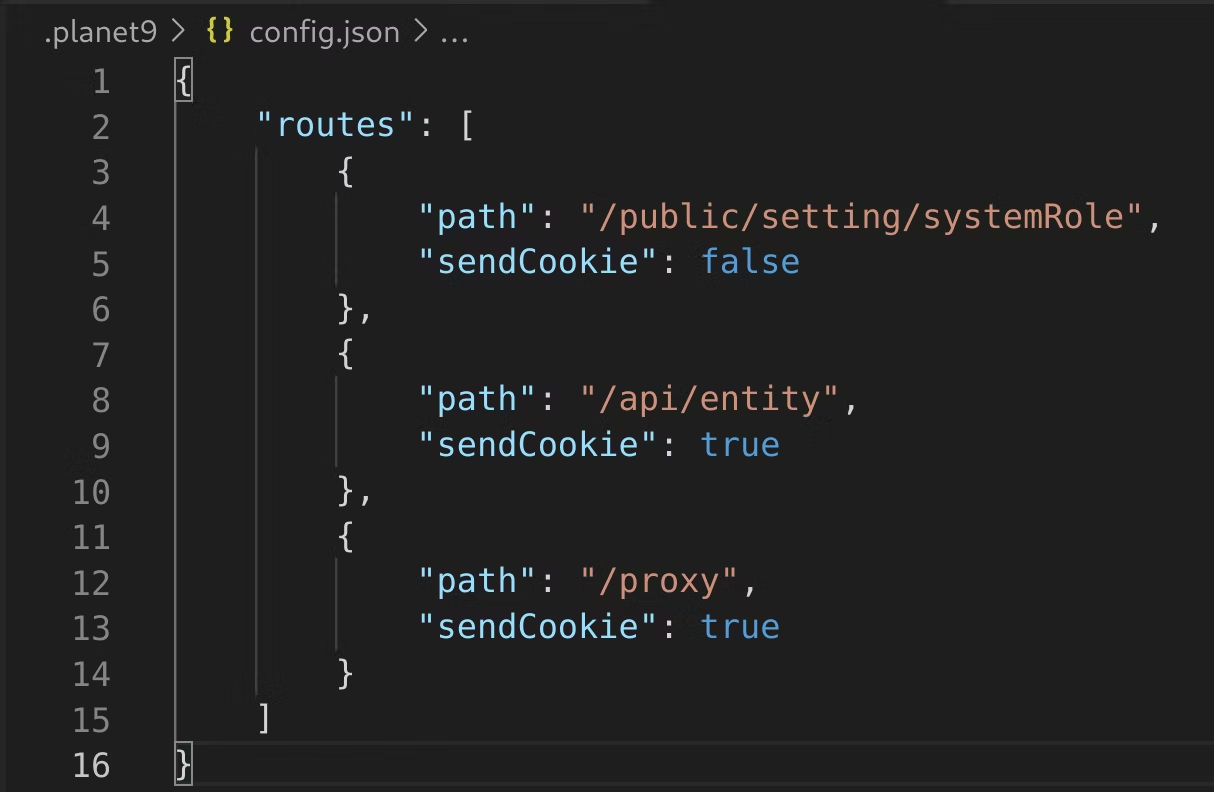
But it’s essential to identify which routes should receive the authenticated cookie and which should not. This task is accomplished using the .planet9/config.json file, which contains an array of relative routes, specifying which paths should be proxied to the Neptune DXP and whether the authenticated cookie should be sent.
Building and uploading the project to the Neptune DXP - Open Edition
Before uploading the project to the Neptune DXP it must first be transpiled and bundled, this can be done by pressing the Build button, which will pass the webpack.prod.js to webpack and output the result to the dist folder.
Uploading to the Neptune DXP - Open Edition
By pressing the Upload button, all the files from the dist folder will be uploaded to the connected Neptune DXP instance. Folders will be ignored.
This allows you to use the tools that you need while connecting to all services that the Neptune DXP provides in a simple and secure way.