Edit a PDF template
In this topic, you learn how to edit an existing PDF template.
Prerequisites
-
You have created a PDF template.
-
You have opened a PDF template.
Procedure
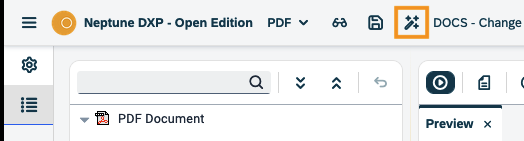
| Make sure your PDF template is in editing mode. To put your PDF template in editing mode, click the toggle to edit icon. |

Add elements to your template
-
Drag the element you want to add from the Component library pane to the Document tree pane. You can change the attributes of the element in the Properties pane on the right.
-
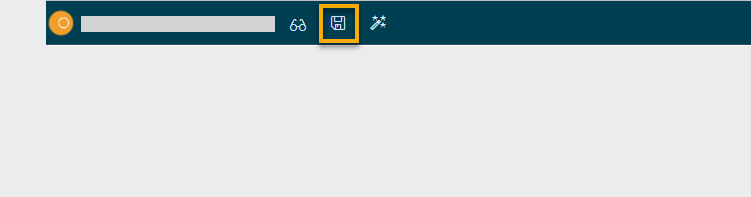
Click the Save icon.
Remove elements from your template
-
Right-click on the element you want to remove.
-
Click Delete.
-
Click the Save icon.
Add test data to your template
-
Click the Test Data icon.
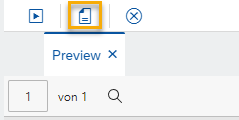
Result: The Test Data tab opens.
-
You can insert the test data. Test data is used to provide some content while you design your PDF template. The format of the test data is
json.
Preview your template
-
Click the Preview Icon.
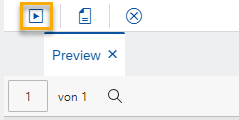
Result: A preview of your PDF is displayed in the Preview pane.
-
You can click the Activate icon to refresh the preview of your PDF template.
Configure the properties of an element
-
Click on the element you want to configure.
Result: The properties of the element are shown in the Properties pane.
-
Configure the properties of the element in the Properties pane corresponding to their use.
-
Click the connected icon to bind an interface to an attribute of the element. By this, this element is binded to the content that comes from an API.
Result: A new window opens.
-
Click the interface you want to bind to the attribute.