Configure authentication in the Azure portal
To add Microsoft Entra ID authentication to your Neptune DXP - Open Edition, you first have to perform the following tasks in the Azure portal.
Prerequisites
-
You have registered the Neptune DXP - Open Edition in the Azure portal. Find more information about how to register an app in the Microsoft documentation.
-
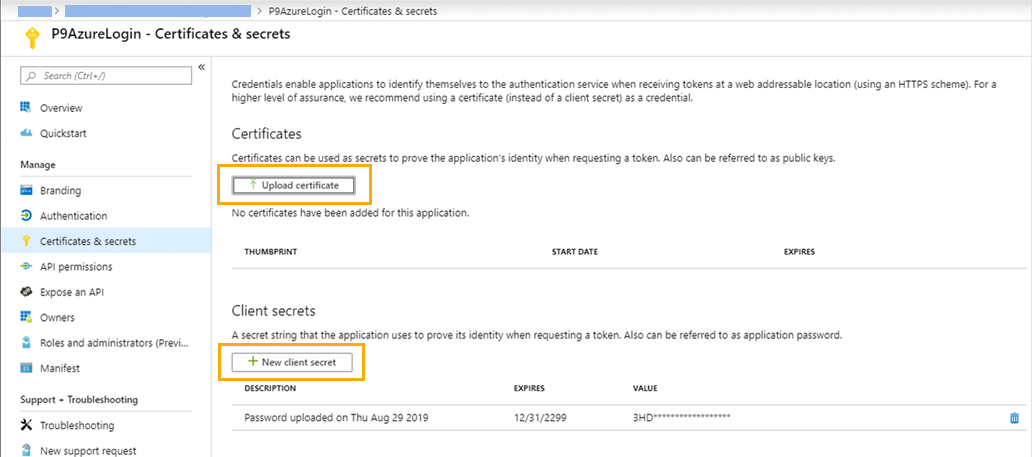
You have created a self-signed certificate.
Procedure
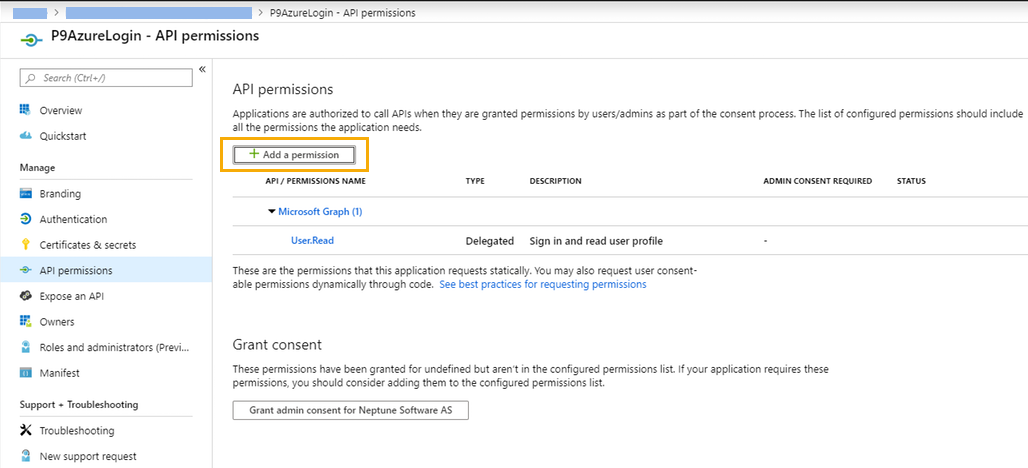
Add a redirect URI
-
In the Azure portal, go to Authentication.
-
In Redirect URI, add one or more URIs. These URIs will be accepted as destinations when returning authentication responses (tokens) after authenticating users.
The redirect URI must have the following format:
https://<Planet 9 URL>/public/azure_redirect.html
For example:
https://planet9explored.neptune-software.com:8081/public/redirect.html
+ image::settings-azure-add-uri.png[,800]