Import a definition into an API
In this topic, you learn how to add a definition based on a sample response of your API. In many cases, importing a definition is faster than adding one manually. After importing a definition you can still make changes.
We use the API Client to create a response in JSON format. You can instead use a JSON or YAML response that you created another way, that is, outside Neptune DXP.
Procedure
-
In the Cockpit, go to Connectivity and click API Client.
-
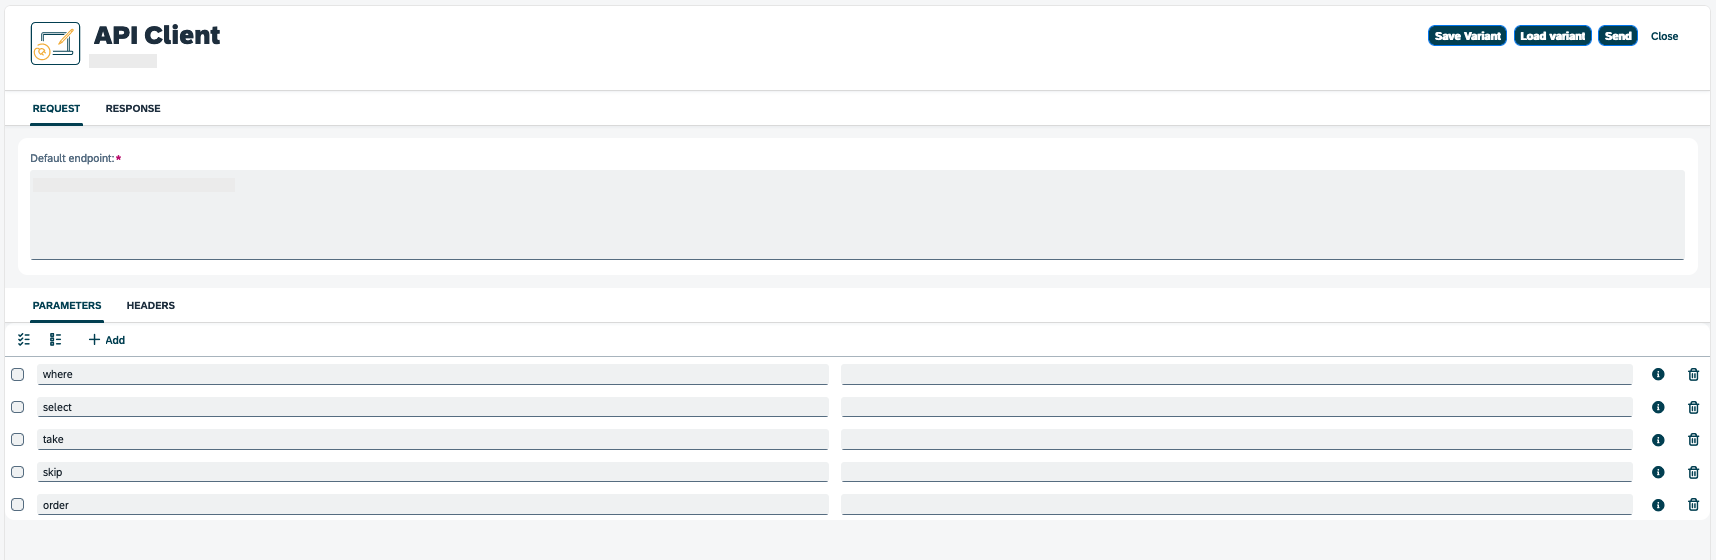
In the API table, go to your API and click the operation you want to add a definition to.
Result: The test page for the selected operation opens. You see the endpoint, and any parameters and headers that are defined for the operation.
-
If you want to change the response, edit parameters, headers or the endpoint.
-
Click Send.
Result: The Response tab opens.
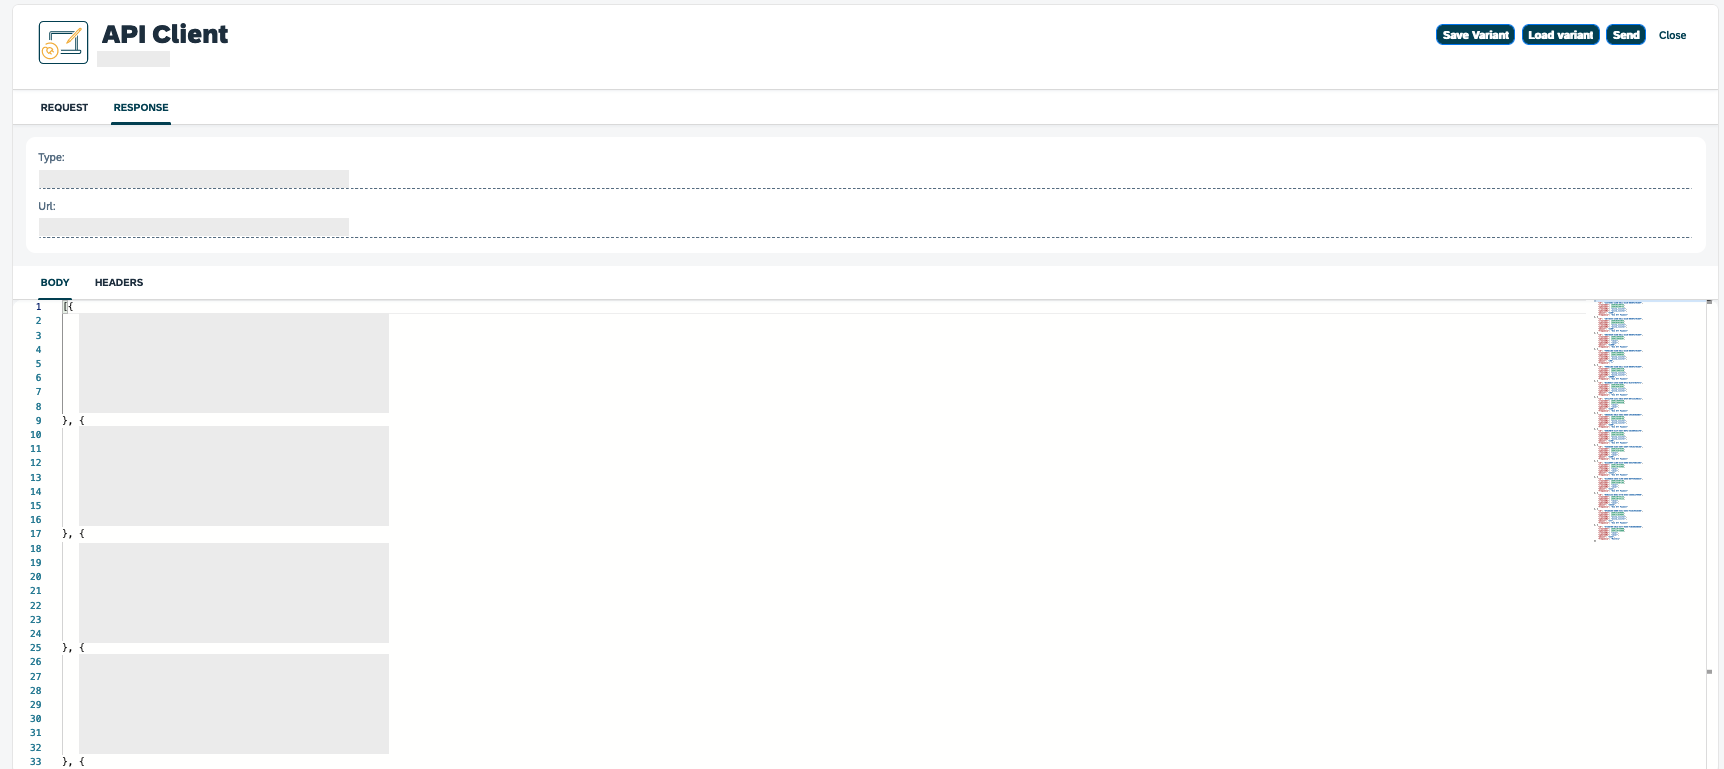
You see the type, URL, response body, and headers.
-
Copy the response body to the clipboard.
-
On the shell bar, click the Neptune icon or use the search bar to navigate to the API Designer.
-
In the API table, click the API.
Result: The API configuration dialog opens.
-
Navigate to the Definitions tab and click + to add a definition.
-
Enter a Name and Description.
-
Navigate to the Properties tab.
-
On the toolbar, click JSON Import.
Result: The Import API dialog opens.
-
Paste the response from the clipboard and click Import.
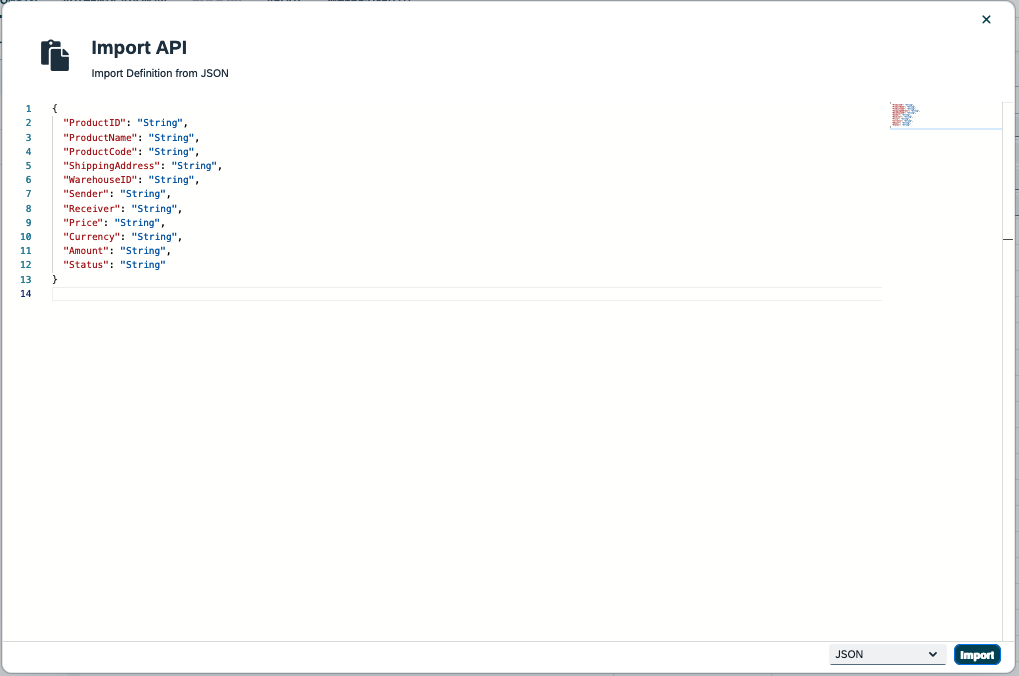
Result: The API Designer adds properties based on the response. You can still add, edit, or delete properties.
-
Click Save.