How to load Neptune Forms in Adaptive Applications
The following example illustrates how to load Neptune Forms in an Adaptive Application, as well as how to save the Form data.
Prerequisites
-
You have installed the Adaptive Framework from the Neptune DXP Marketplace
-
You have installed the Neptune Forms add-on from the Neptune DXP Marketplace
Procedure
-
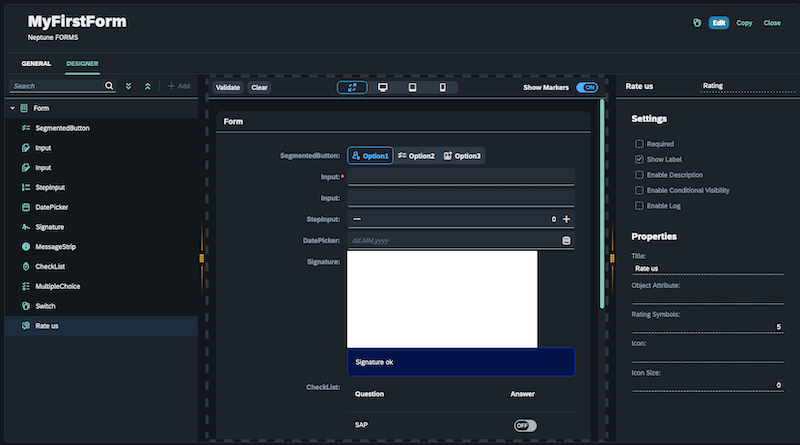
Create a form using the Form Designer - Building a simple Form
-
Create a Table where the Form’s data will be saved:
-
Properties:
-
Title
-
Description
-
Formid
-
Formdata
-
Formstatus
-
-
Set the formdata "Type" to JSON.
-
Check "Nullable" on all fields.

-
-
Create a Connector based on the above table:

Note: This connector will be used in all the Adaptive applications. More information about the Connector available here.
-
Create Adaptive Applications
Note: More information about the Adaptive Designer available here.
-
Create an Adaptive List app using the planet9_adaptive_list template:

From Settings:
-
Give it a name: “List”
-
Enable Create
-
Enable Close
-
Enable Delete
-
Run at Start
-
Run at Focus
-
Drag “title” and “description” into the Table, and “Save”.
-
-
Create an Adaptive Edit App using the planet9_adaptive_edit template:

-
Give it a name: “Form Details”.
-
Drag “title”, “description”, “formid”, and “formstatus” in the “Form”.
-
Select “formid” field, and:
-
Set field type to SingleSelect Lookup
-
Under Data Source:
-
Set Table to "forms_design"
-
Set Key Field to "id"
-
Set Text Field to "name"
-
Hide Key Field
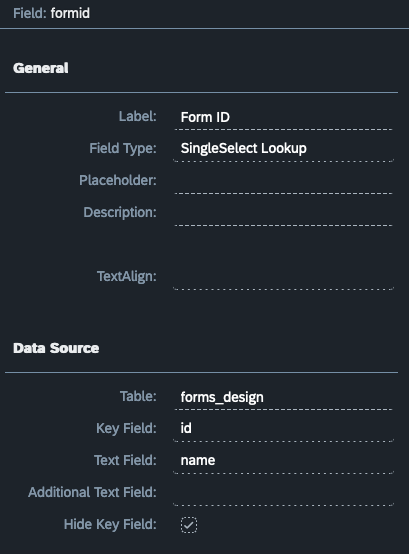
Note: *This configuration will populate the “formid” field with all the available forms created in the Form Designer.
-
-
Select “formstatus” field, and:
-
Untick Editable
-
“Save”
-
-
-
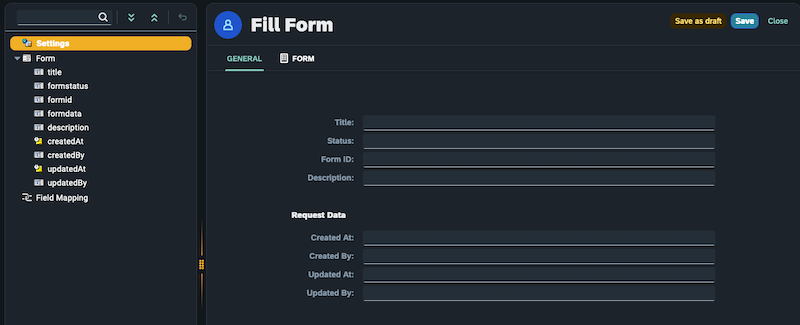
Create an Adaptive App using the planet9_adaptive_forms template:
-
From Settings:
-
Give it a name: “Fill Form”
-
Enable Close
-
Enable Draft
-
Enable Save
-
Enable Delete
-
Enable Forms
-
-
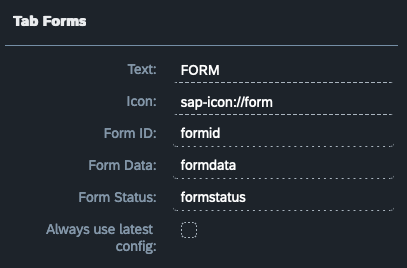
From Settings, under “Tab Forms”:
-
Set Form ID to formid
-
Set Form Data to formdata
-
Set Form Status to formstatus
-
-
Drag all the fields in the “Form”.
-
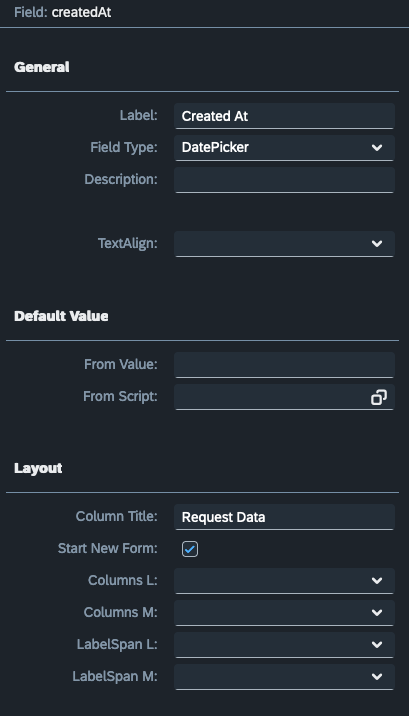
Select “updatedAt” field:
-
Change the field “Type” to “DatePicker”
-
Under “Layout”:
-
Tick “Start New Form”
-
Set Colum Title to “Request Data”
-
-
From Properties:
-
Untick “Editable”
-
-
Select “createdAt” field:
-
Change the field “Type” to “DatePicker”
-
From Properties:
-
Untick “Editable”
-
-
-
-
Connecting the Adaptive Applications:
-
Under “Create” Event Settings → Set the Target to the “Form Details” app (the app created using the planet9_adaptive_edit template).
-
Click “Use”.
-
Under “ItemPress” Event Settings → Set the Target to the “Form Details” app (the app created using the planet9_adaptive_edit template).
-
Click “Use”.
-
From the Adaptive List Application → Create a new Record and select a Form from the Form ID field. (The form created in the Form Designer).

-
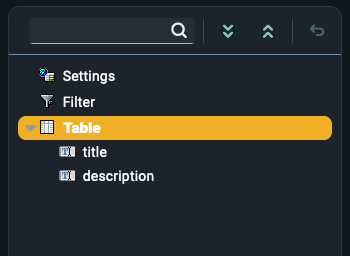
From the Adaptive List Application → Select the Table
-
-
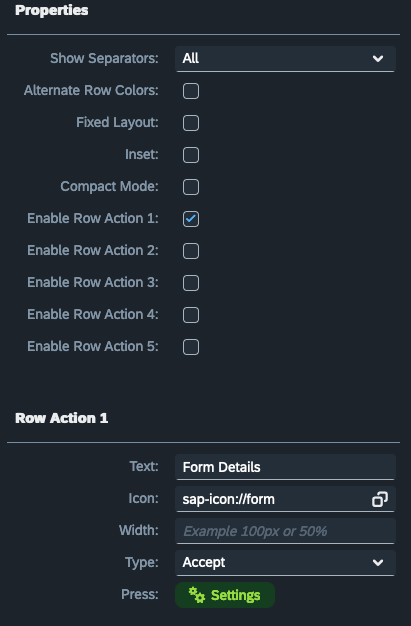
From Table Properties → Enable Row Action 1
-
Row Action 1:
-
Set text to “Form Details”
-
Select an Icon
-
Set Type to Accept
-
On the “Press” event Settings, the Target will be the “Fill form” app (the app created using the planet9_adaptive_forms template).
-
Click “Use”
-
Then “Save”
-
-
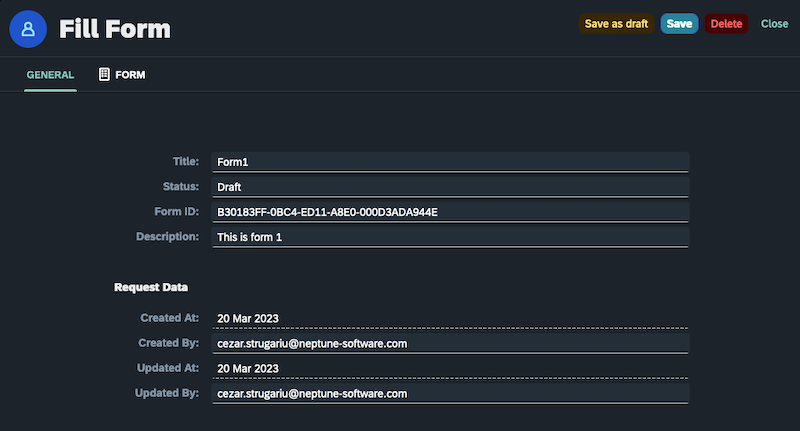
Click on “Form Details” → General Form details are displayed.
-
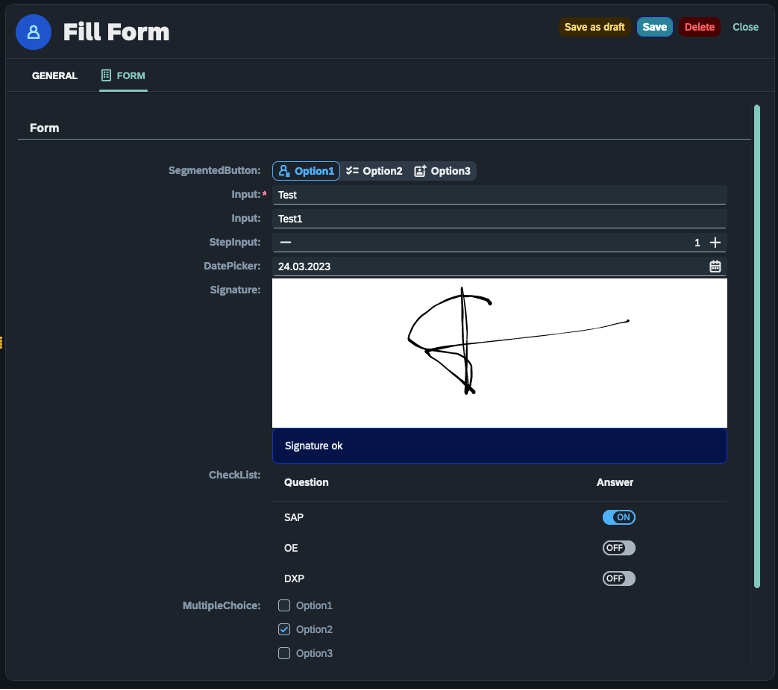
Under the “Form” tab you can fill in the Form and “Save” it, or “Save as draft” for later completion.
-
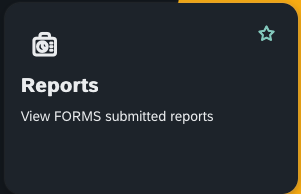
From the Cockpit, open the “Reports”
-
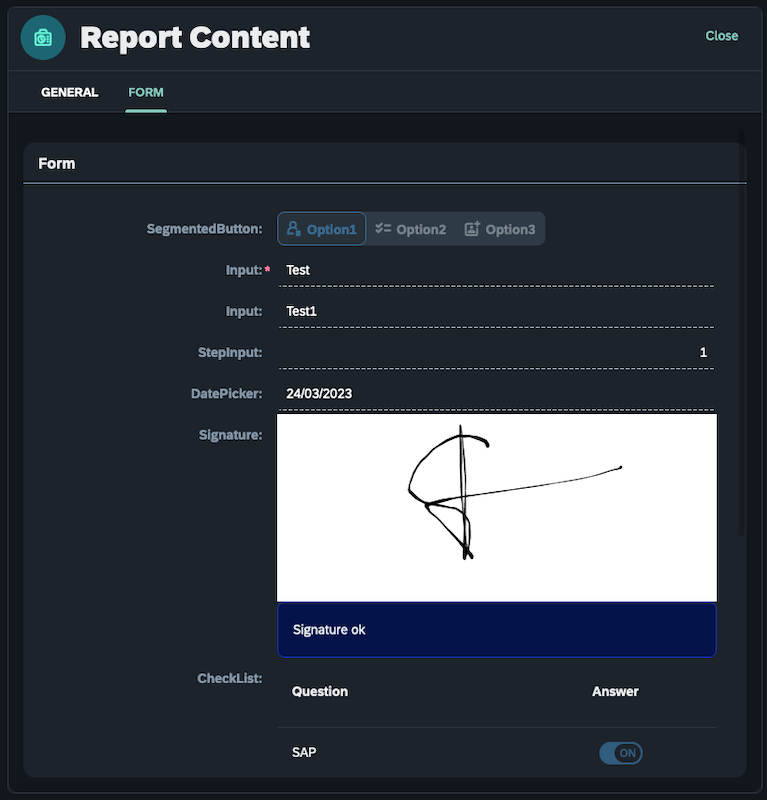
In here you can access the submitted reports
