Add a footer with a button
In this step, you add a footer bar with a button to update data displayed in your application.
Prerequisites
-
You have done the first configuration of your application.
-
You have integrated data from an API.
Procedure
-
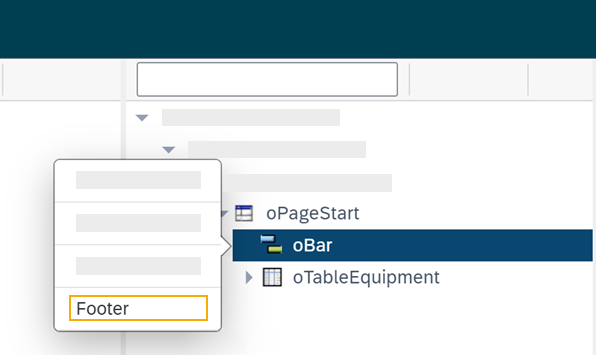
On the component library, open sap.m > Application and drag and drop the Bar component onto oPageStart in the application tree.
-
From the pop-up menu that opens when you drop the component, select Footer.

-
On the component library, open sap.m > Application and drag and drop the BarContent component onto oBarFooter in the application tree.
-
From the pop-up menu that opens when you drop the component, select Middle.
-
On the component library, open sap.m > Simple Controls and drag and drop the Button component onto Middle in the application tree.
-
On the properties pane, open the Properties tab.
-
In text, enter
Updateand in type, select Emphasized from the list.Result: You have added a footer with a button to update the table. Now you add functionality to the button so that the button makes the API call rather than the table itself.
-
On the application tree, click oRestAPI.
-
In the Attributes tab on the properties pane, click into the setInitLoad field in Model and click Clear.
-
On the application tree pane, click oButton.
-
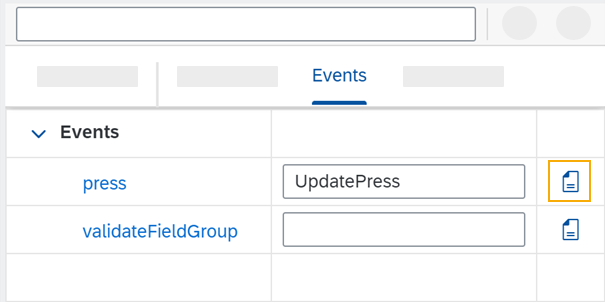
On the properties pane, open the Events tab and enter a name for the press event, for example
UpdatePress. -
Click the document-text icon next to the name.

Result: On the preview pane, the JavaScript editor opens.
-
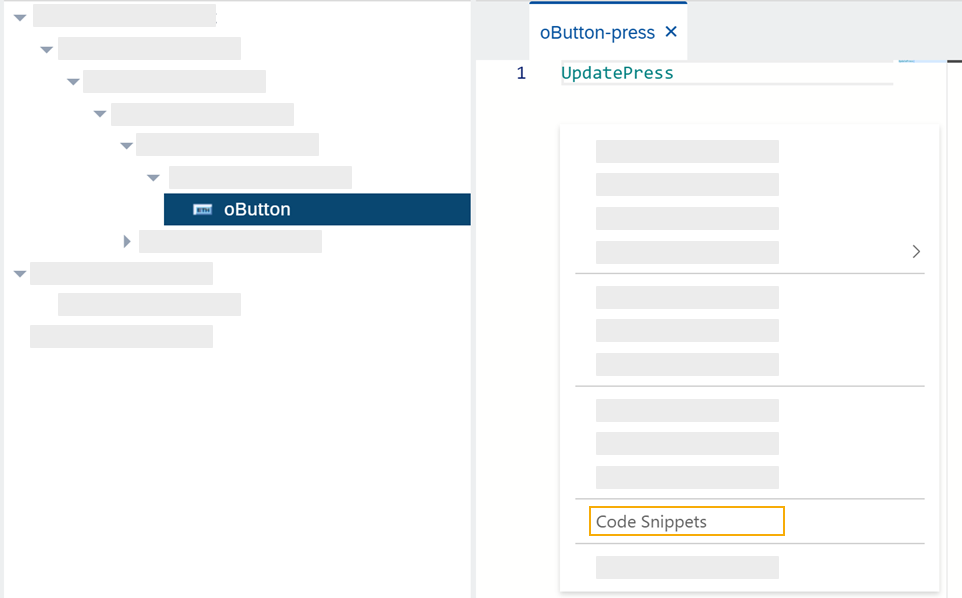
In the JavaScript editor, right-click and select Code Snippets.

-
On the side menu of the Code Snippets window, open API, select oRestAPI and click Copy.
-
On the shell bar, click Save and Activate.
-
Run a preview in a new browser tab or in the App Designer.
-
In the preview, click Update to show data in your table.