Configure an application
In this page, you learn to configure the general settings of your app.
Application Settings
There are three panels under Settings
-
General
-
Properties
-
Roles
General
- Application
-
Name of current application
- Description
-
Brief description about the app
- Title
-
Replaced the application’s name with the provided title. This change can be seen in the browser’s tab when you click Run
- Type
-
Choose the type of application such as, Application,Adaptive Template,Launchpad,Building Block and Custom Component
- Package
-
Assign application to specific Development Package
- Anonymous Access
-
If enabled, you can allow users to access the app without any authentication measures.
| This feature is only visible when your current license allows it. By enabling this, an endpoint will be created so the app can be accessed via /public/app/name |
Properties
- Open UI5 Version
-
Applies specific UI5 version
- Theme
-
Applies theme over the application. This includes existing themes or Imported Themes
- Load code from launchpads and Load code from applications
-
This feature serves the purpose of exclusively loading the code, enabling autocompletion within the the preview App Designer (scripts, CSS and header). Its primary function is to provide convenient code suggestions while writing scripts in an app, particularly when working with a launchpad. Additionally, it can be beneficial when embedding one app within another, as it facilitates autocompletion from the parent app.
- Tab width
-
Adjusts the tab width when formatting code
- Print width
-
The formatter will make line breaks after the given amount of characters
- Compiler Target
-
The compiler target in TypeScript that determines the version of ECMAScript (JavaScript) that the compiler should generate as output
- Disable Application
-
Disables the application and any attempt to reach it will result in a 404 error
- Enable Collaboration
-
Enabling this feature allows multiple developers to collaborate on the same application simultaneously. It establishes a socket connection between the client and server, enabling real-time communication. Any modifications made to the application are sent to the server and then distributed to all other clients who are also working on the application, ensuring that everyone stays synchronized with the latest changes
- Run only in Launchpad
-
Disables the application allowing it only to run from a launchpad and any attempt to reach it will result in a 404 error
- Minify Source Code
-
Minifies all source code. Minifying source code in JavaScript reduces its file size by removing unnecessary characters and whitespace, optimizing performance and improving website loading times
- Enable File Storage
-
Enabling this option allows the application’s JSON definition to be automatically written to a file named your-app.json . This ensures that the JSON definition of the application is easily accessible and can be utilized as needed
- Use App Handler V2
-
In Neptune DXP - Open Edition, there are two distinct code bases used for compiling the application definition into actual code that is served to the client. Enabling this feature ensures that the application is compiled using the new compiler, offering the benefits and enhancements provided by the updated compilation process
Roles
In Roles you can add roles to your application for security purposes. Read more at Role
Language Translation
In Language Translation you can translate screen object texts within an application.
| This is ideally used when multiple users speak different languages |
How it works:
Once you apply your translations, the object to which you applied the translation will be translated into the user’s assigned language. This can be observed in the Security > User section. You can also view the translated results by switching languages on a launchpad.
You can translate objects in two ways:
-
Utilizing the Google Translate API
-
Custom translations
-
Importing from a file
Using Google Translate
Steps to translate with Google Translate
-
Click on Translation
-
At the dropdown, select the language
-
Select which objects you wish to translate

-
Click Google Translate

-
Click Save and Activate


Custom Translation
-
Click on Translation
-
At the dropdown, select the language
-
Select which objects you wish to translate and, enter your custom translations in the Translation column
-
Click Save and Activate
Import from file
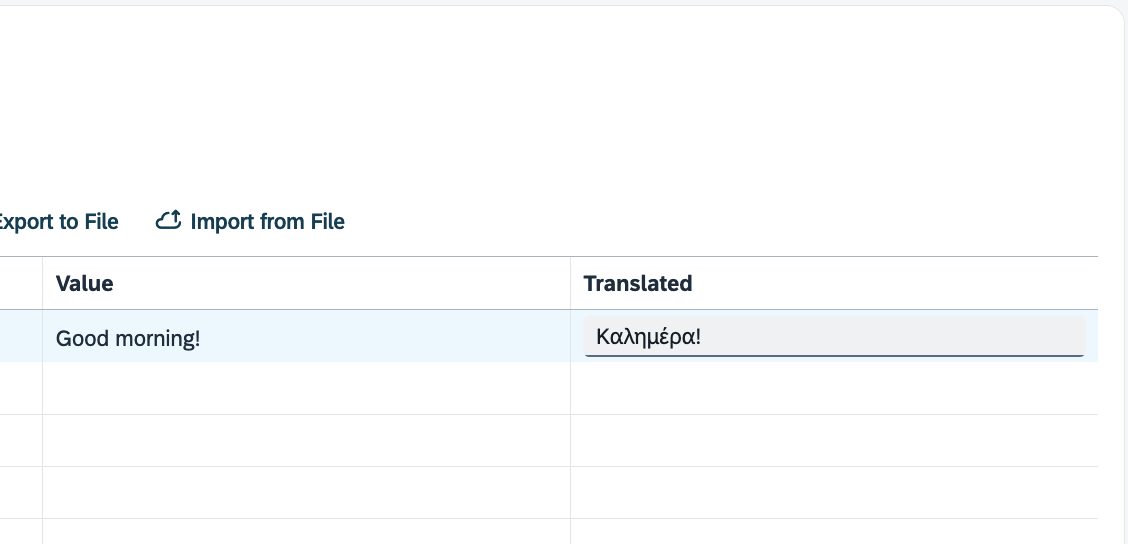
You can import a CSV file with all the translated object for a given language. The structure must look like this:
| Language | ID |
|---|---|
Name |
Type |
Property |
Value |
Translation |
EL |
5564cd36-c2c9-4261-8f49-1d77b8884029 |
Title |
sap.m.Title |
text |
Good morning! |
Καλημέρα! |
-
Click on Import from File
-
Click Save and Activate
Version Management
In Version Management, you have the ability to save previous versions of your app while working on your current version. This allows you to effectively track changes and maintain a history of your app’s previous iterations.
How to work with Version Management
-
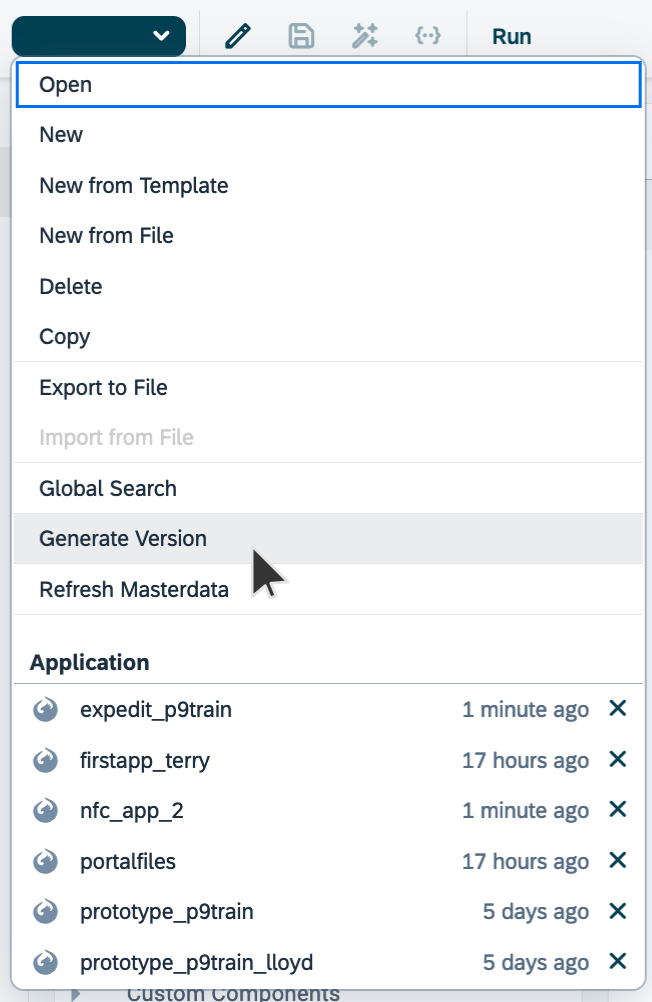
Generate a version

-
Give it a name
-
Head to Version Management
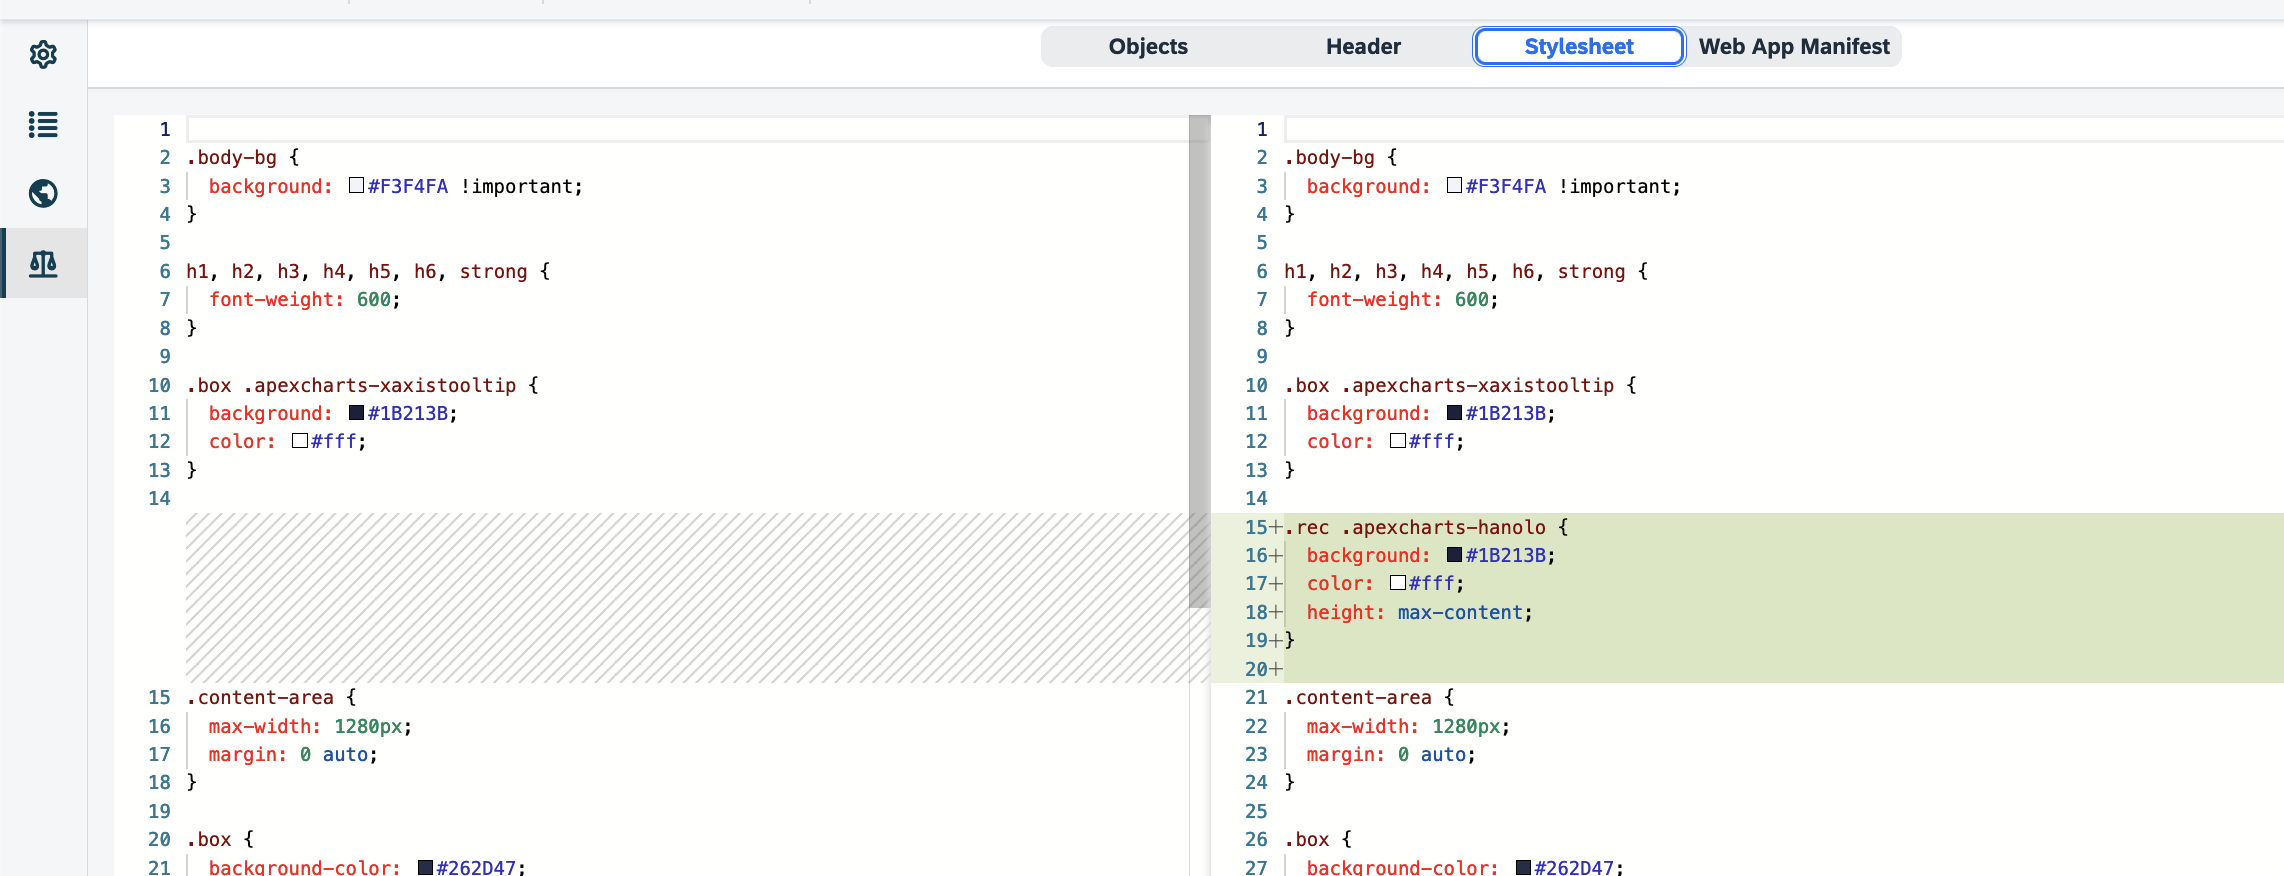
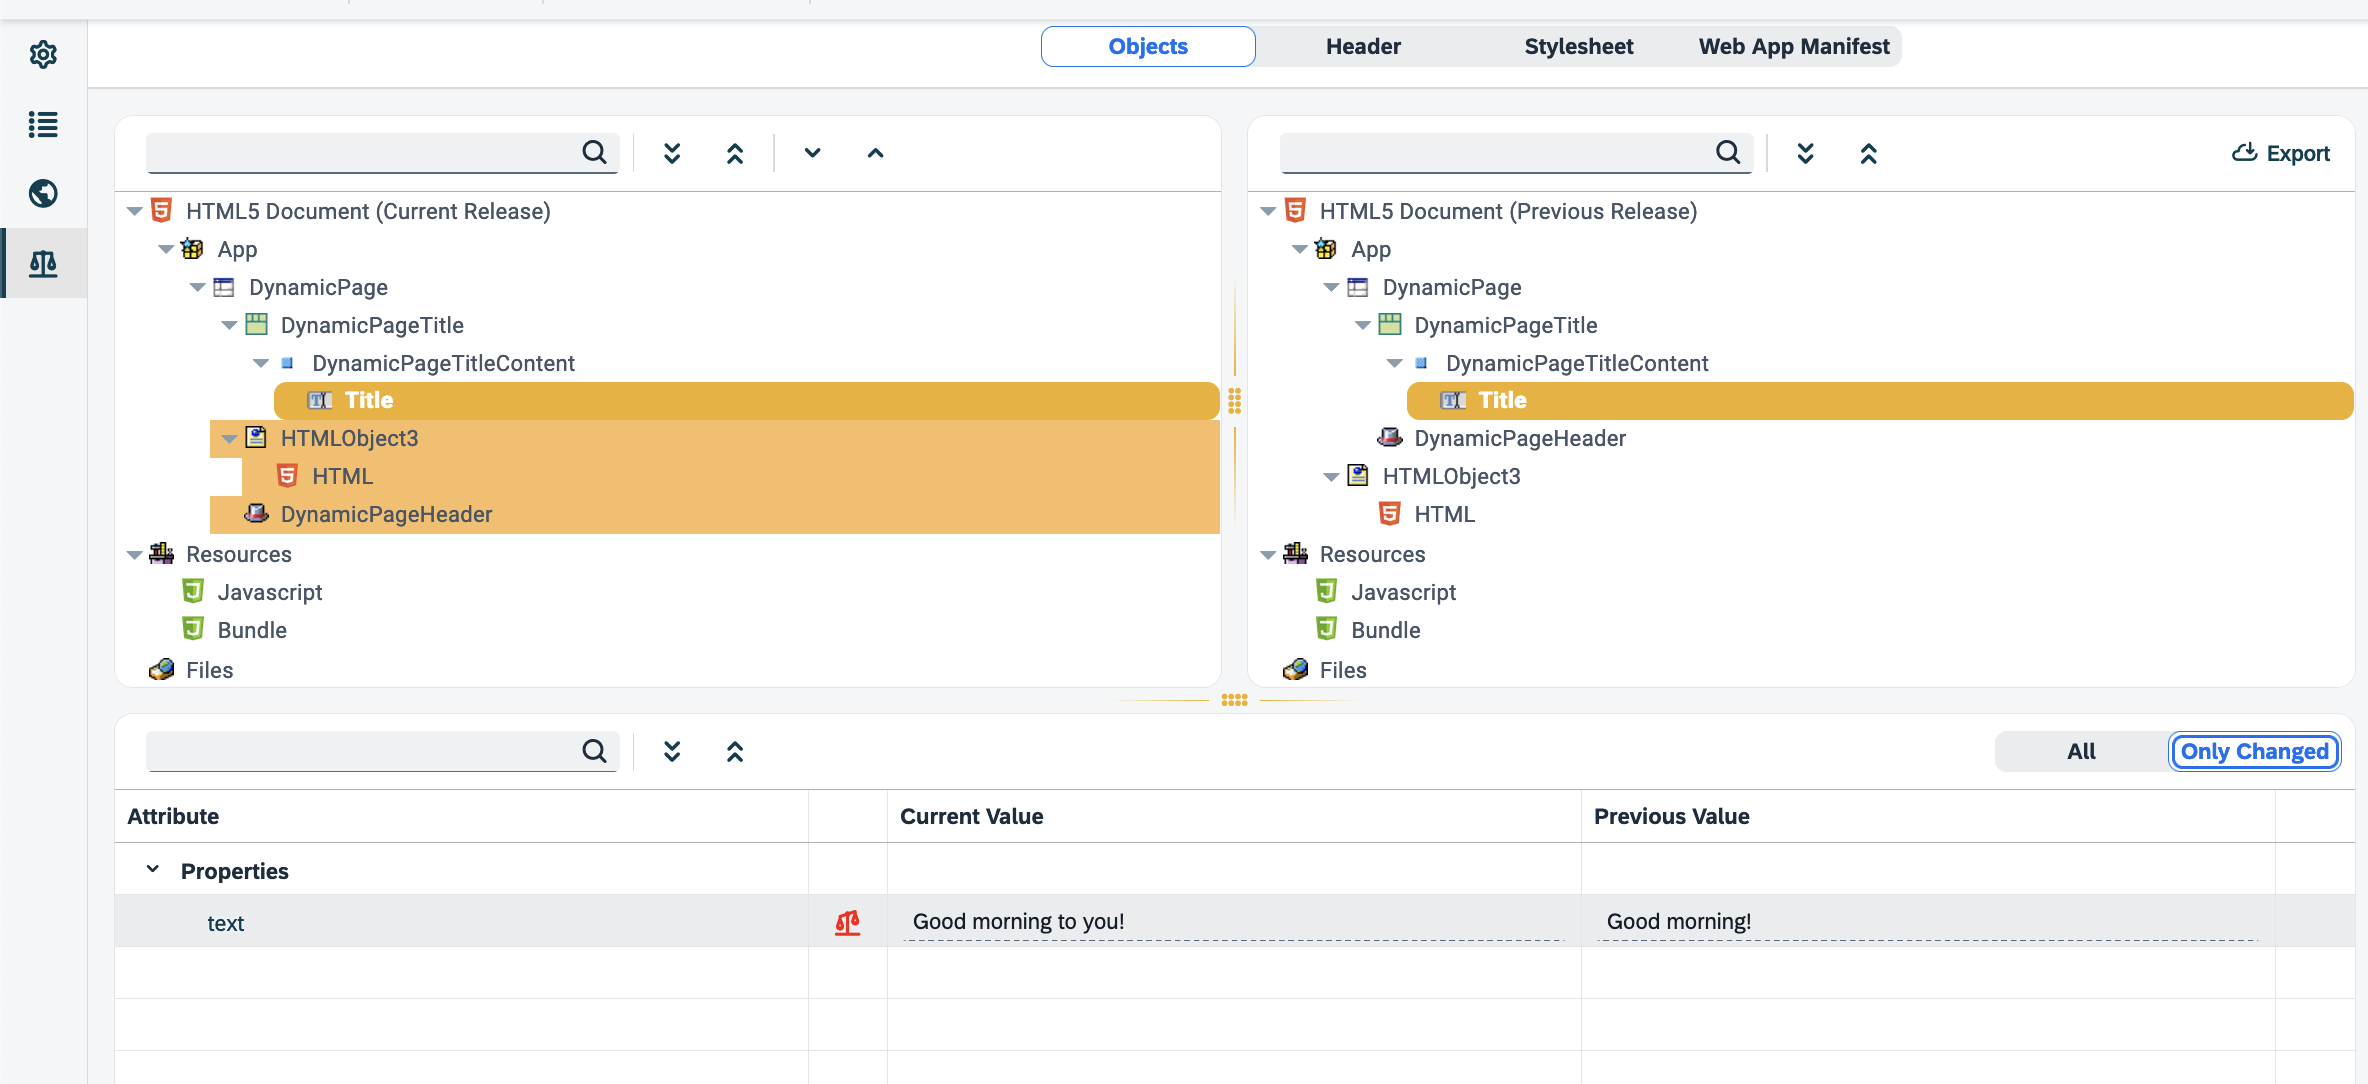
As you can observe, the left pane displays your current version of the application, while the right pane shows the newly generated version. Similar to Git, you can compare objects, files, and scripts, enabling you to maintain control over the changes occurring in your application.


| The remote tab allows you to compare your app with the corresponding version on another system. For instance, if you have a remote system on another planet (e.g., Open Edition system), you can use deployment to deploy an app to that system. Subsequently, you can compare your local version of the app with the version on the remote system, ensuring consistency and identifying any differences. |