Load Neptune forms in adaptive applications
The following example illustrates how to load Neptune Forms in an Adaptive Application, as well as how to save the Form data.
Prerequisites
-
You have installed the Adaptive Framework from the Neptune DXP Marketplace
-
You have installed the Neptune Forms add-on from the Neptune DXP Marketplace
Procedure
-
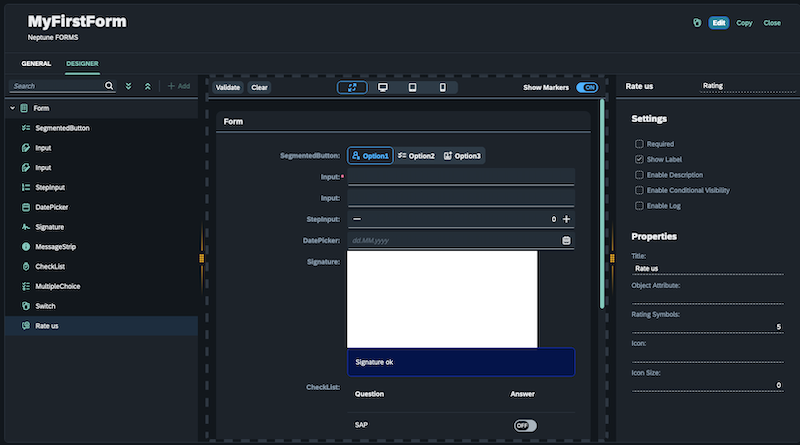
Create a form using the Form Designer - Build a simple form
-
Create a Table where the Form’s data will be saved:
-
Properties:
-
Title
-
Description
-
Formid
-
Formdata
-
Formstatus
-
-
Set the formdata "Type" to JSON.
-
Select "Nullable" for all fields.

-
-
Create a Connector based on the above table:

Note: This connector will be used in all the Adaptive applications. More information about the Connector available here.
-
Create Adaptive Applications
Note: More information about the Adaptive Designer available here.
-
Create an Adaptive List app using the planet9_adaptive_list template:

From Settings:
-
Give it a name: “List”
-
Enable Create
-
Enable Close
-
Enable Delete
-
Run at Start
-
Run at Focus
-
Drag “title” and “description” into the Table, and “Save”.
-
-
Create an Adaptive Edit App using the planet9_adaptive_edit template:

-
Give it a name: “Form Details”.
-
Drag “title”, “description”, “formid”, and “formstatus” in the “Form”.
-
Select “formid” field, and:
-
Set field type to SingleSelect Lookup
-
Under Data Source:
-
Set Table to "forms_design"
-
Set Key Field to "id"
-
Set Text Field to "name"
-
Hide Key Field
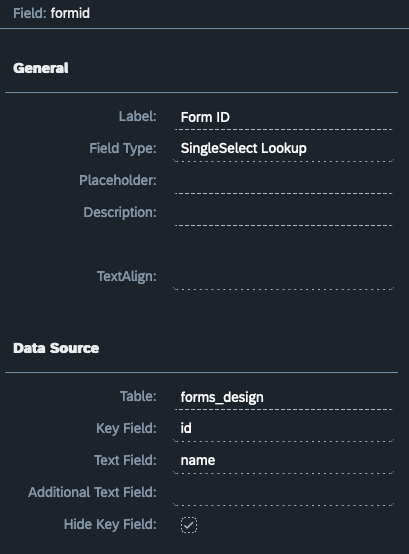
Note: *This configuration will populate the “formid” field with all the available forms created in the Form Designer.
-
-
Select “formstatus” field, and:
-
Untick Editable
-
“Save”
-
-
-
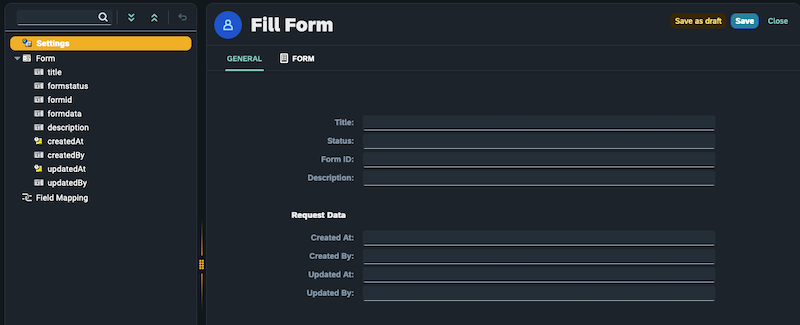
Create an Adaptive App using the planet9_adaptive_forms template:
-
From Settings:
-
Give it a name: “Fill Form”
-
Enable Close
-
Enable Draft
-
Enable Save
-
Enable Delete
-
Enable Forms
-
-
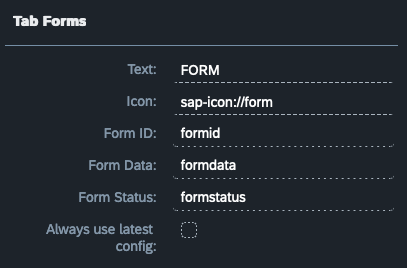
From Settings, under “Tab Forms”:
-
Set Form ID to formid
-
Set Form Data to formdata
-
Set Form Status to formstatus
-
-
Drag all the fields in the “Form”.
-
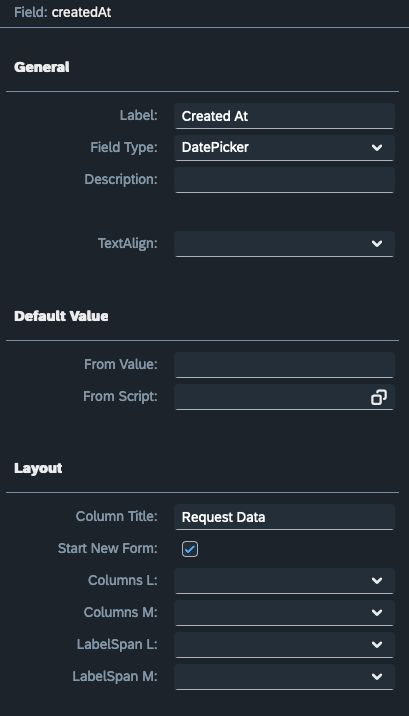
Select “updatedAt” field:
-
Change the field “Type” to “DatePicker”
-
Under “Layout”:
-
Tick “Start New Form”
-
Set Colum Title to “Request Data”
-
-
From Properties:
-
Untick “Editable”
-
-
Select “createdAt” field:
-
Change the field “Type” to “DatePicker”
-
From Properties:
-
Untick “Editable”
-
-
-
-
Connecting the Adaptive Applications:
-
Under “Create” Event Settings → Set the Target to the “Form Details” app (the app created using the planet9_adaptive_edit template).
-
Select “Use”.
-
Under “ItemPress” Event Settings → Set the Target to the “Form Details” app (the app created using the planet9_adaptive_edit template).
-
Select “Use”.
-
From the Adaptive List Application → Create a new Record and select a Form from the Form ID field. (The form created in the Form Designer).

-
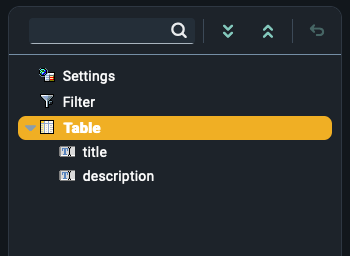
From the Adaptive List Application → Select the Table
-
-
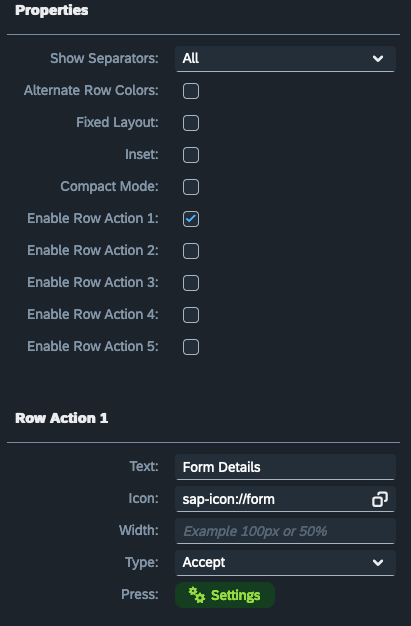
From Table Properties → Enable Row Action 1
-
Row Action 1:
-
Set text to “Form Details”
-
Select an Icon
-
Set Type to Accept
-
On the “Press” event Settings, the Target will be the “Fill form” app (the app created using the planet9_adaptive_forms template).
-
Select “Use”
-
Then “Save”
-
-
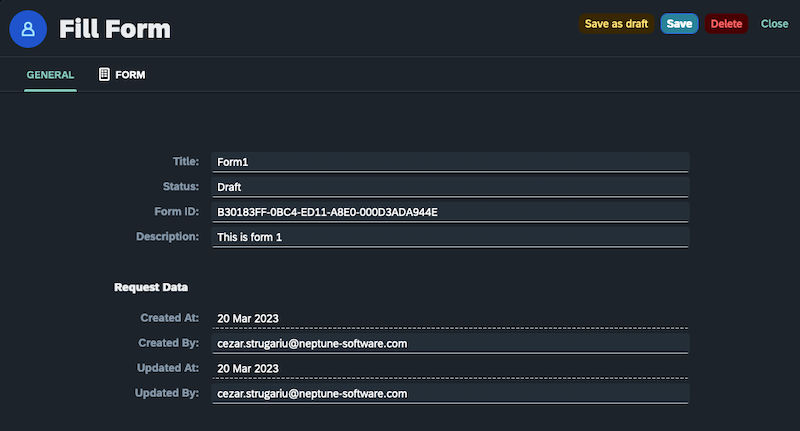
Select “Form Details” → General Form details are displayed.
-
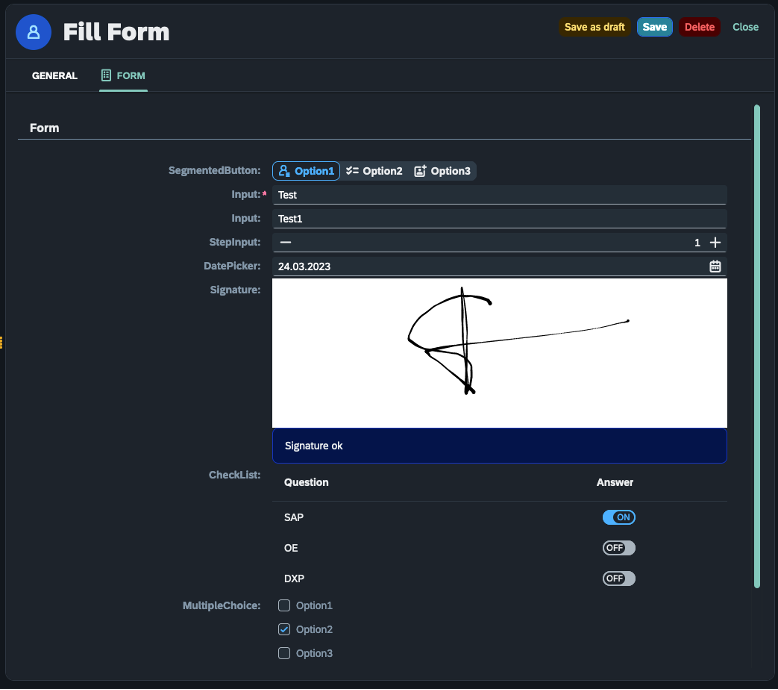
Under the “Form” tab you can fill in the Form and “Save” it, or “Save as draft” for later completion.
-
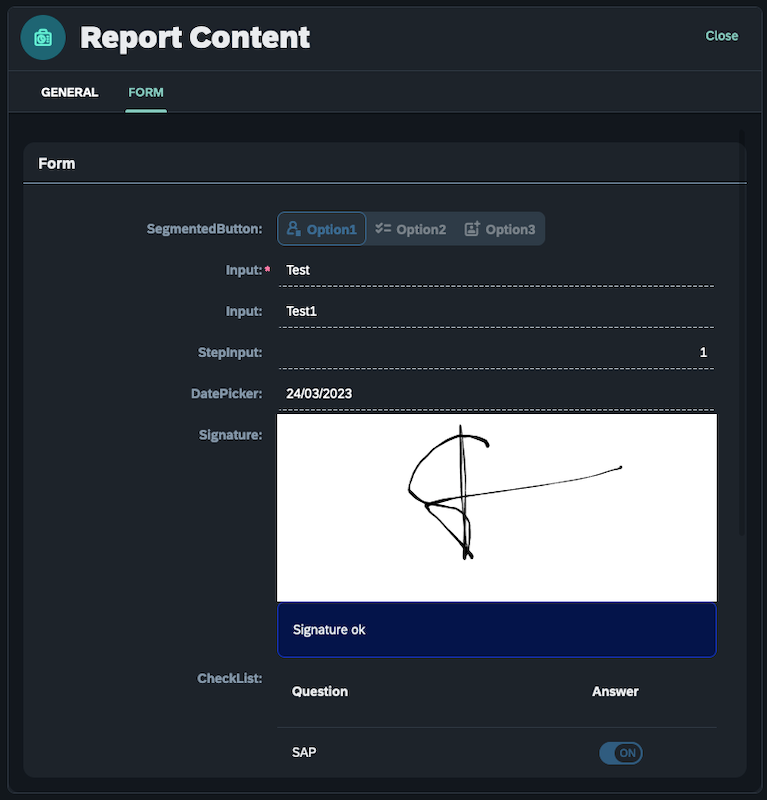
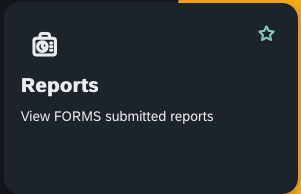
From the Cockpit, open the “Reports”
-
In here you can access the submitted reports
